Hello and good day!


Hello and good day!
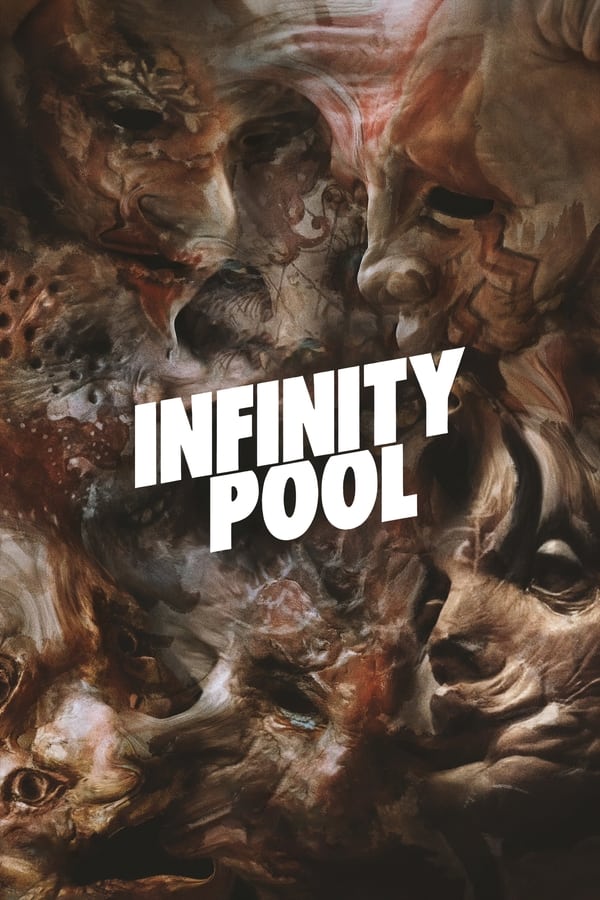
Infinity Pool (2023) was wild, satirical, and violent, but also quite flawed. I preferred Brandon Cronenberg’s previous two movies. Still worth it for Mia Goth’s delightfully unhinged performance, as expected.


Calling all operatives! The Delta Green meta-bundle is up at Bundle of Holding! This is one of the absolute best #TTRPG around, so check it out if you’re not squeamish about modern horror!
“…with European standards” 😅

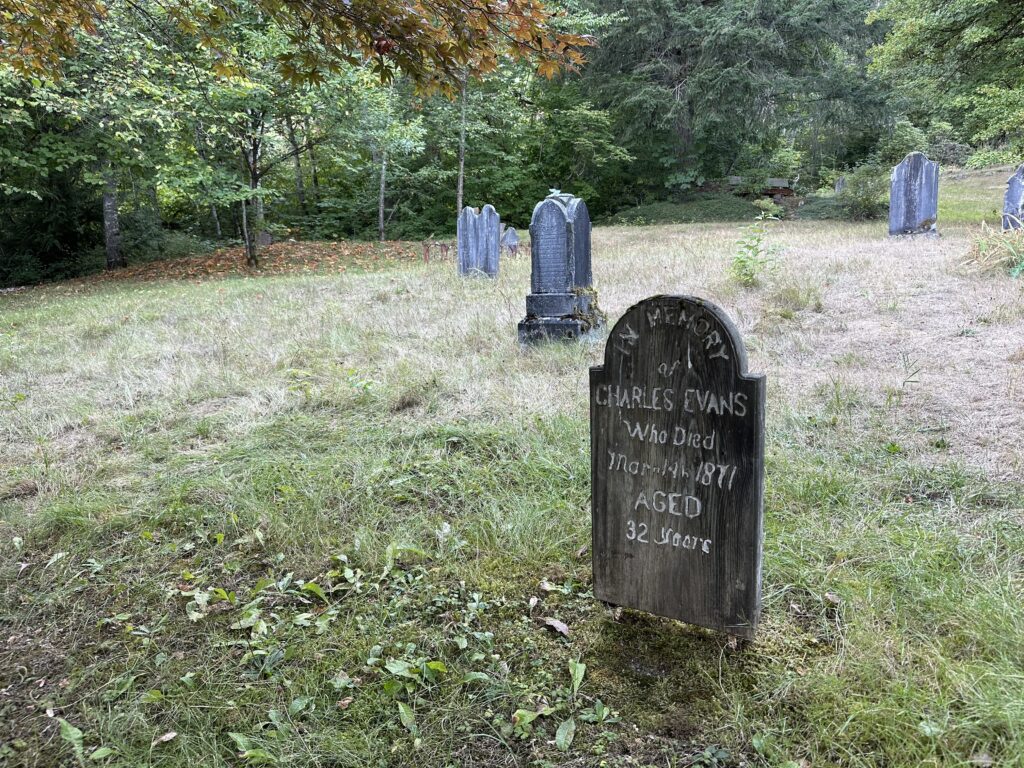
I found a pioneer cemetery with several freemason graves… anyone up for some ghost conspiracy adventures?


These geese are so Canadian they watch cricket games

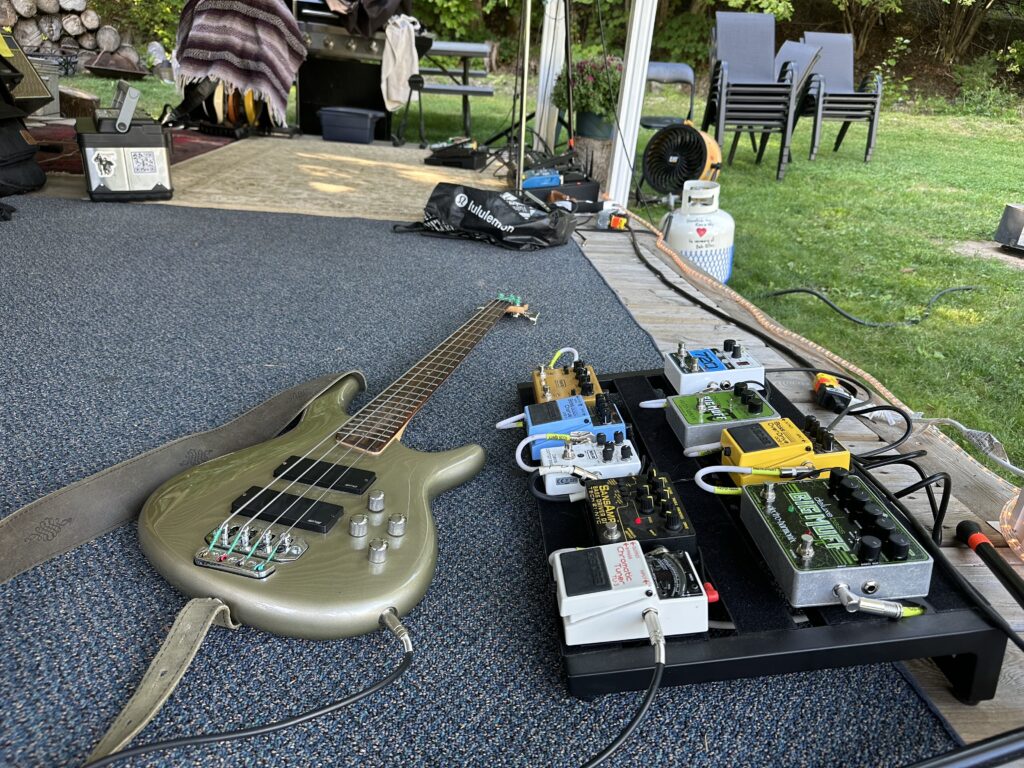
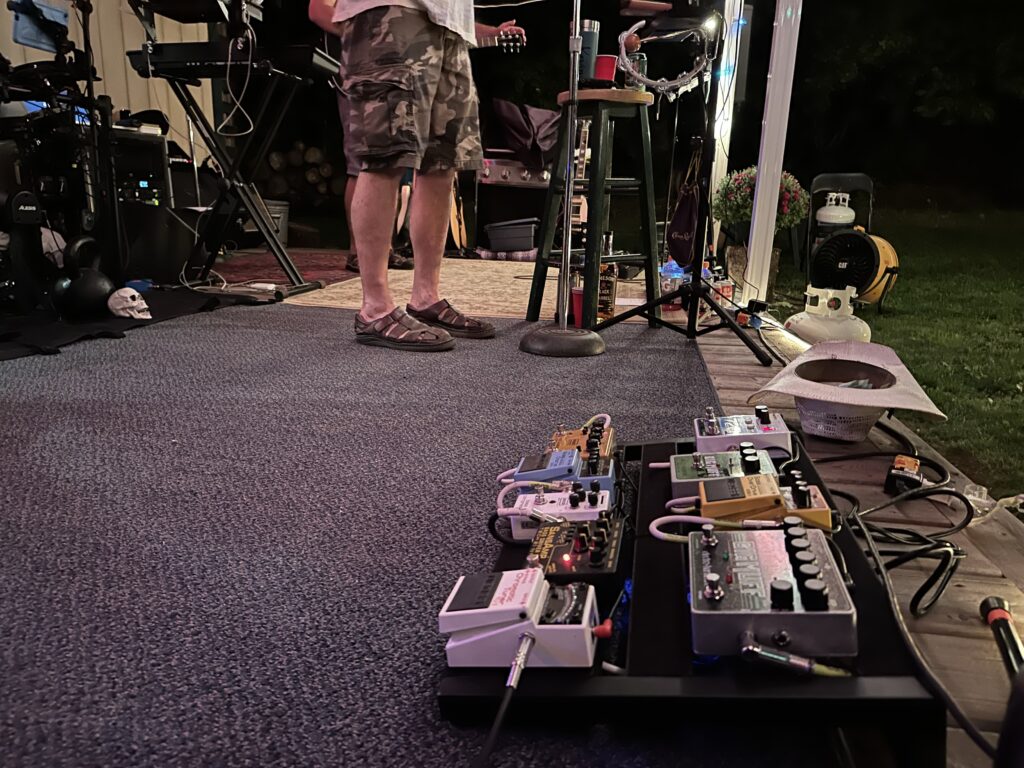
This was a good show! I somehow warmed up my voice better than usual.
Hello Fraser River! You’re flowing pretty fast!


I forgot to say good morning! So good, err, mid-day.


Didn’t know anything about “Virus” (1999) and ended up loving its 90’s cheesiness, ridiculous (in a cool way!) premise, one-liners, and monsters. How these actors ended up here is beyond me but I should have brought more popcorn!