My #RuneQuest #Glorantha adventure “A Short Detour” is part of the Christmas in July sale! Grab it and give a great moral conundrum to your players, plus a new villain and some Chaotic shenanigans! #TTRPG
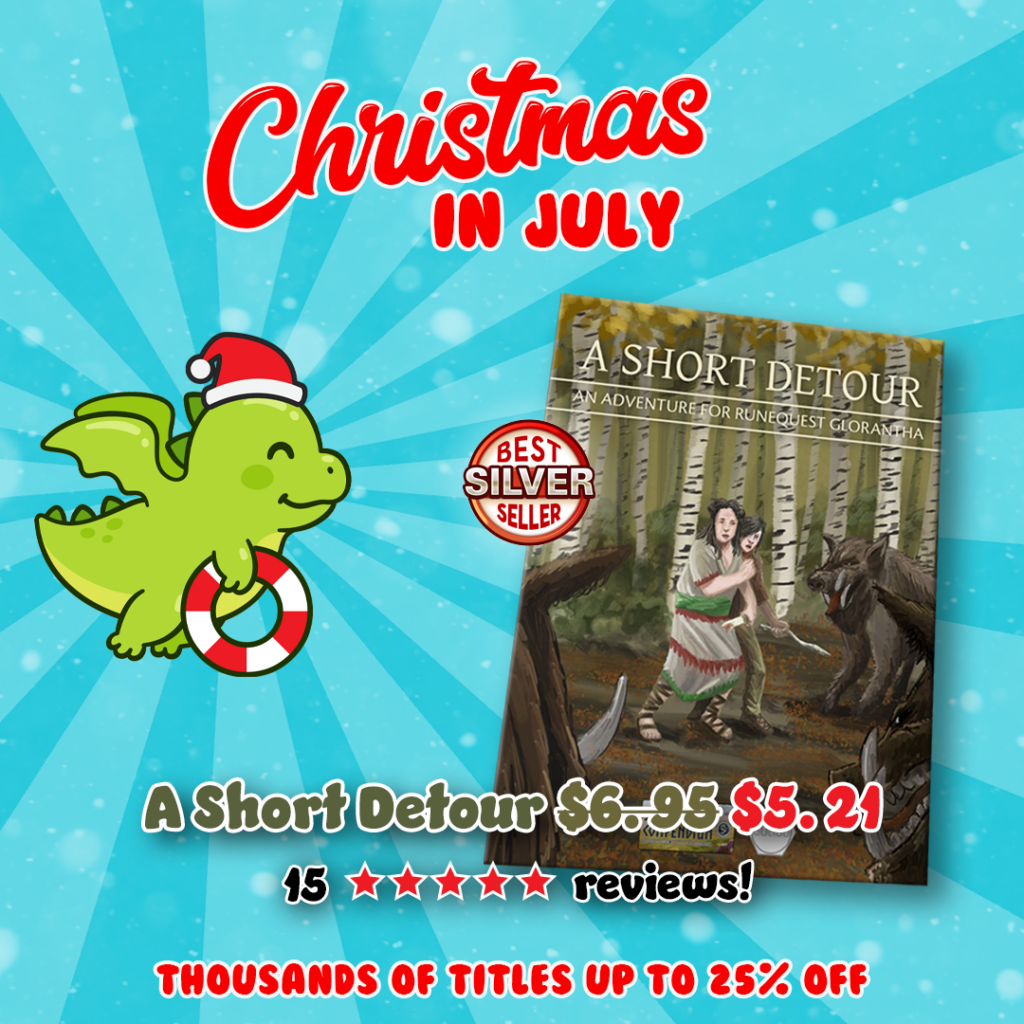
My #RuneQuest #Glorantha adventure “A Short Detour” is part of the Christmas in July sale! Grab it and give a great moral conundrum to your players, plus a new villain and some Chaotic shenanigans! #TTRPG
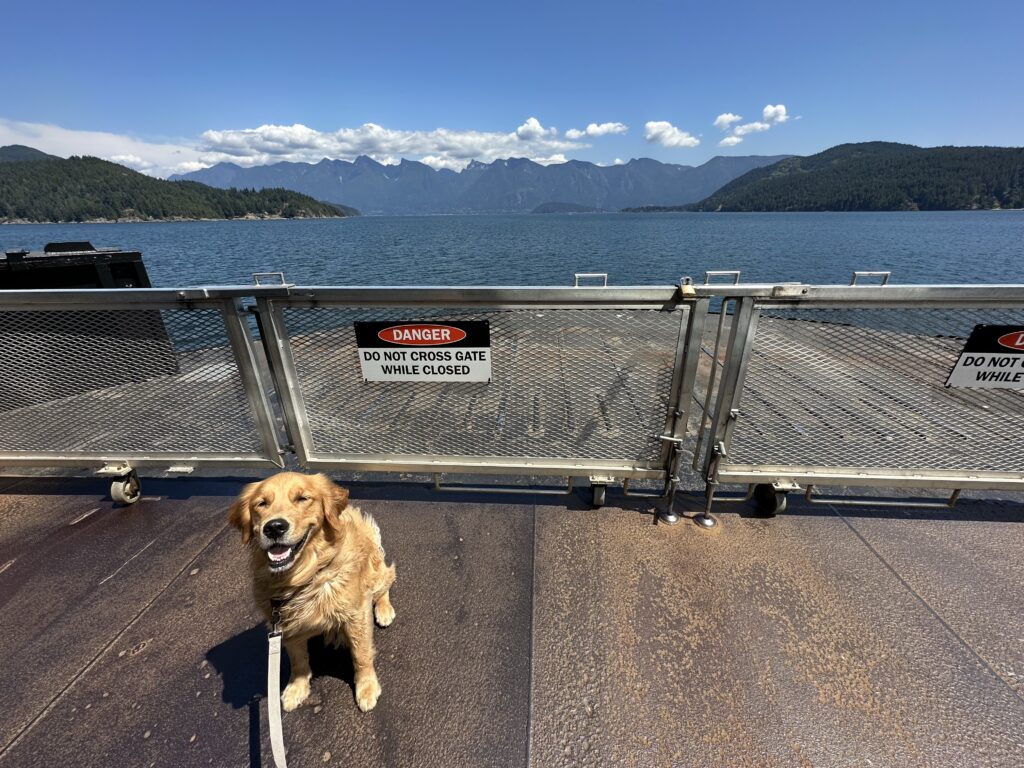
Good boy’s second trip on the ferry!
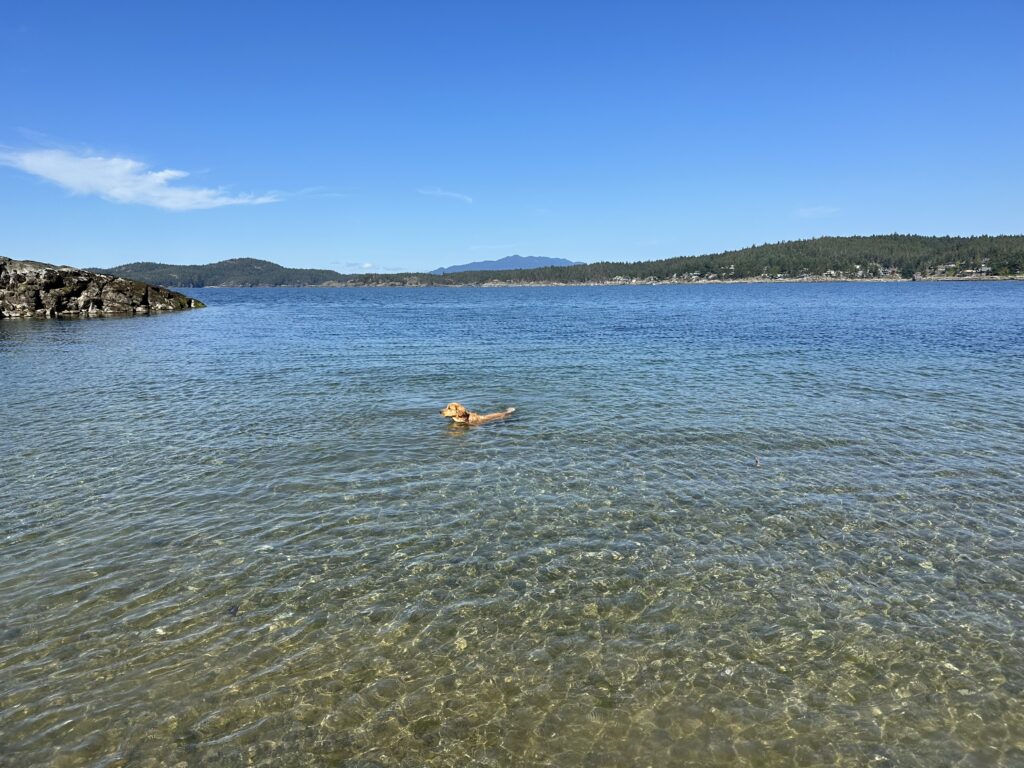
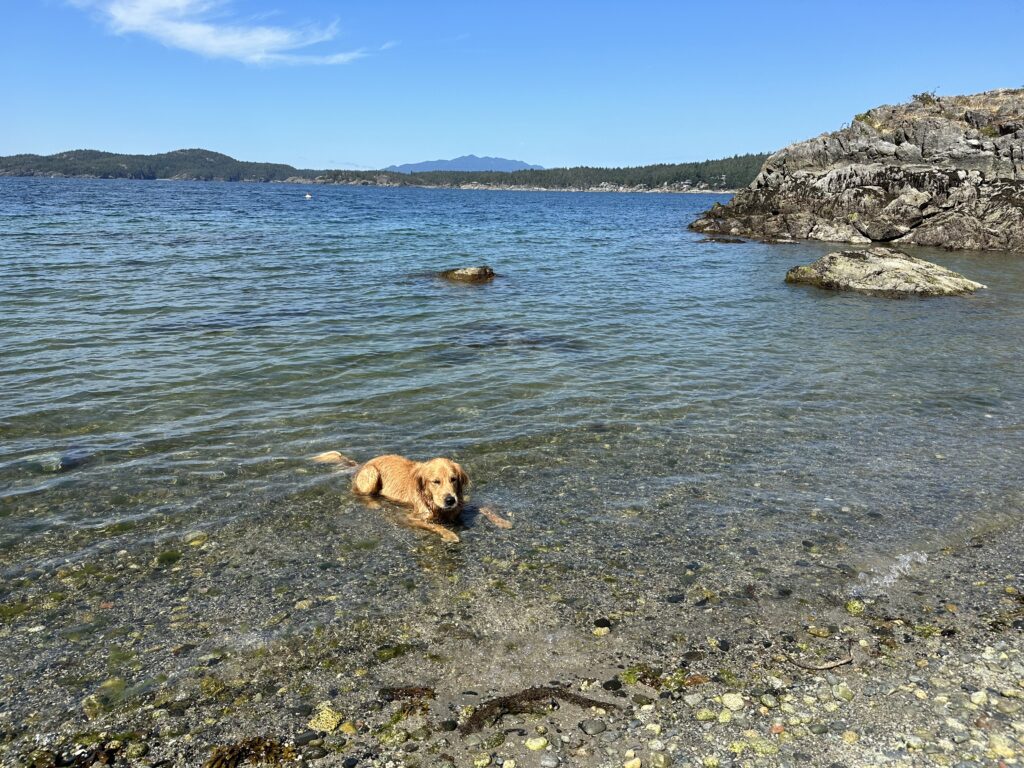
Good boy’s last swim before the ferry
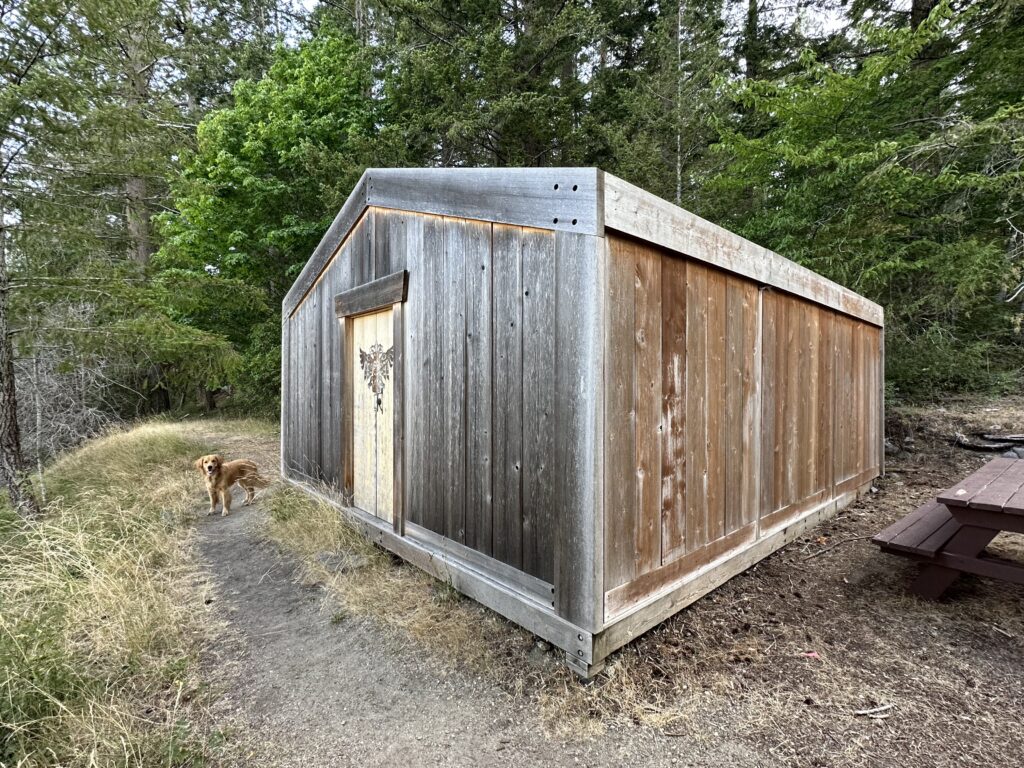
We were told this is a shíshálh sweat lodge.
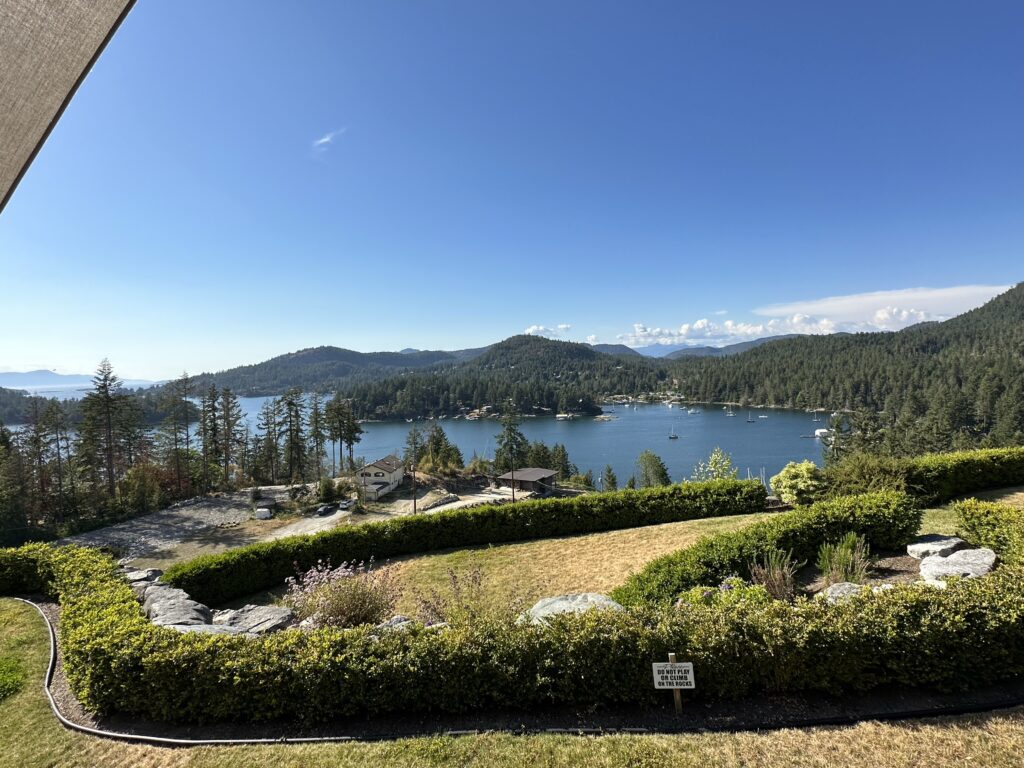
Restaurant with a view
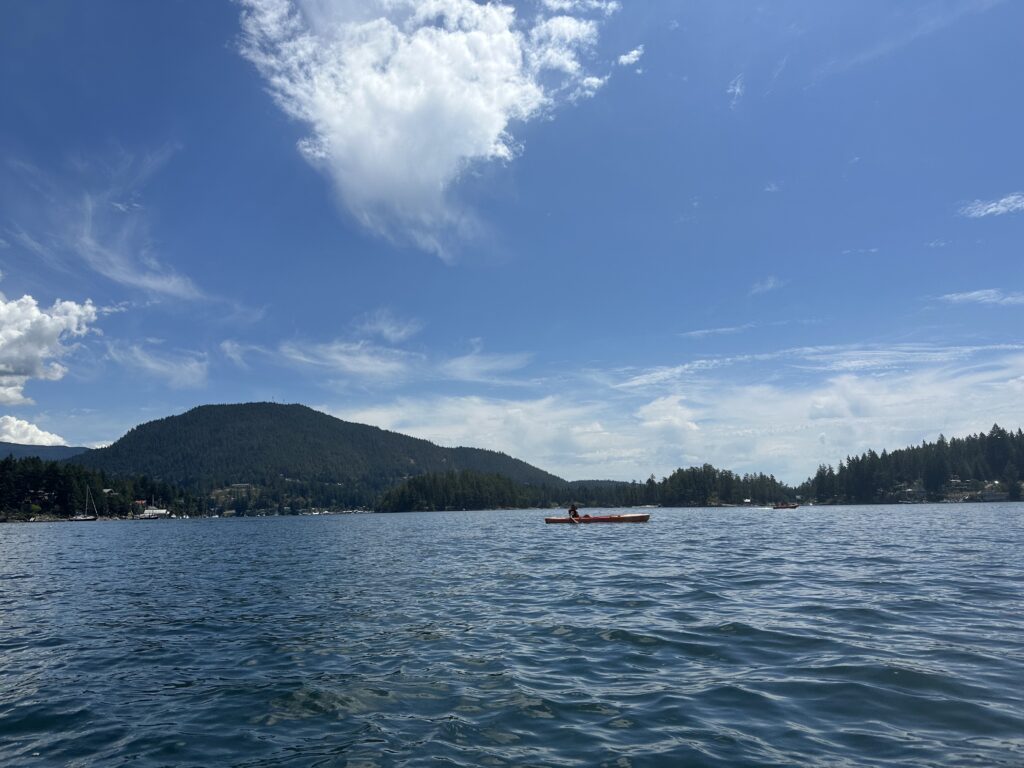
Of course, there was kayaking involved. Lots of curious seals came to say hello.
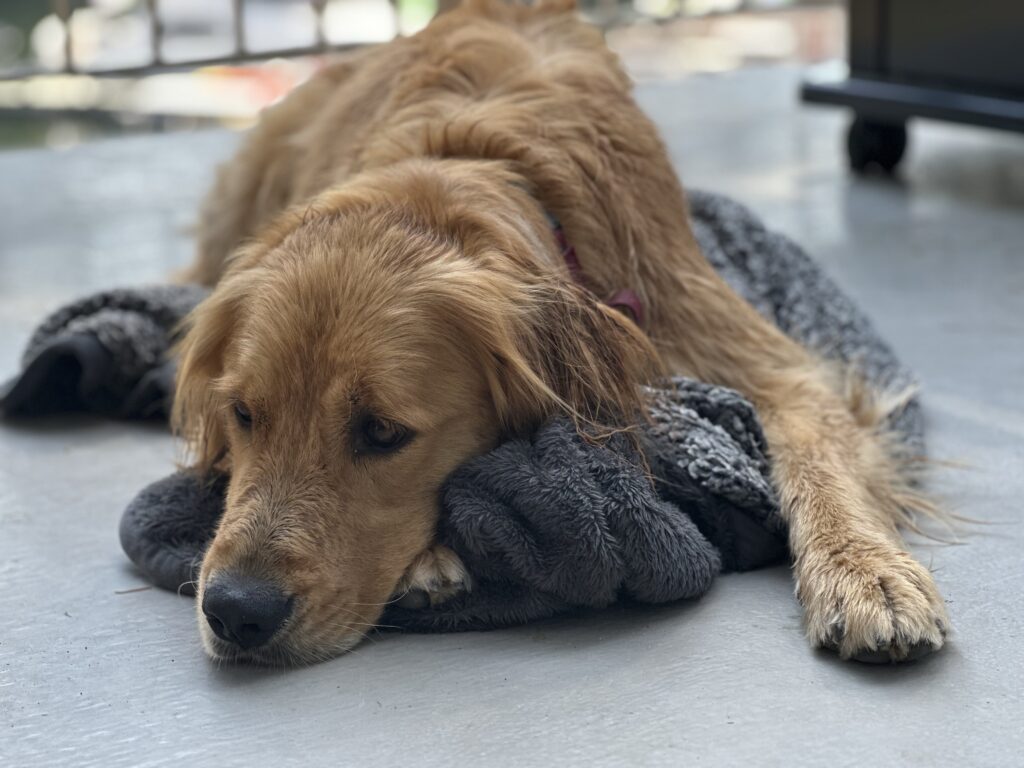
Good boy is tired
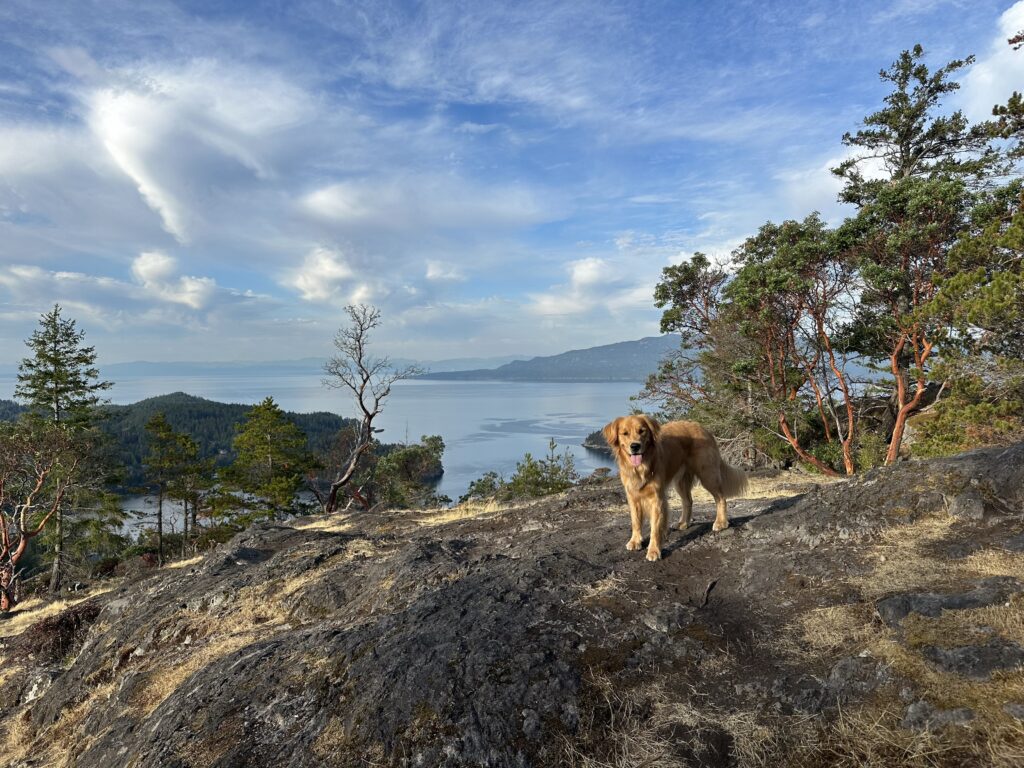
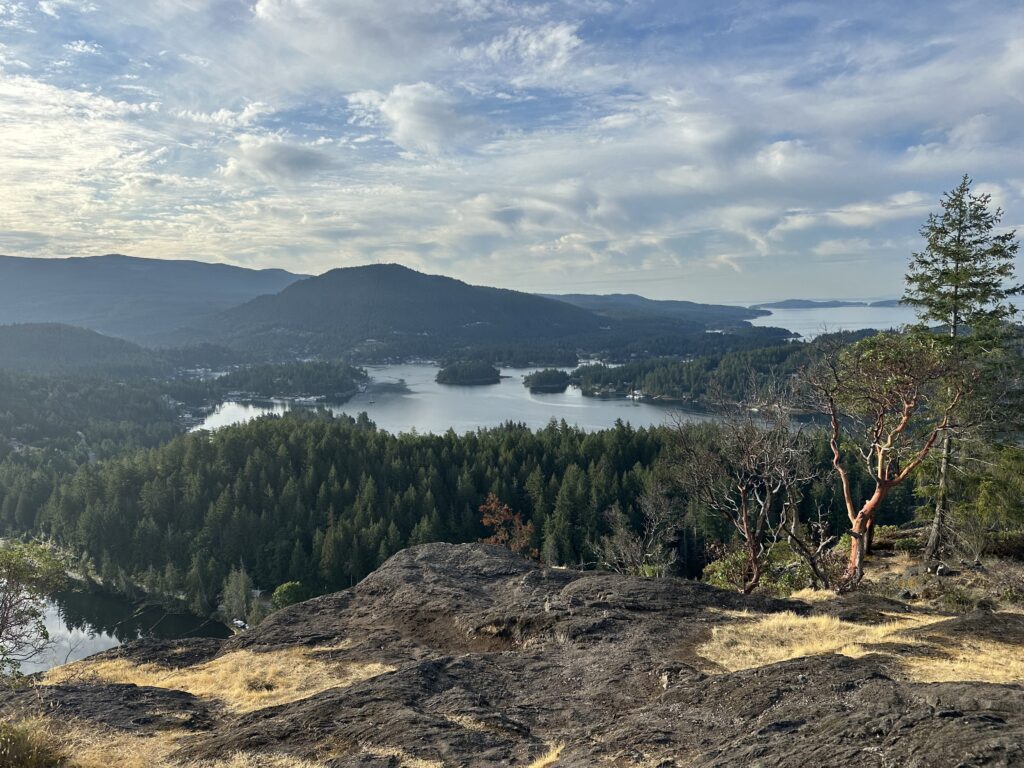
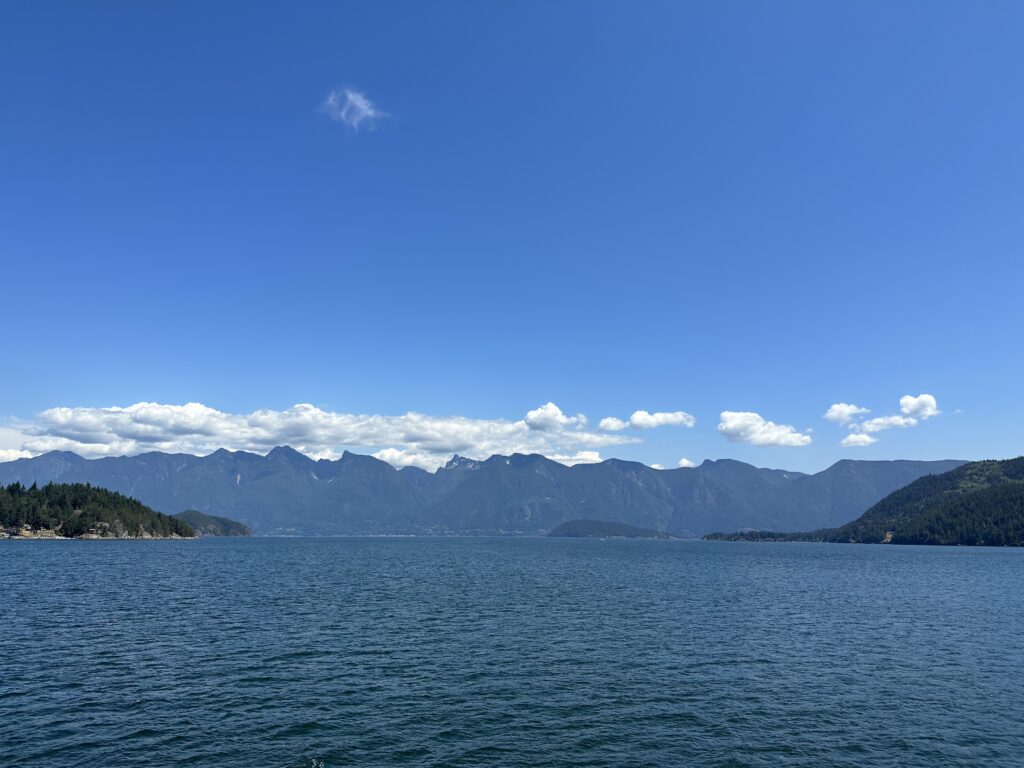
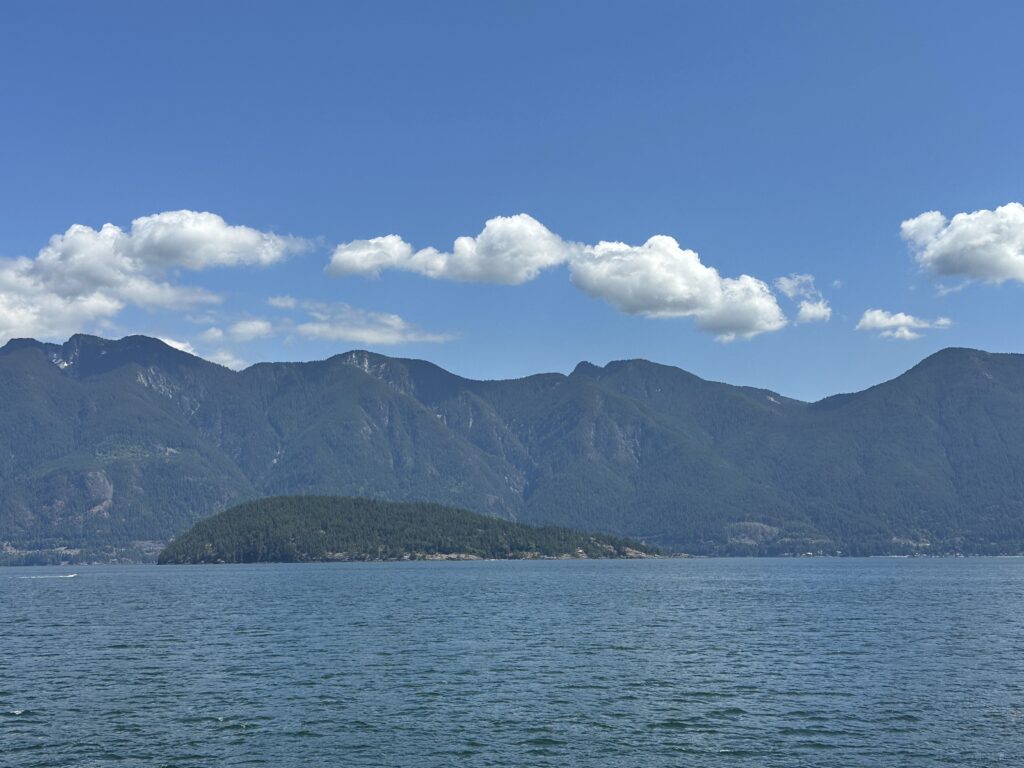
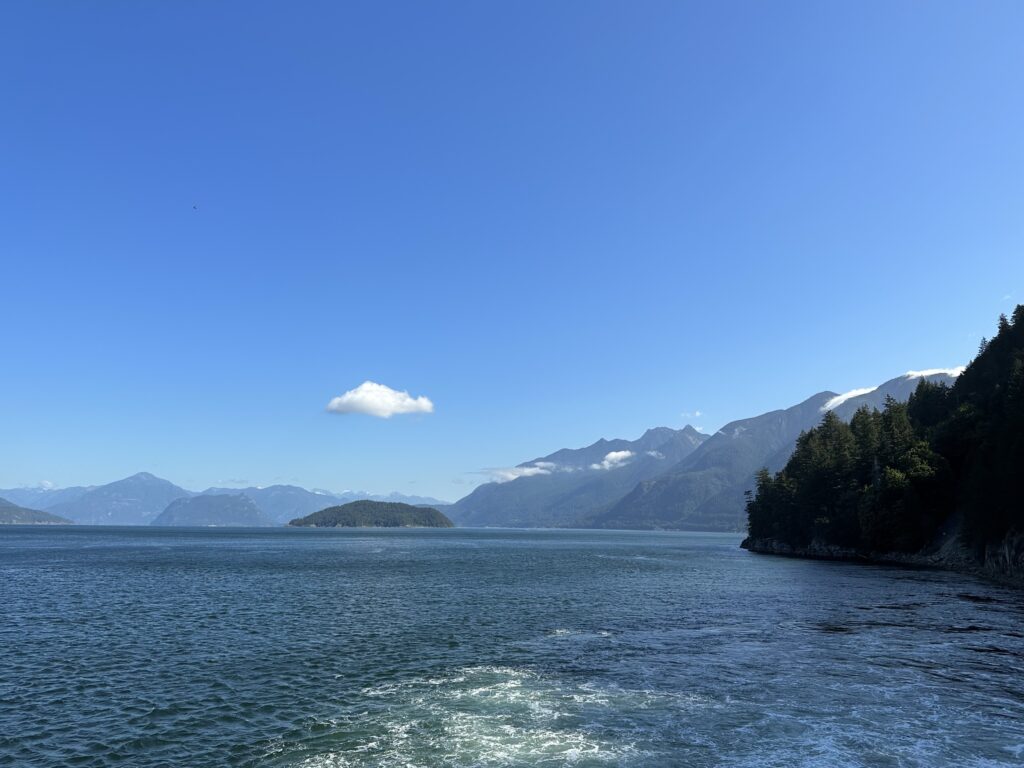
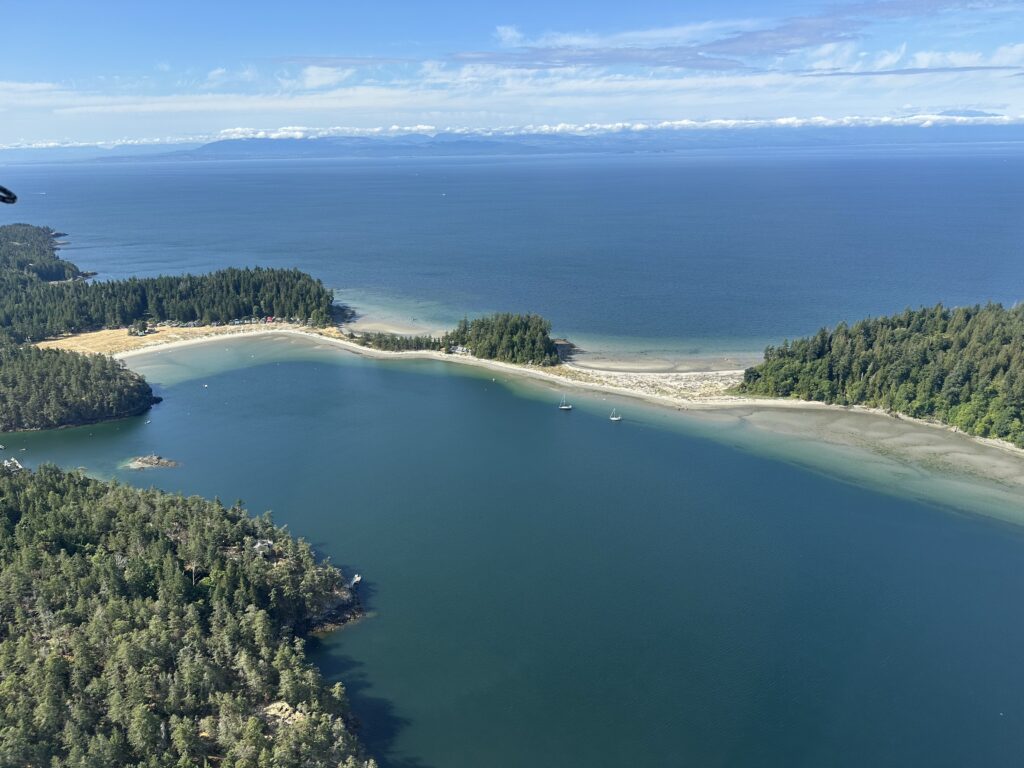
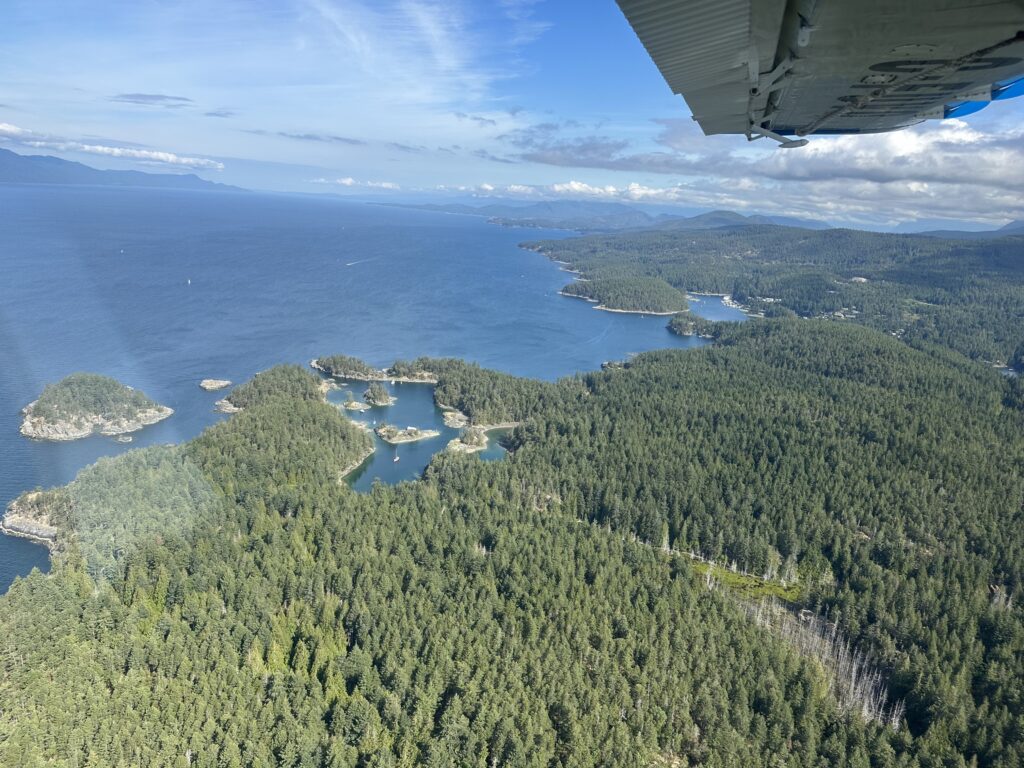
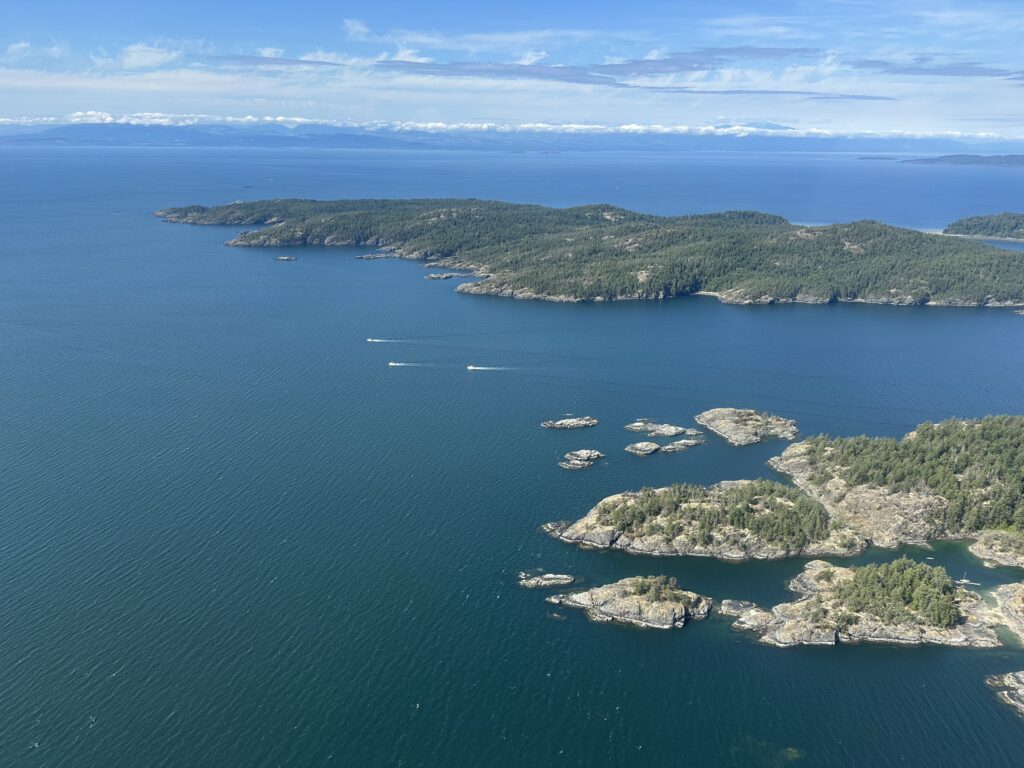
In British Columbia we only have three things: water, trees, and mountains.
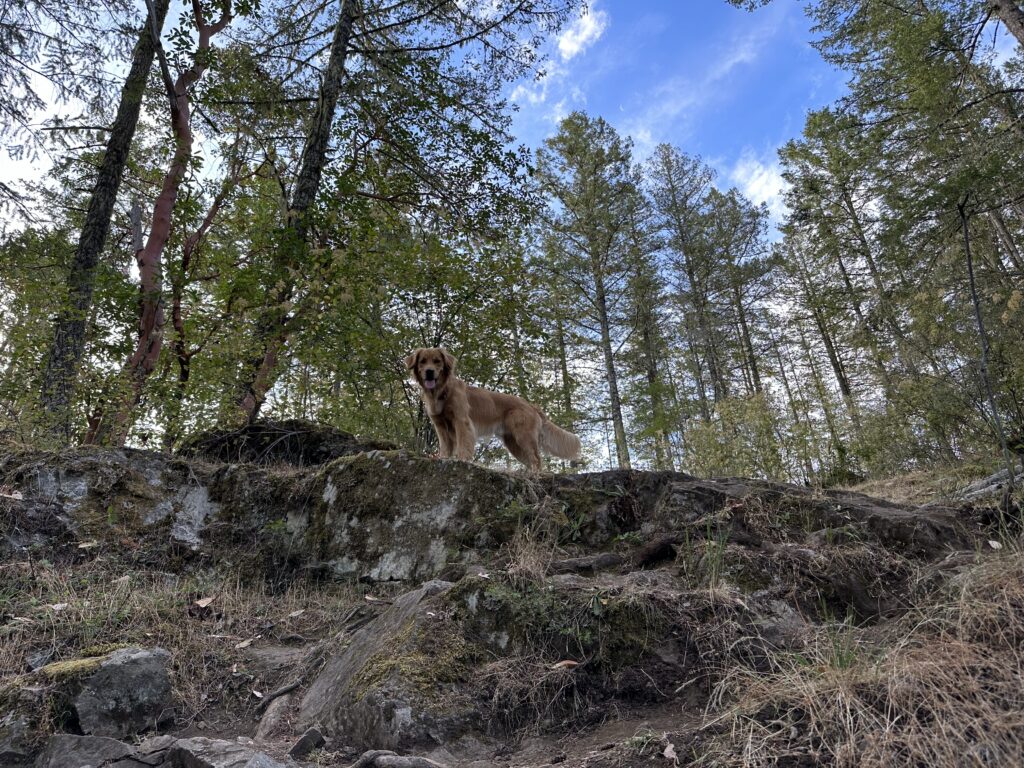
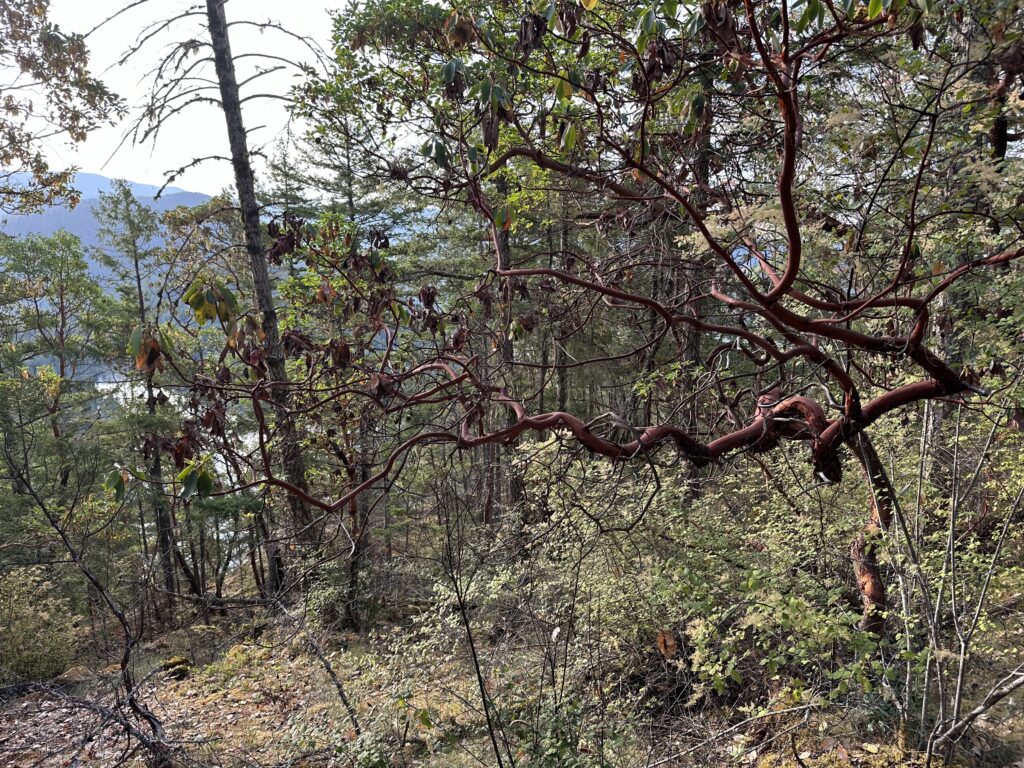
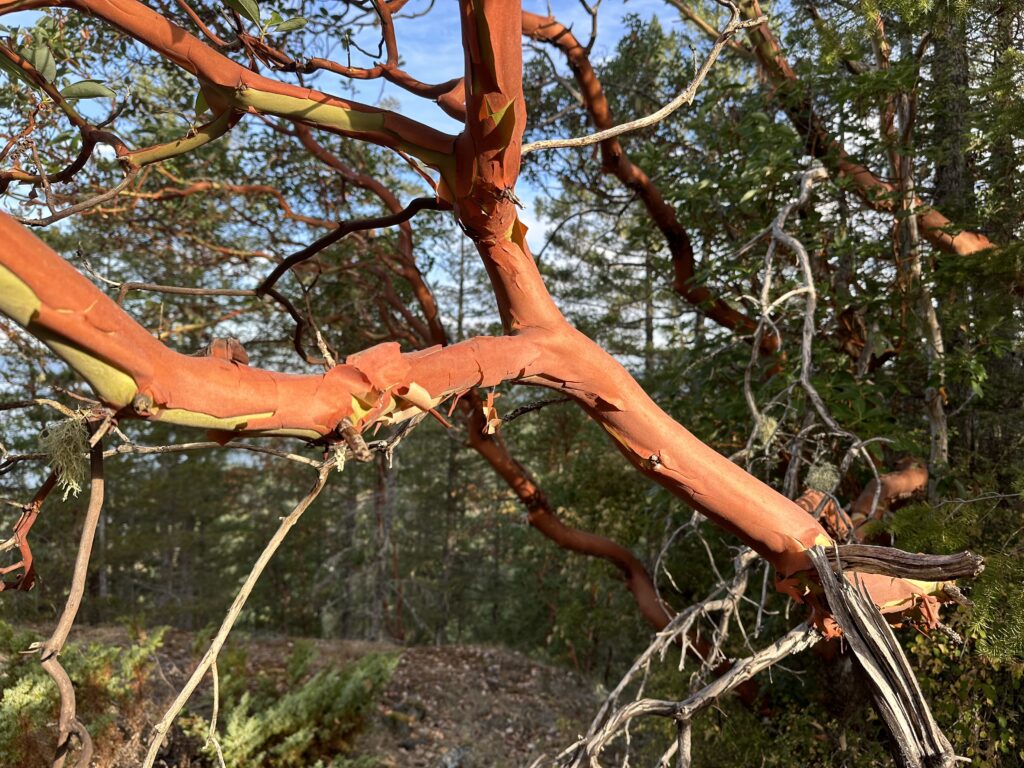
The Pacific Madrone, a type of Arbutus tree, is typical of British Columbian coastal forests. Convoluted shapes, nice red colour, and characteristic peeling bark.
Good boy hiking