I love this chocolate’s backstory
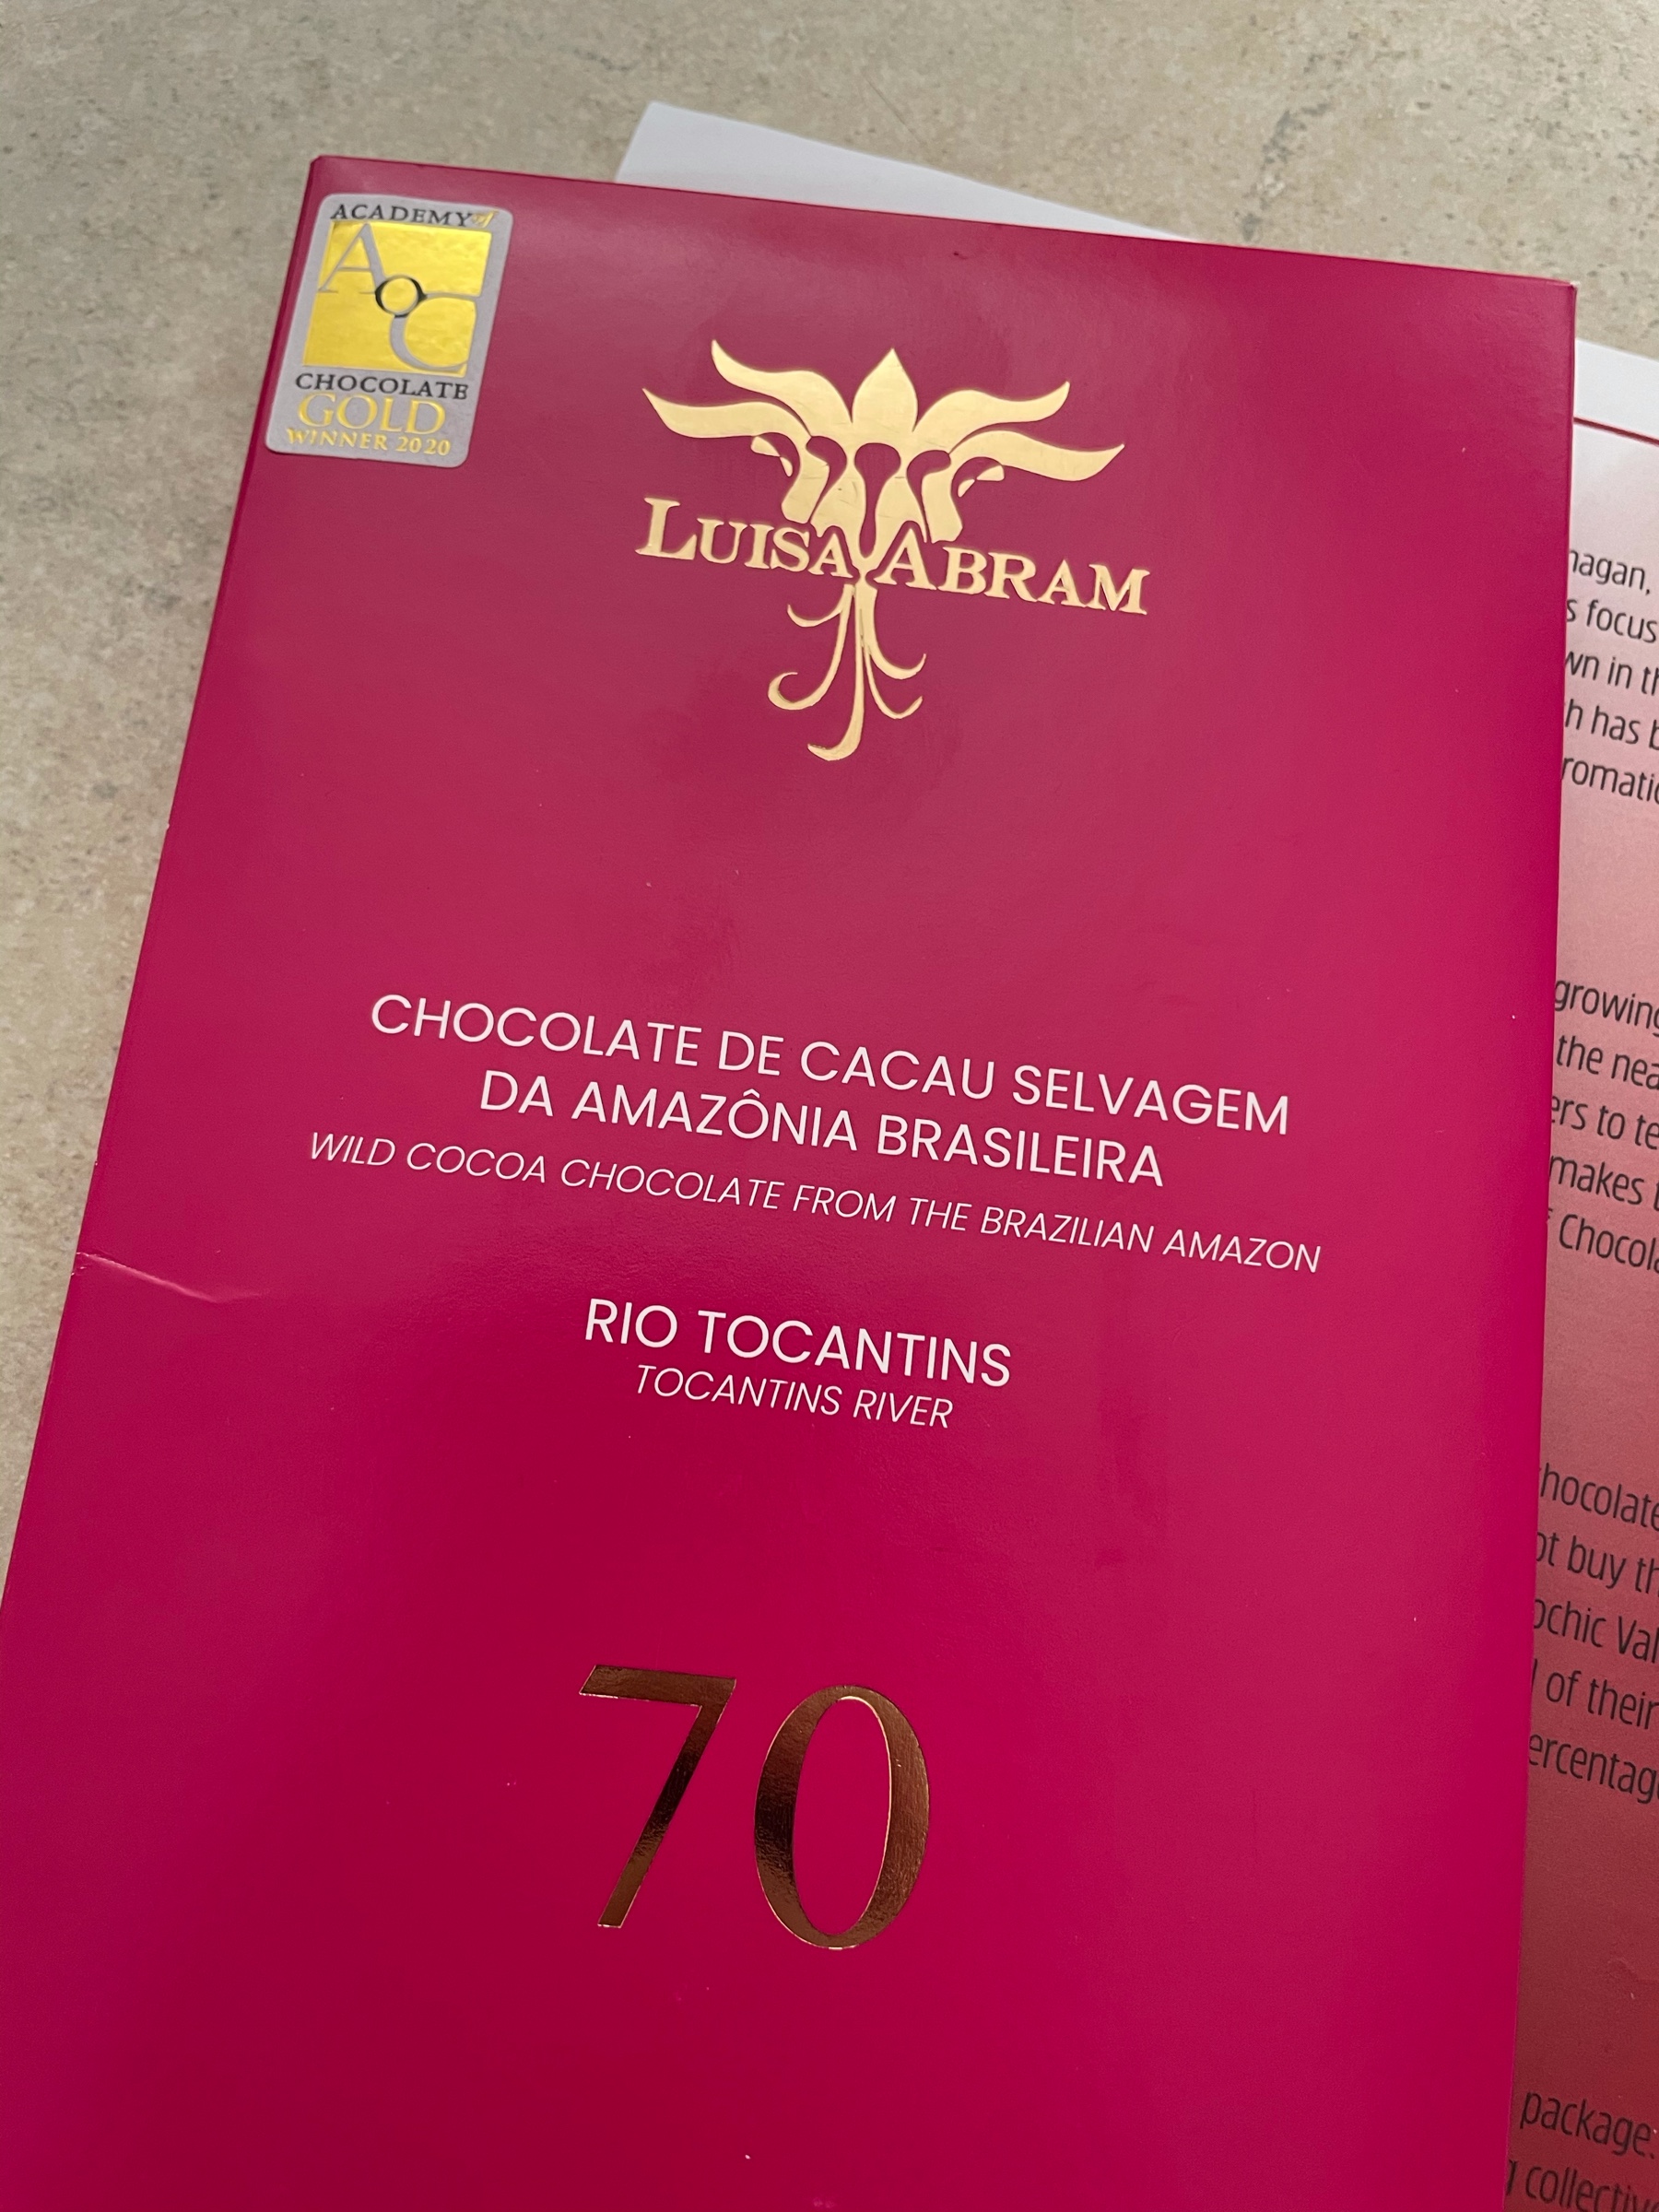

I love this chocolate’s backstory
This is way overdue for Canada, and there are a lot of obvious next steps to take https://www.nationalobserver.com/
We are never as good as we think we are ☹️ https://www.vancouverisawesome.com/
“I grew up a Black girl in Alberta without ever hearing of Amber Valley. How does history go missing?” https://www.cbc.ca/
This is a laudable move from Epicurious but frankly all of these initiatives, all of our personal choices to reduce or eliminate meat, they’re not going to accomplish much. Only government regulation will. https://www.epicurious.com/
Go hummingbirds! Fuck you Trans-Mountain! https://www.nationalobserver.com/
Yep that’s pretty much how I rationalize my purchases too http://www.dorktower.com/

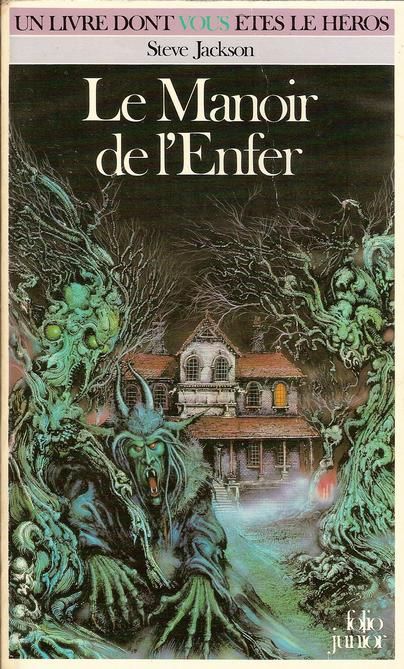
When Bud (of Bud’s RPG Review fame) did his RPG DNA on Twitter, it featured something not quite like a traditional RPG: Fighting Fantasy books. I remember going “huh” when he mentioned this in his “First, Last, and Everything” in the Grognard Files podcast #41, because Fighting Fantasy books were also a big part of my early gaming life. I can’t remember exactly if they came before or after The Dark Eye (more here), but of all these adventure books, one is forever etched in my memory: “Le Manoir de l’Enfer”, a.k.a. “House of Hell”.
Old school Marvel logos! https://reaganray.com/
Oooh that is a very nice way to present the Savage Worlds system! https://www.uptofourplayers.com/