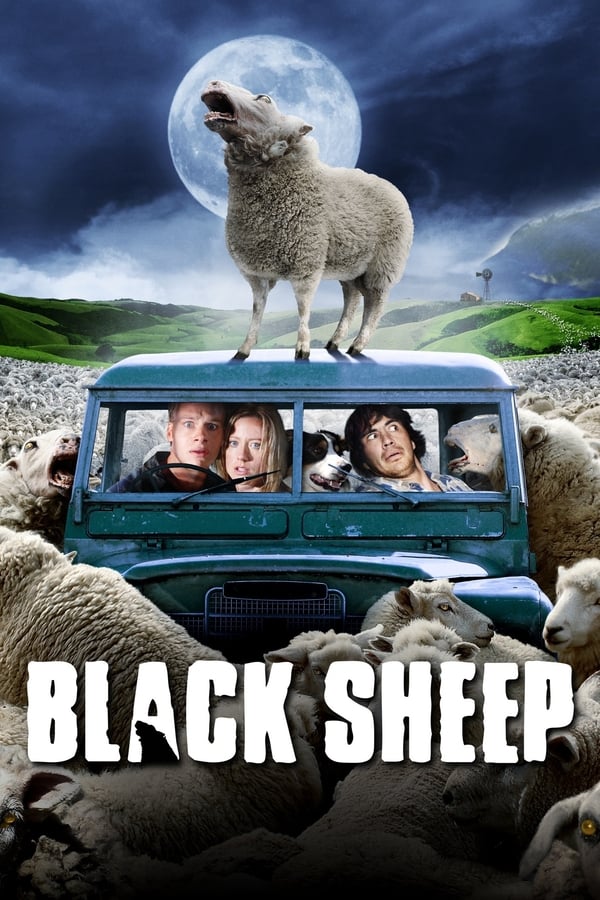
Black Sheep (2007) is a movie about… well, New Zealander zombie sheep. I don’t think I need to explain this in any more depth. Get some popcorn and enjoy!

Black Sheep (2007) is a movie about… well, New Zealander zombie sheep. I don’t think I need to explain this in any more depth. Get some popcorn and enjoy!
Secret family recipe is done.
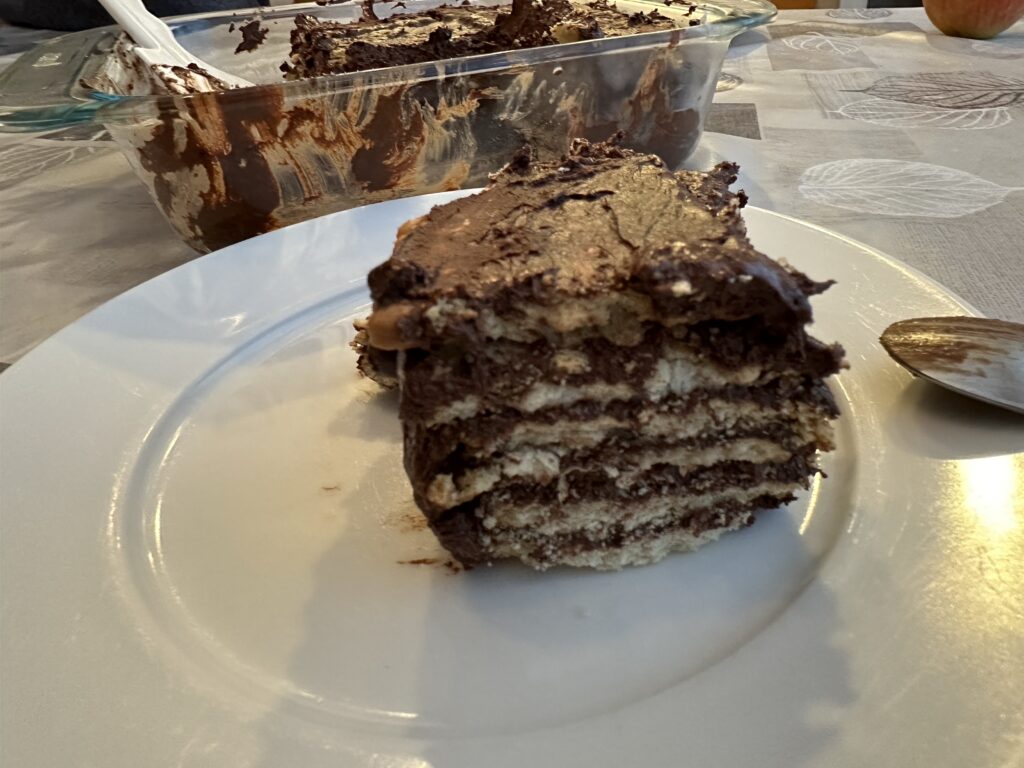
Chocolate cake from the secret (not so secret) family recipe is in progress!

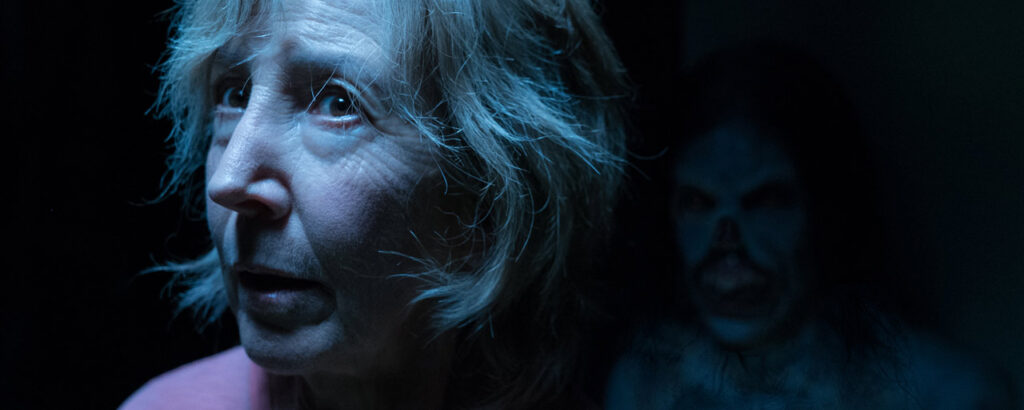
I binge-watched the Insidious movies so you don’t have to! I found the first one well done and effective, but the second one super boring. Then the creators realized that the best thing about this franchise is the psychic Elise Rainier so they made two movies about her that I enjoyed. But the latest entry goes back to the Lambert family and I got bored again.

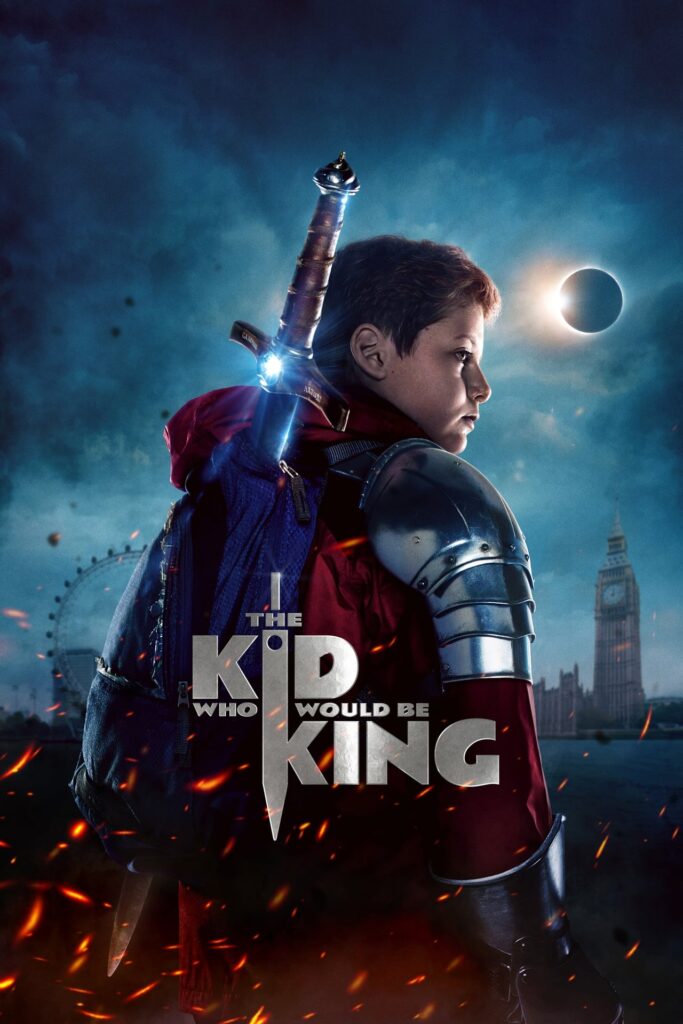
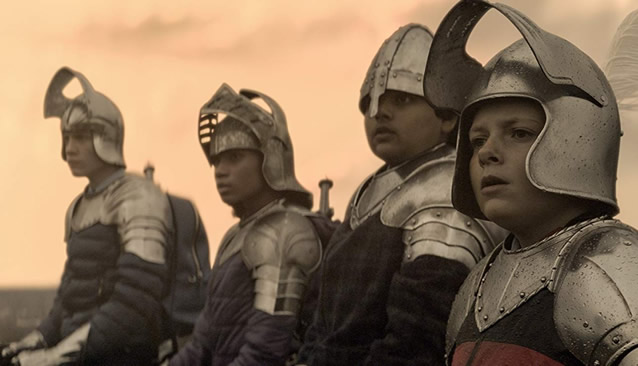
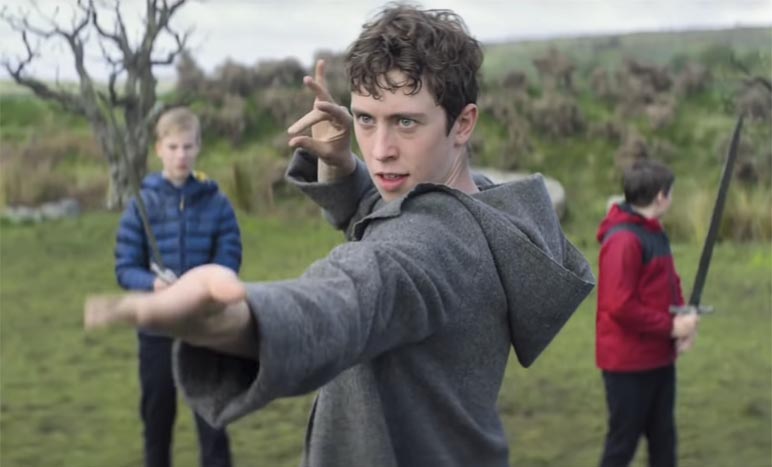
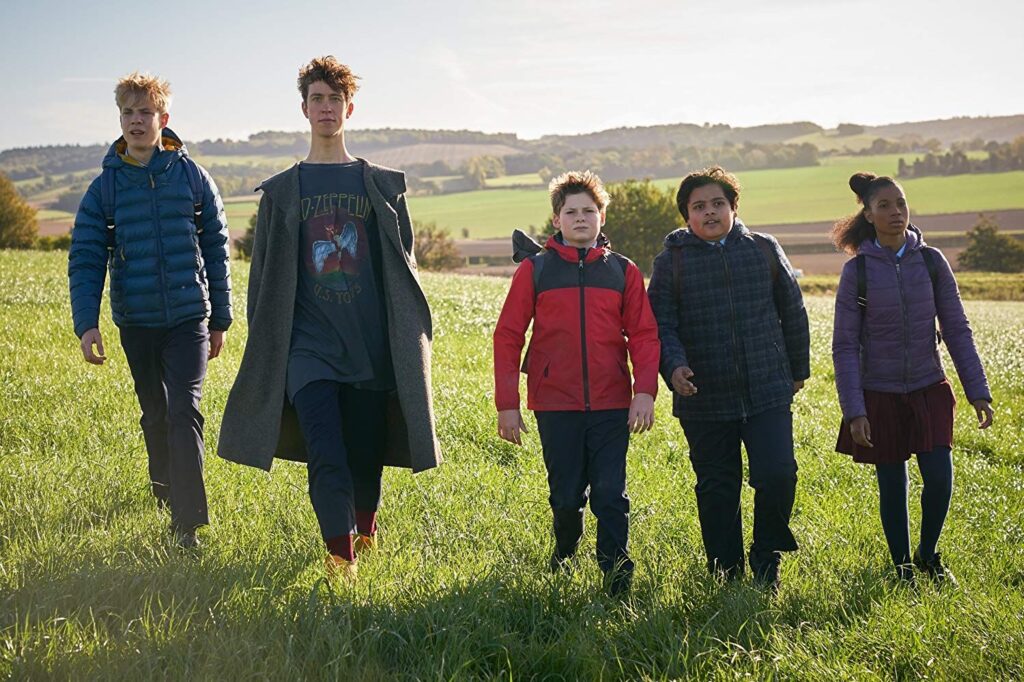
The Kid Who Would Be King (2019) is a retelling of the King Arthur myth for modern kids. Angus Imrie steals the show as a very fun and quirky Merlin with memorable magic spells.
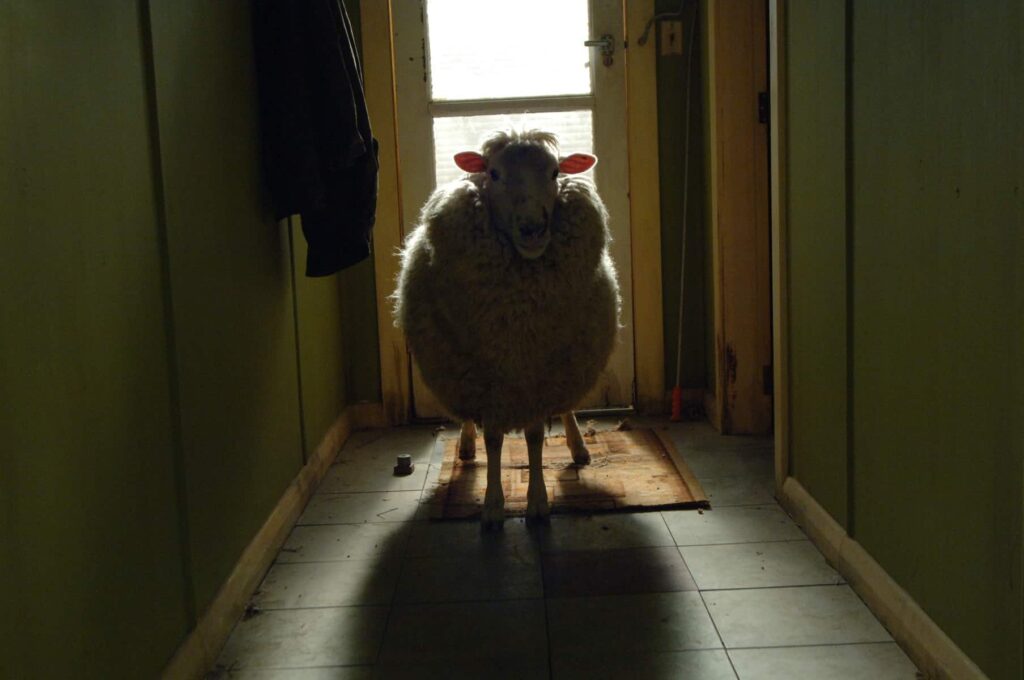
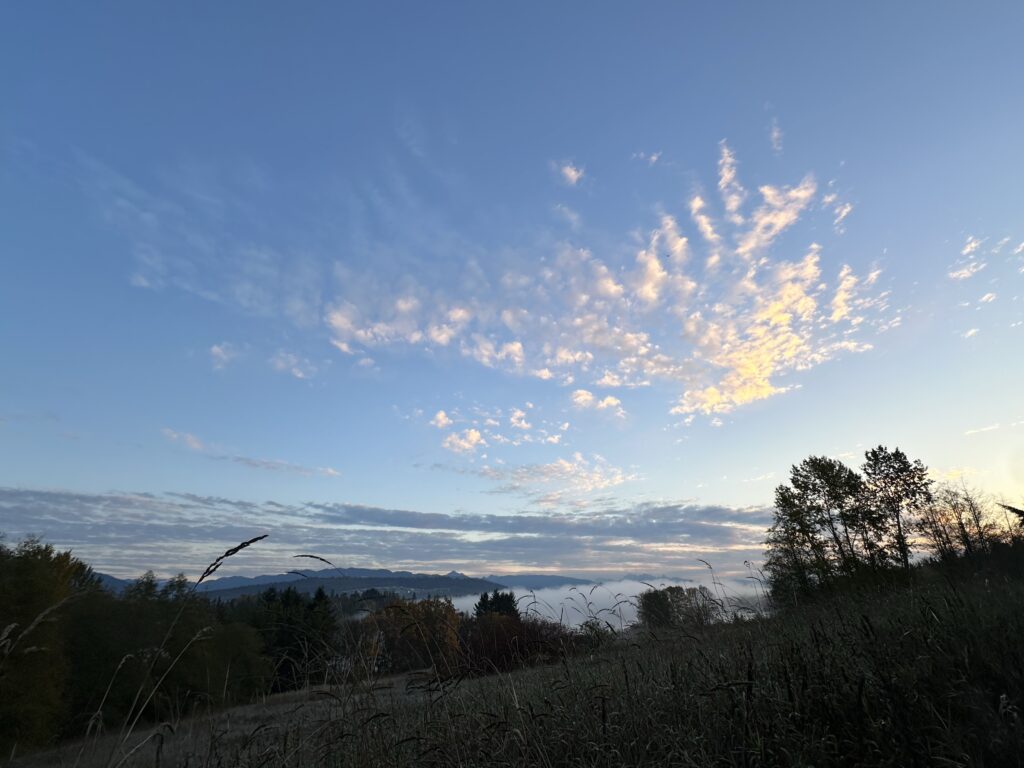
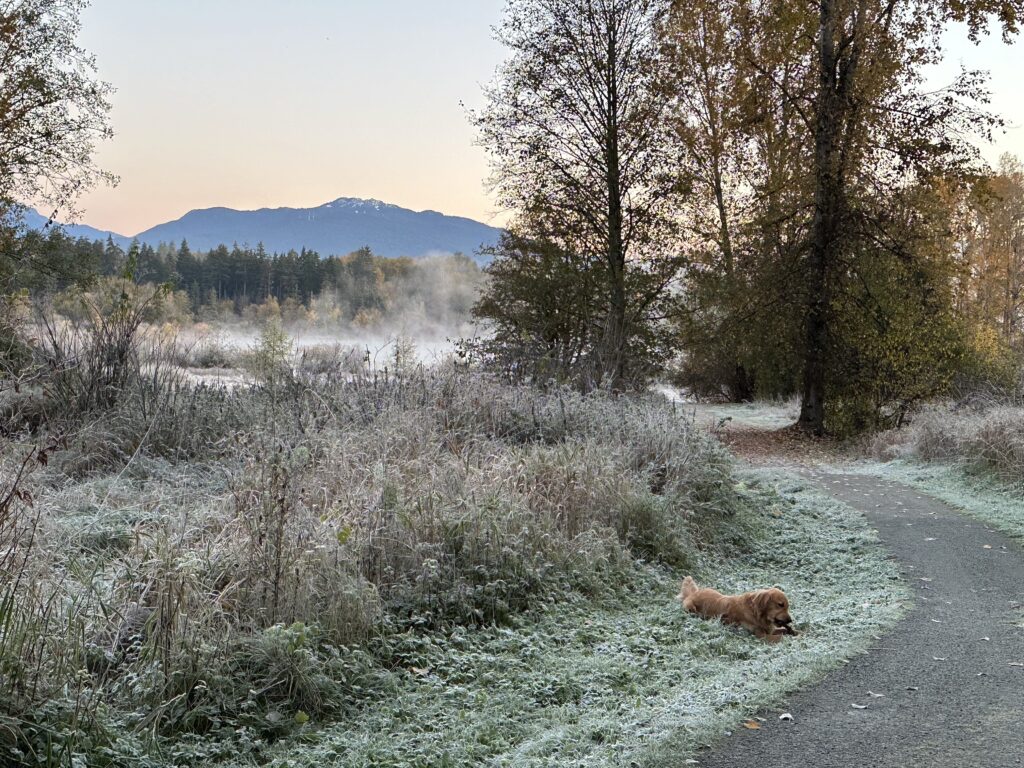
Oh hey and good morning to you too of course

I recently discovered what it looks like when you cut an apple horizontally.

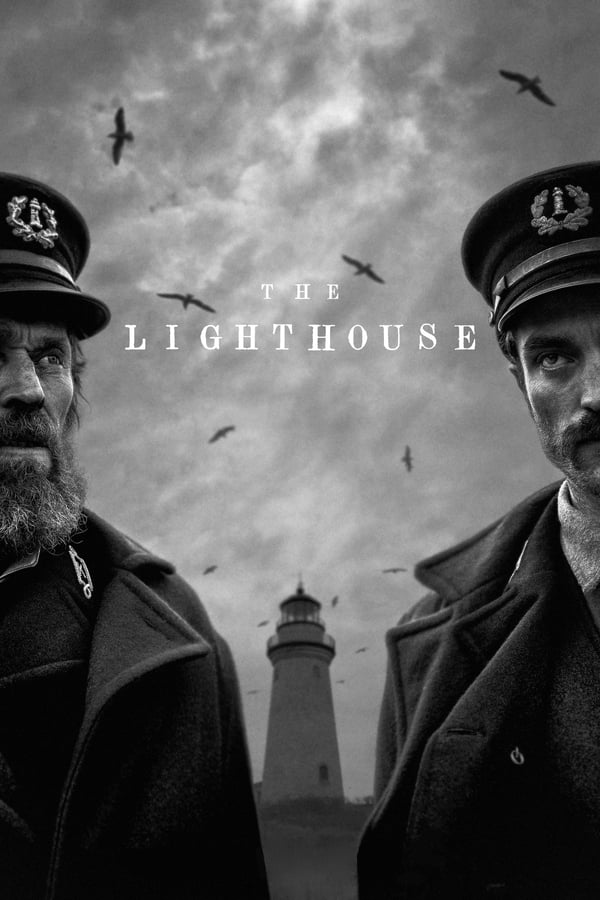
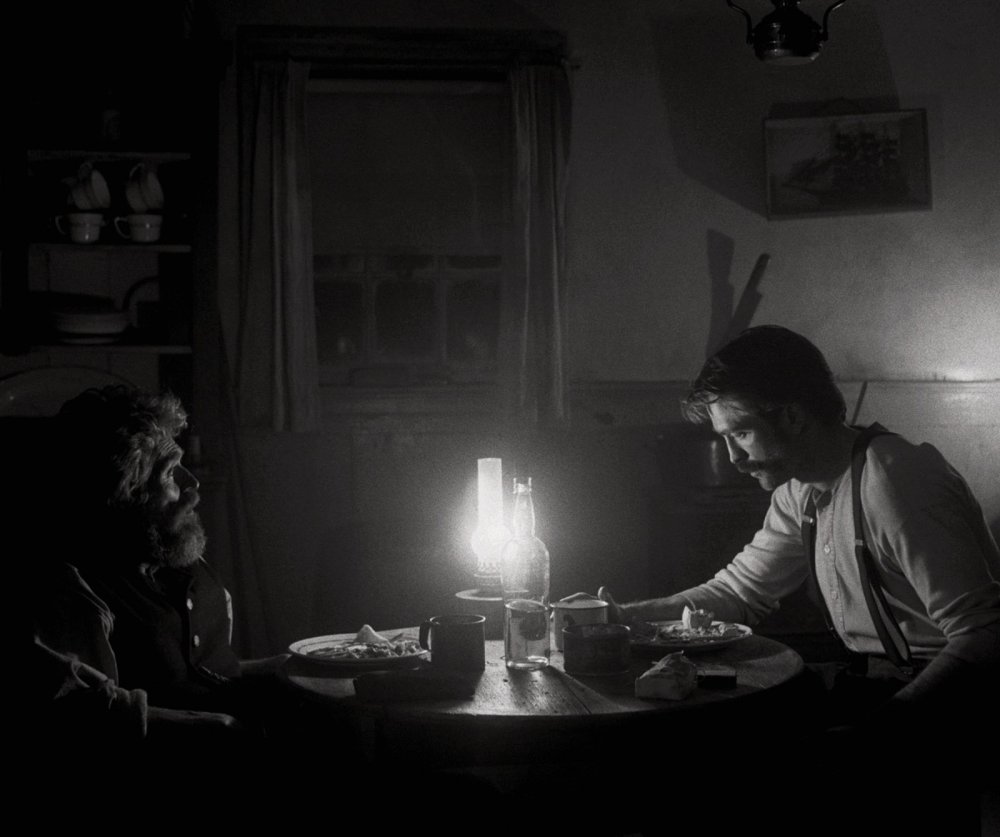
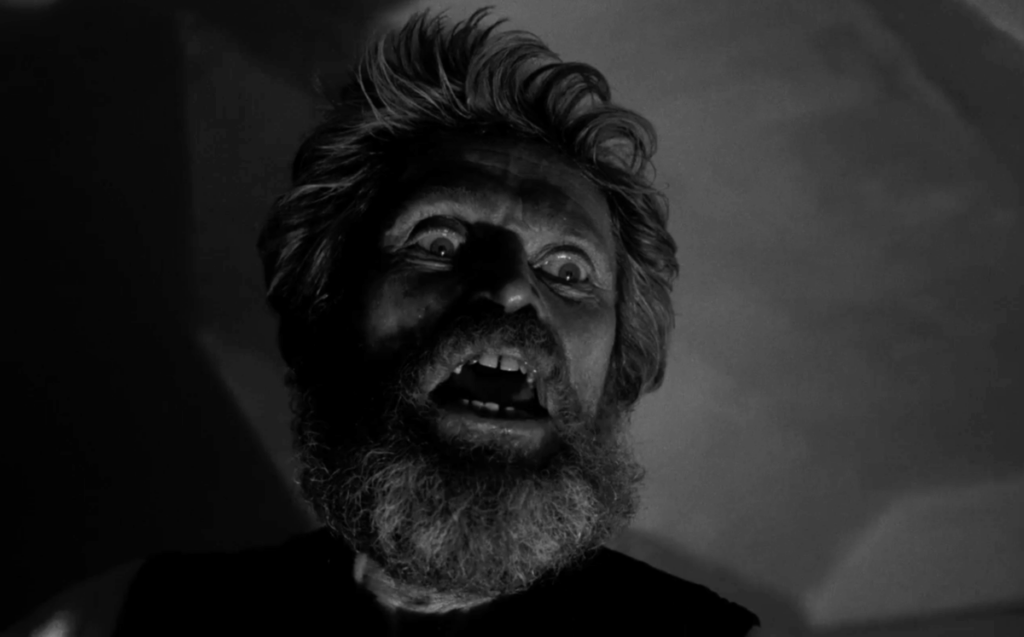
The Lighthouse (2019) is a gorgeously shot movie full of symbolism and questions that won’t be answered. Plus, great performances by Willem Dafoe and Robert Pattinson.

I’ve done quite a few bug-fixes to the UE5 Sequencer camera cut track lately, so if in 5.4 all the small edge case bugs are replaced by, like, other edge case bugs… well, you know.
It’s time once again to do a little dance with the Adobe subscription manager to avoid their stupid expensive full price tag… we wouldn’t have to do this if they had properly customizable plans.