Third rhubarb pie of the season! Y’all know I love rhubarb, right?
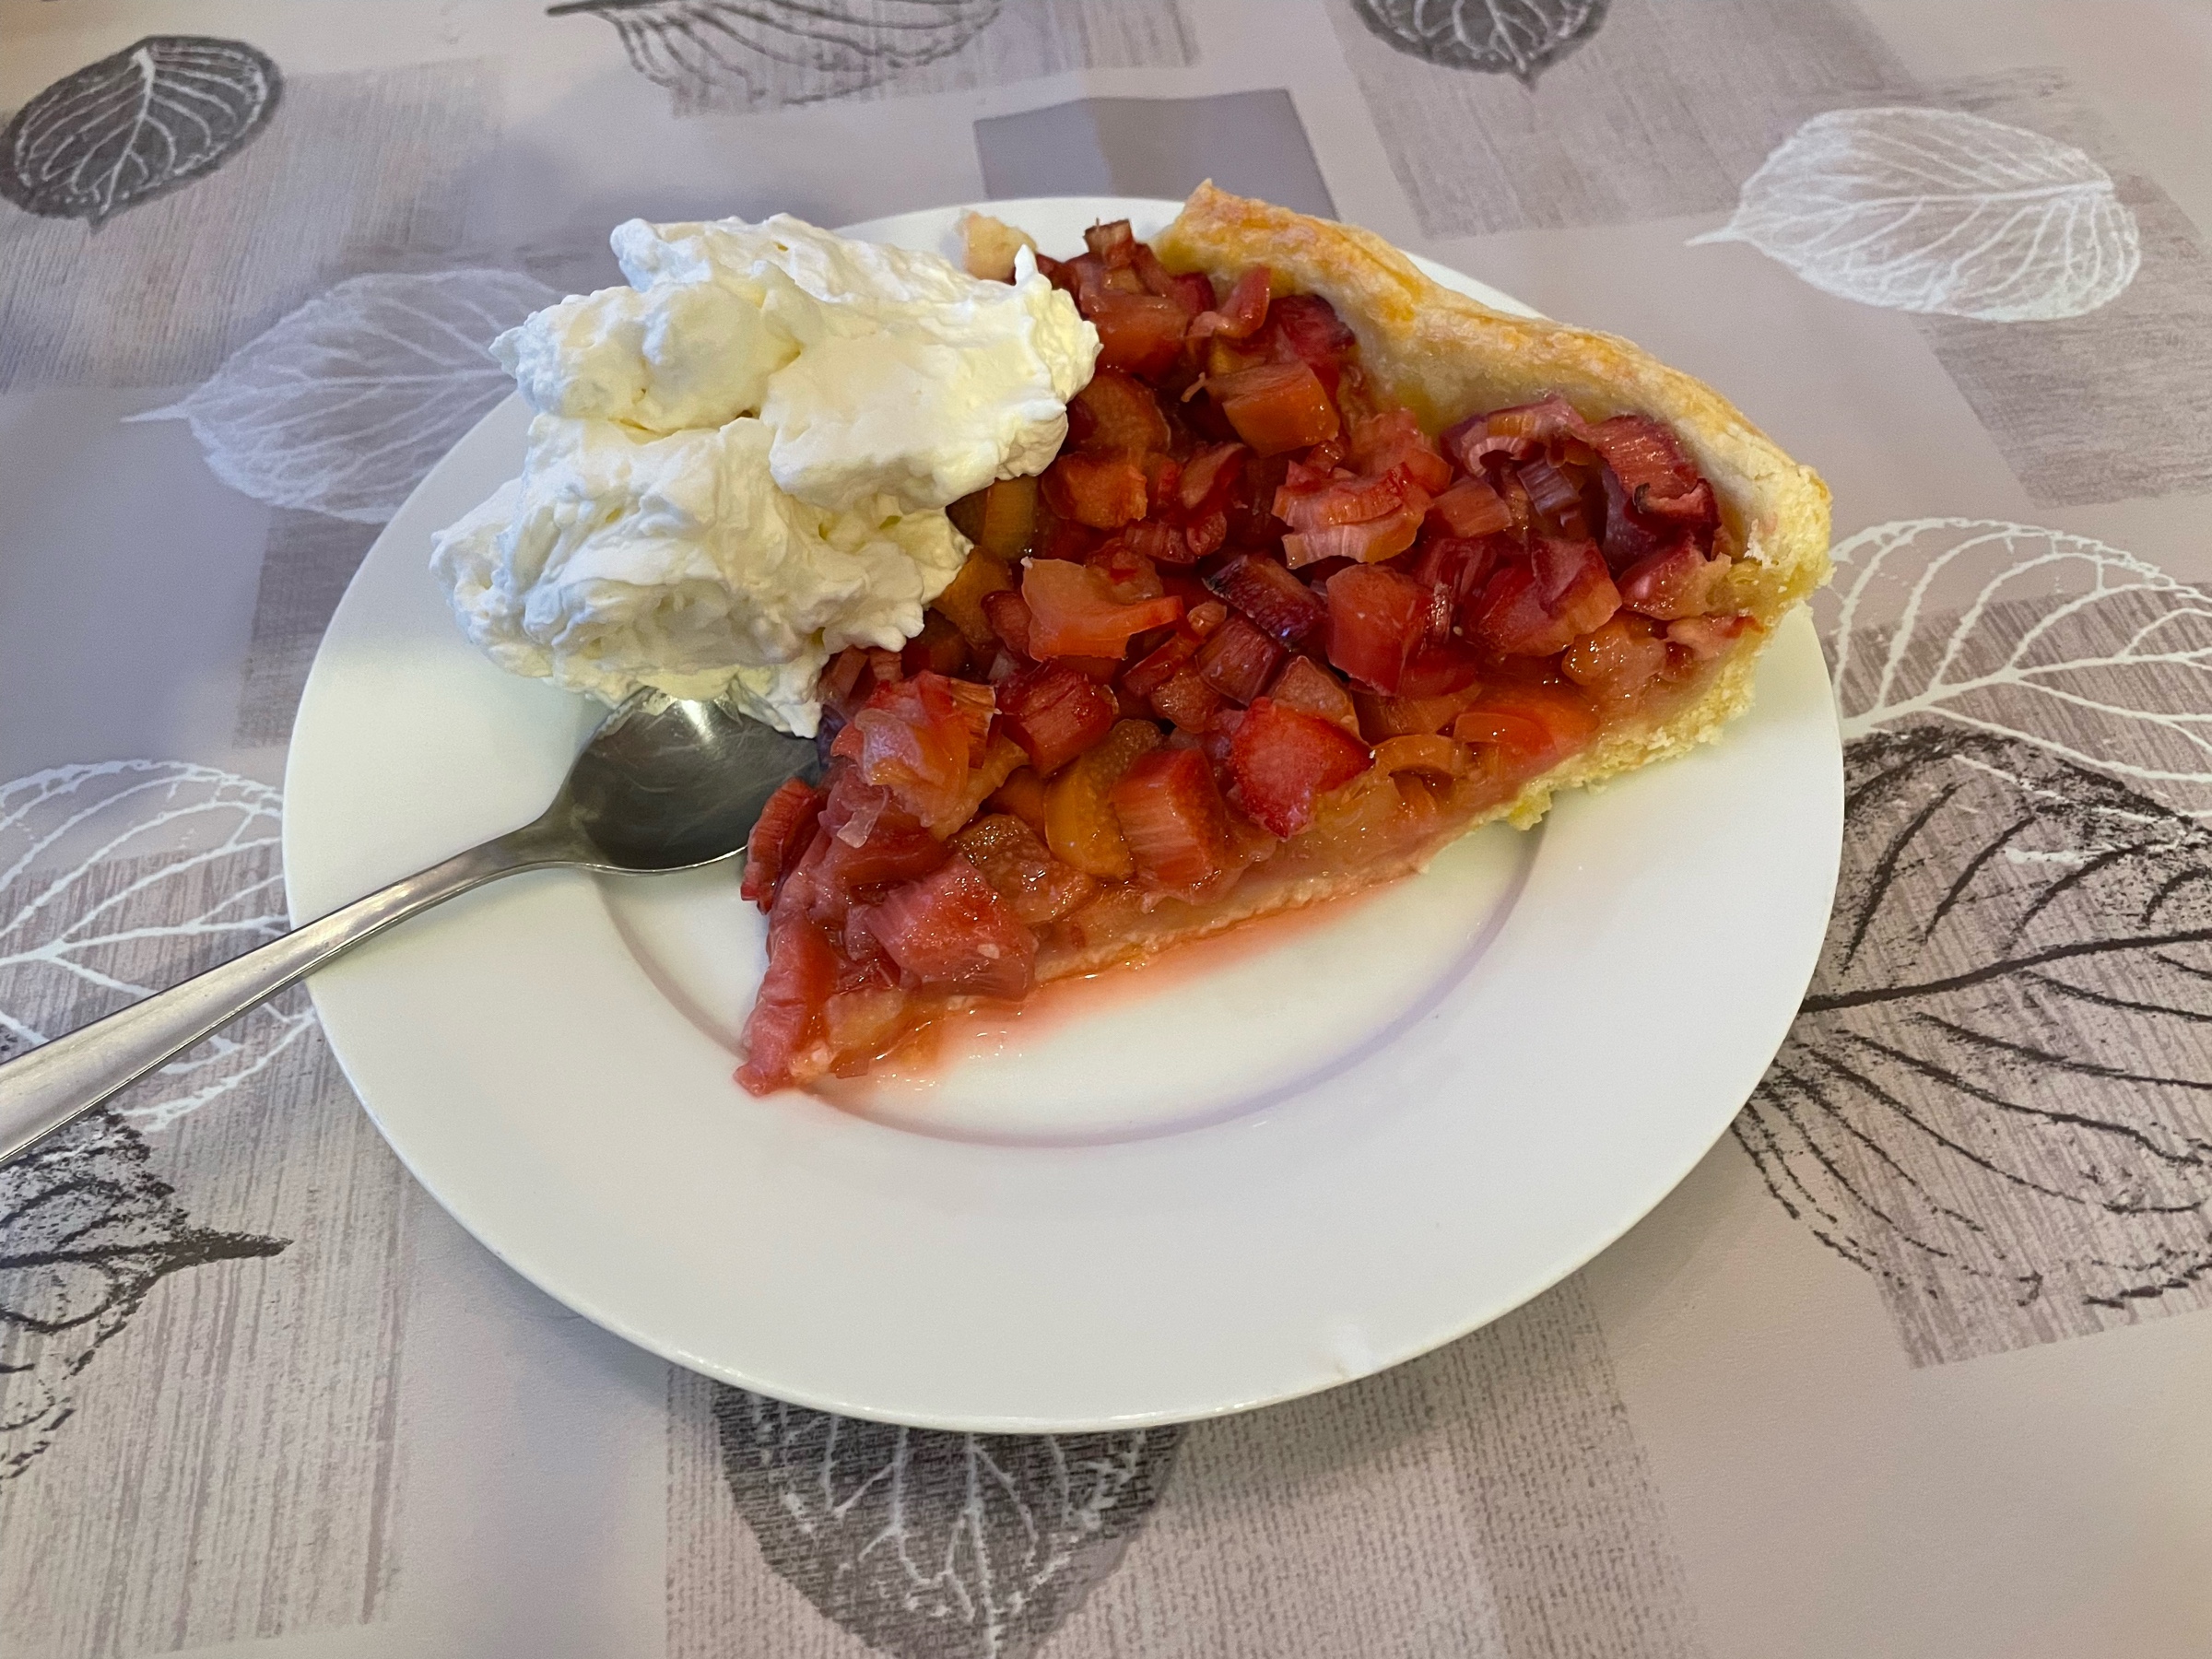
Third rhubarb pie of the season! Y’all know I love rhubarb, right?
There is a hidden floof here

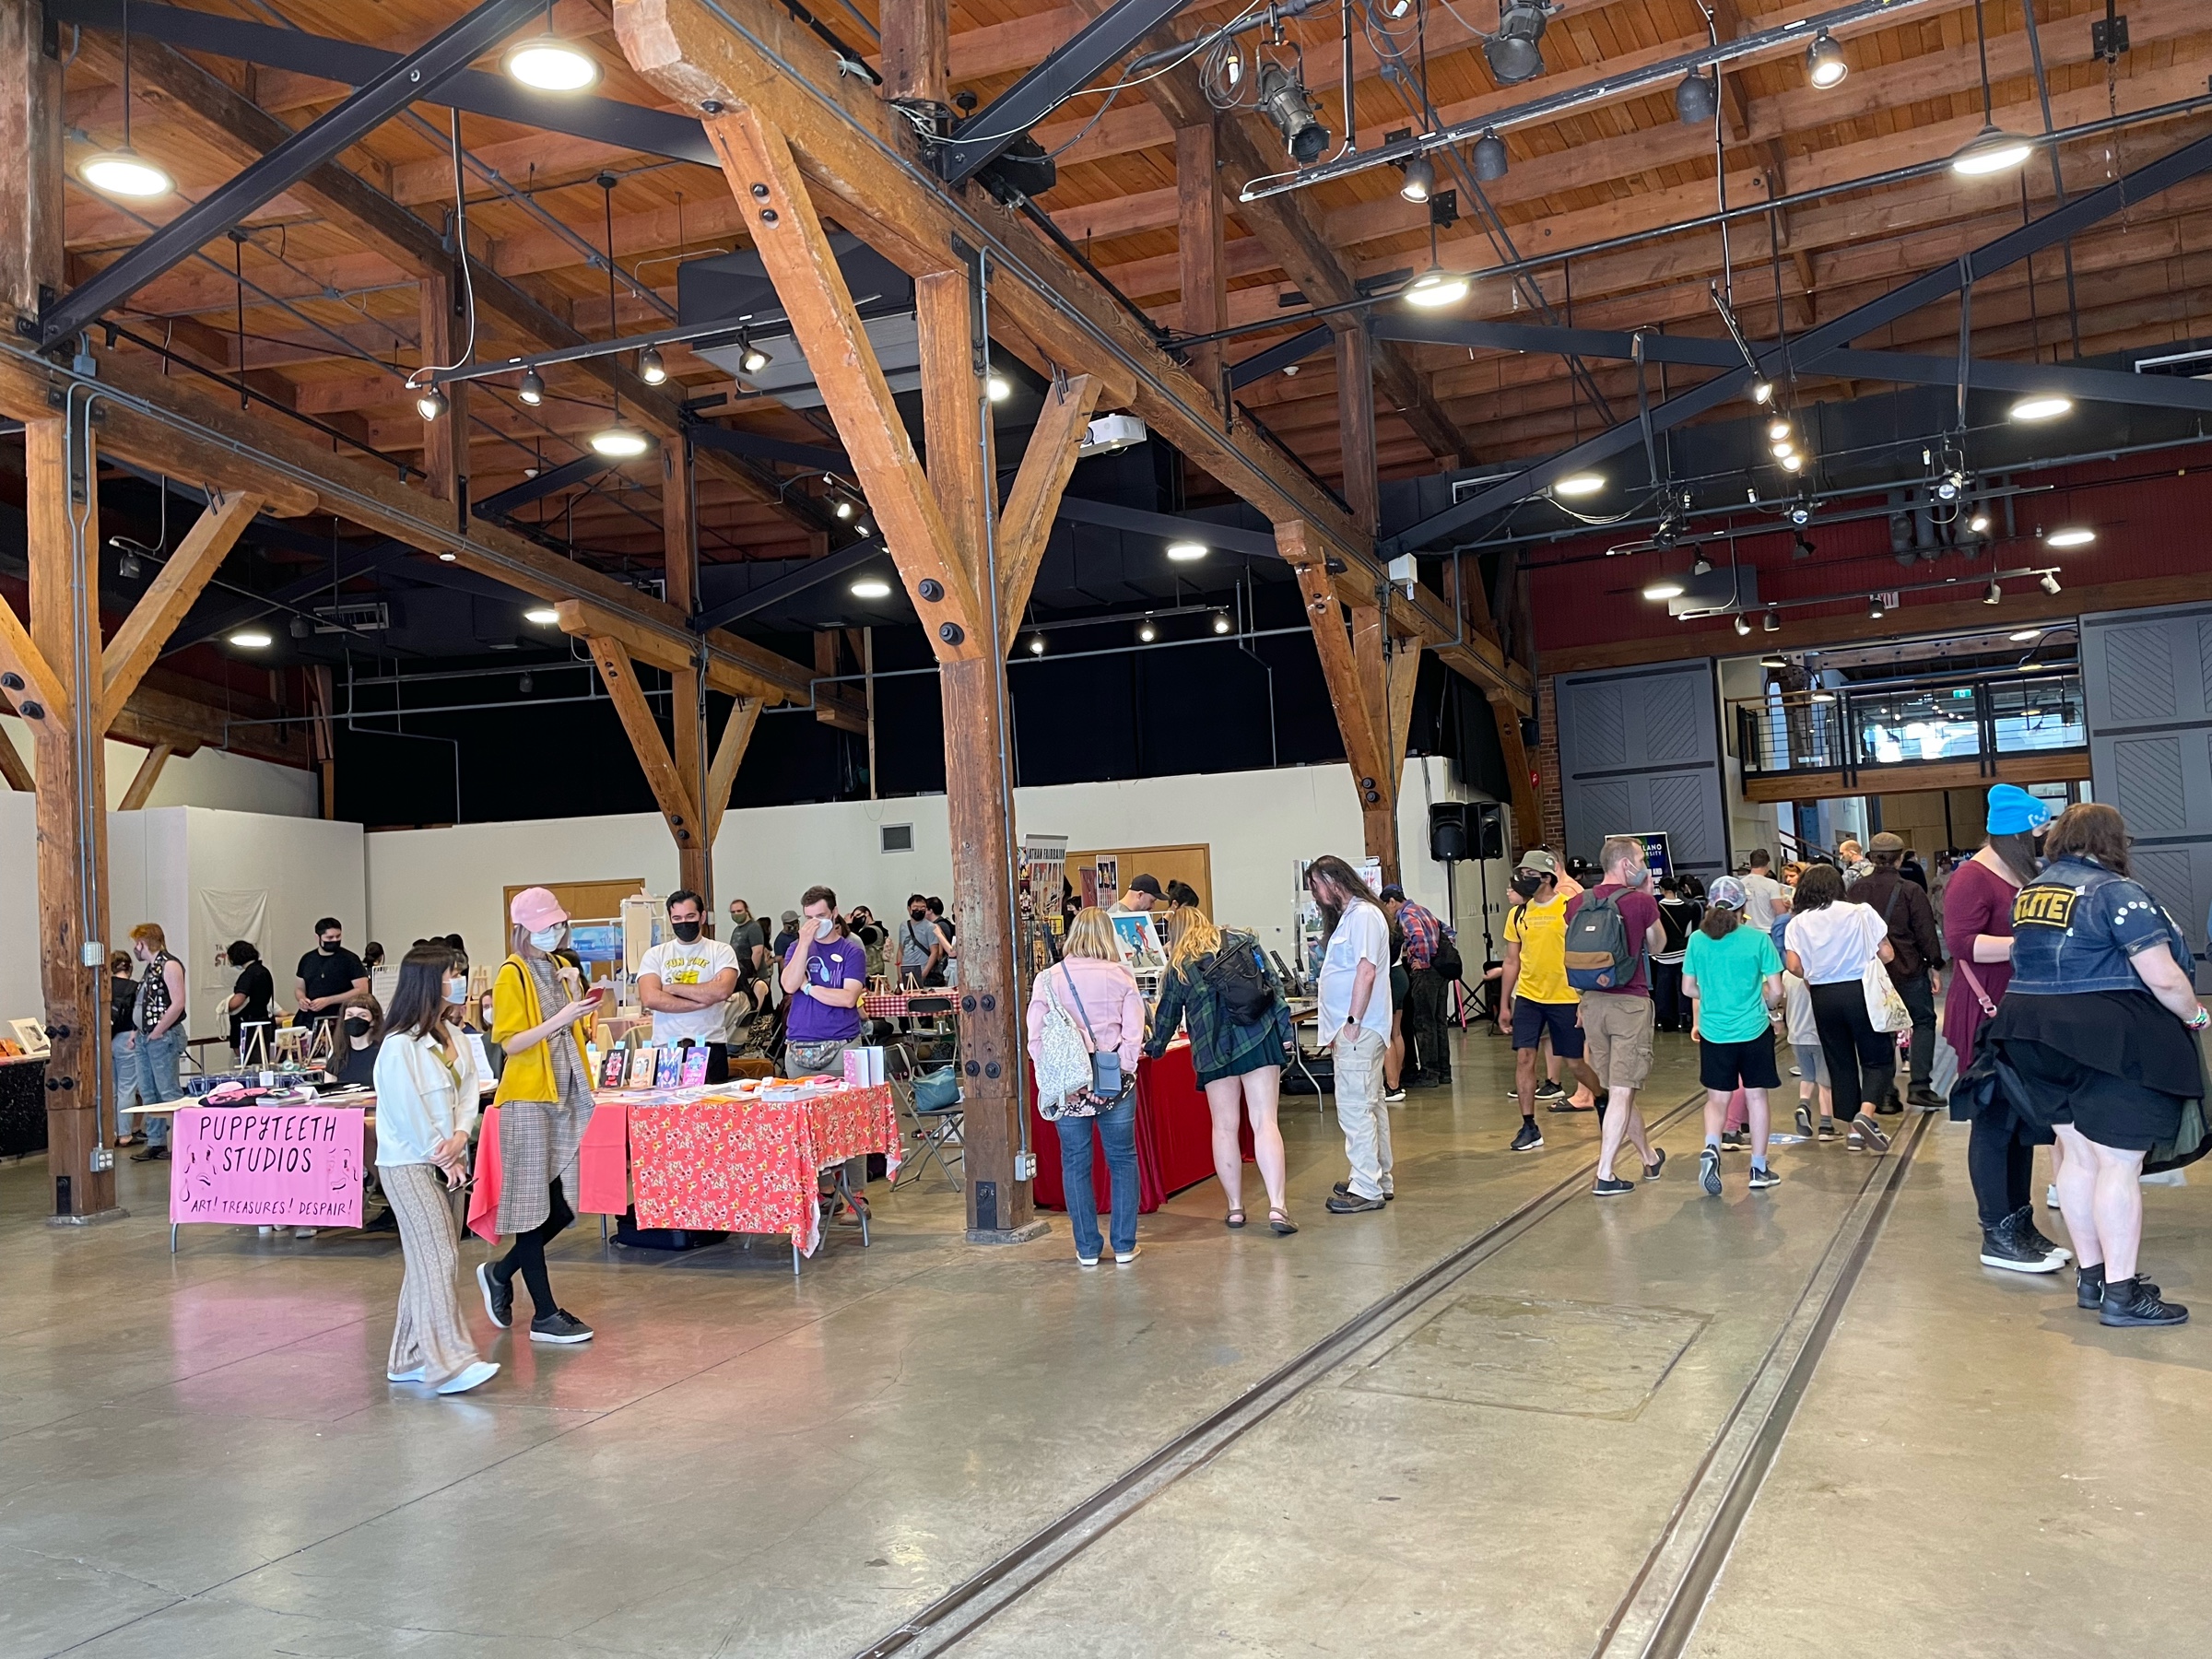
Yesterday was VanCAF and I’m happy this great convention is still going, even though I only did a quick walk through
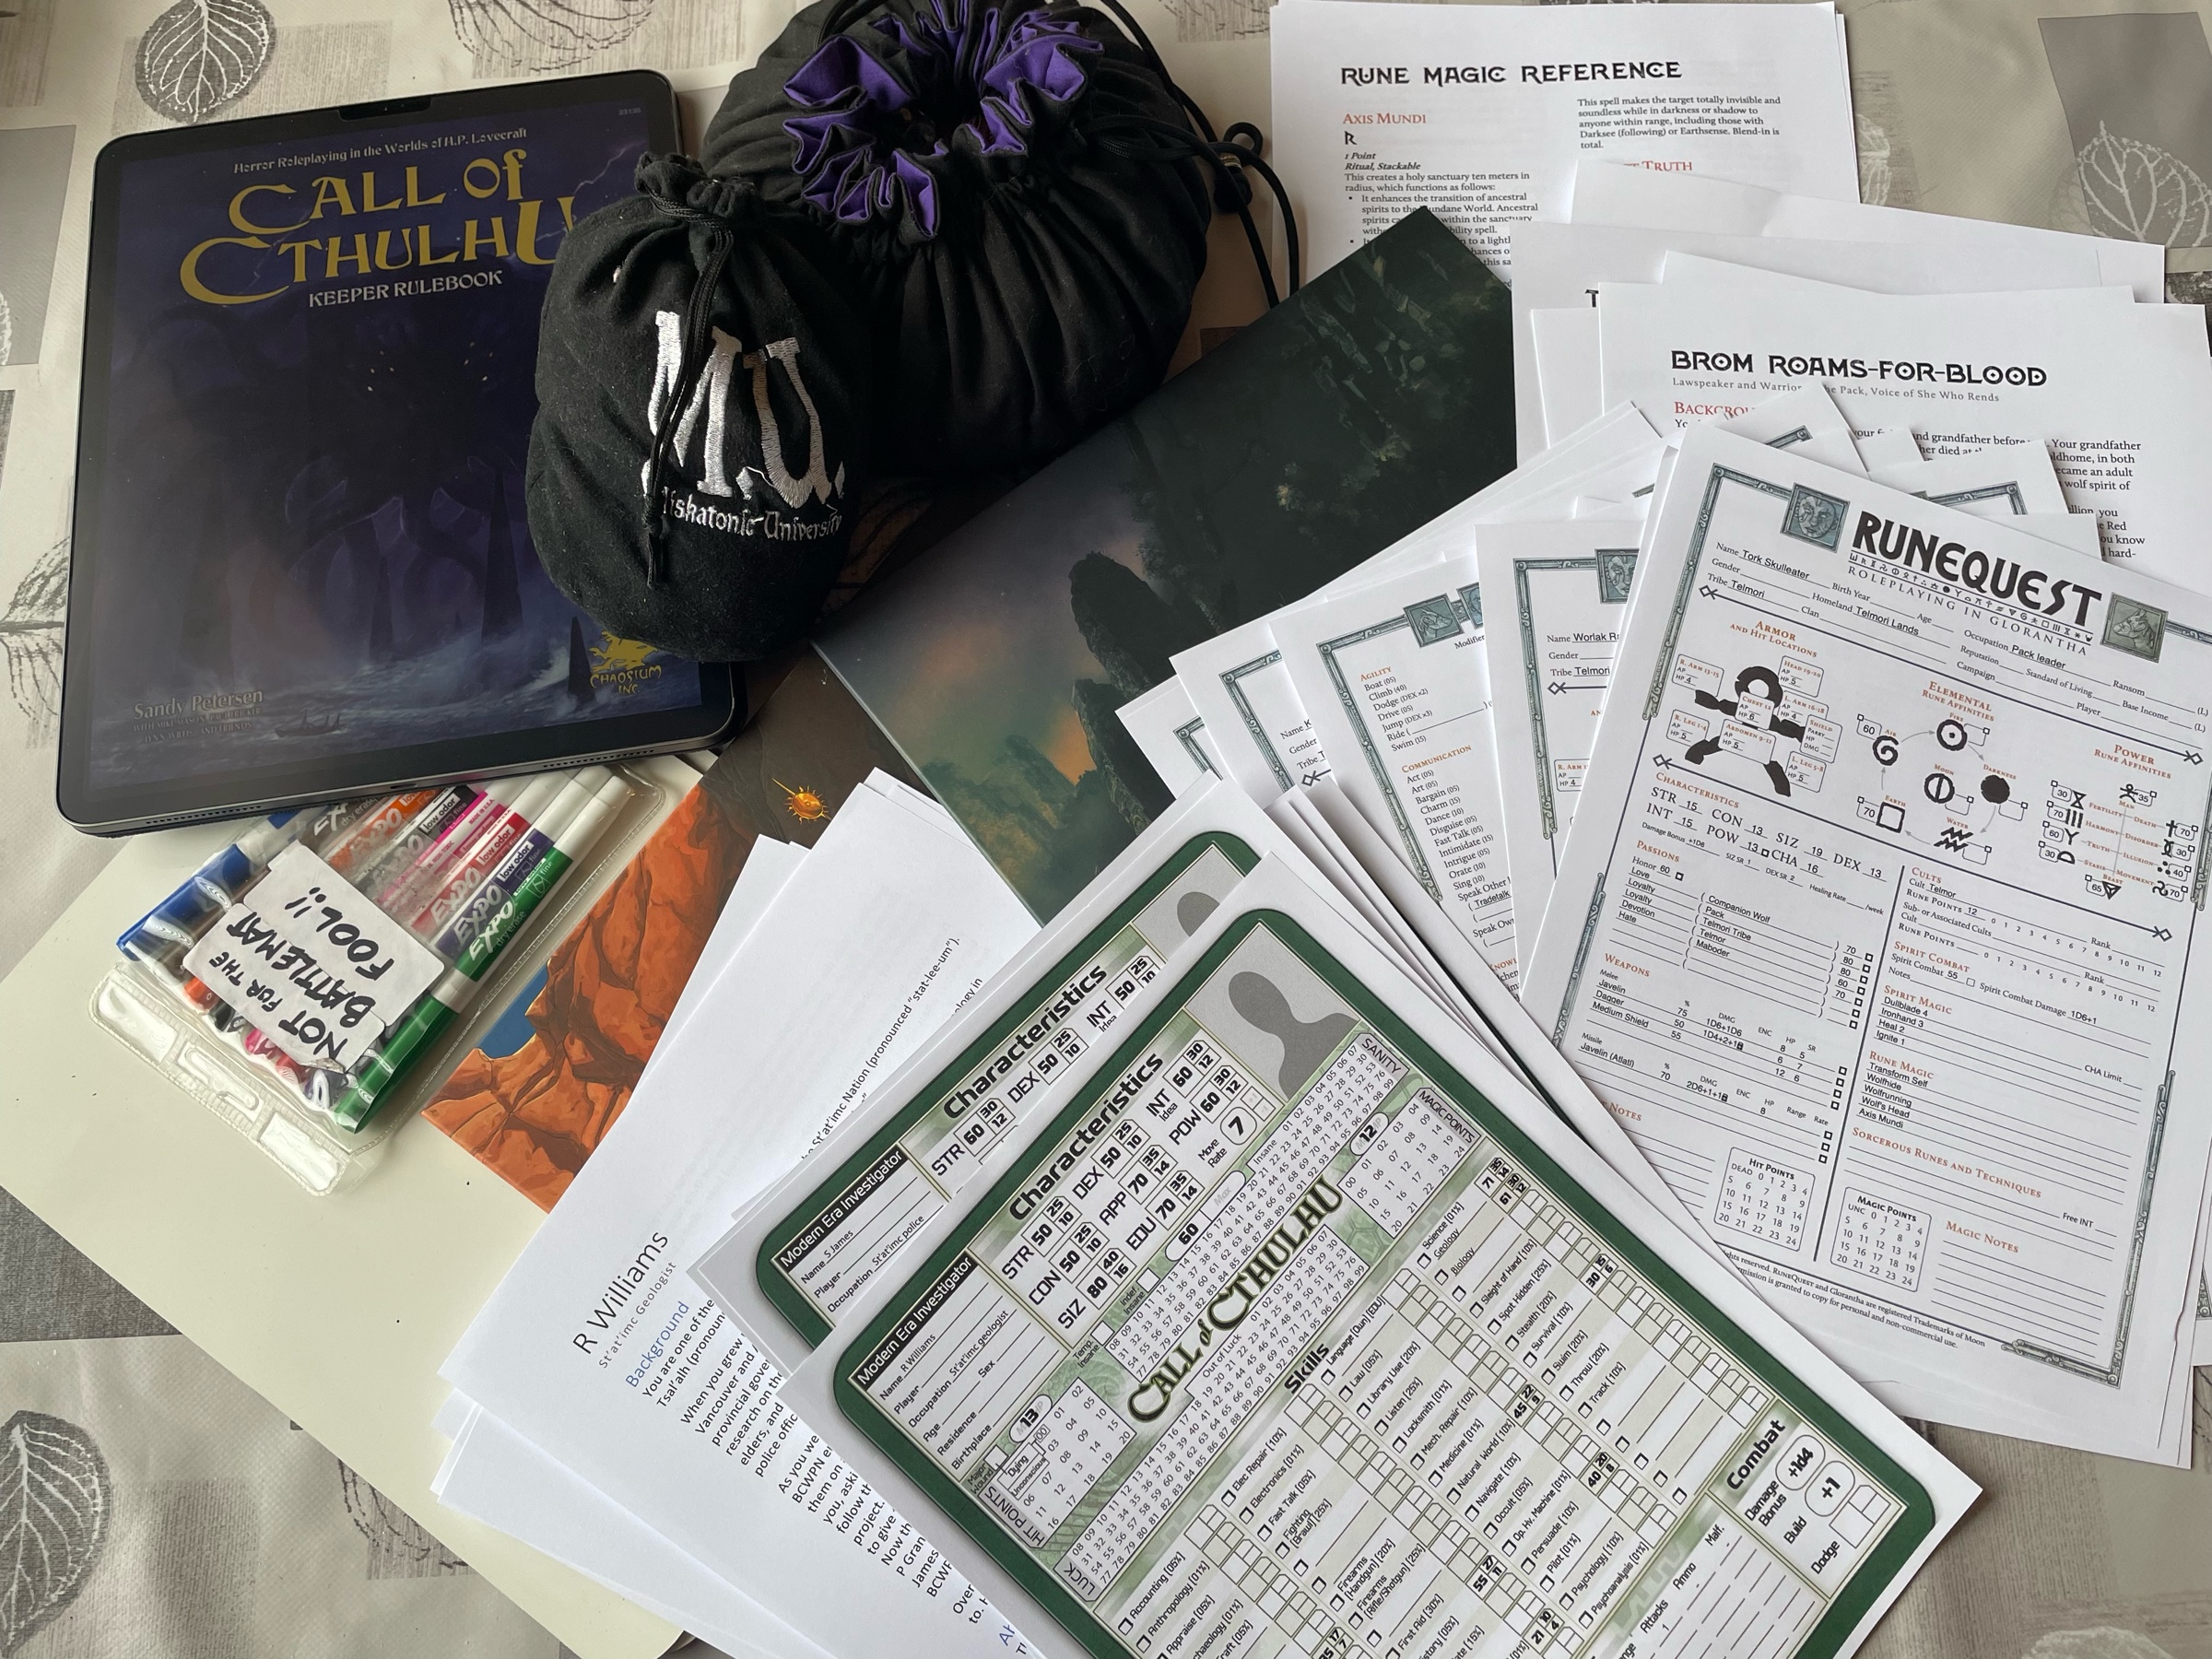
I think I’m all prepared (for a certain definition of “prepared”) to run my two games at ChaosiumCon!
We are watching Last Action Hero again and it’s just getting better with age.
It’s 2022 and macOS still doesn’t know how to keep a network drive connected correctly.
We watched Nightbooks on Netflix yesterday with the kids and it was a pretty good PG “intro to horror” movie. Plus, a Krysten Ritter who seems to be having fun in her role.
Heh, there are so many GM-less and solo-journaling RPGs on itch.io that I started seeing games specify that they are “GM-full games” 😝
I’m watching Legend of Korra with the kids, and they have come up with the next new type of bending that should be discovered: cheese-bending.
That’s French kids for you. Maybe it’ll be in the TTRPG…
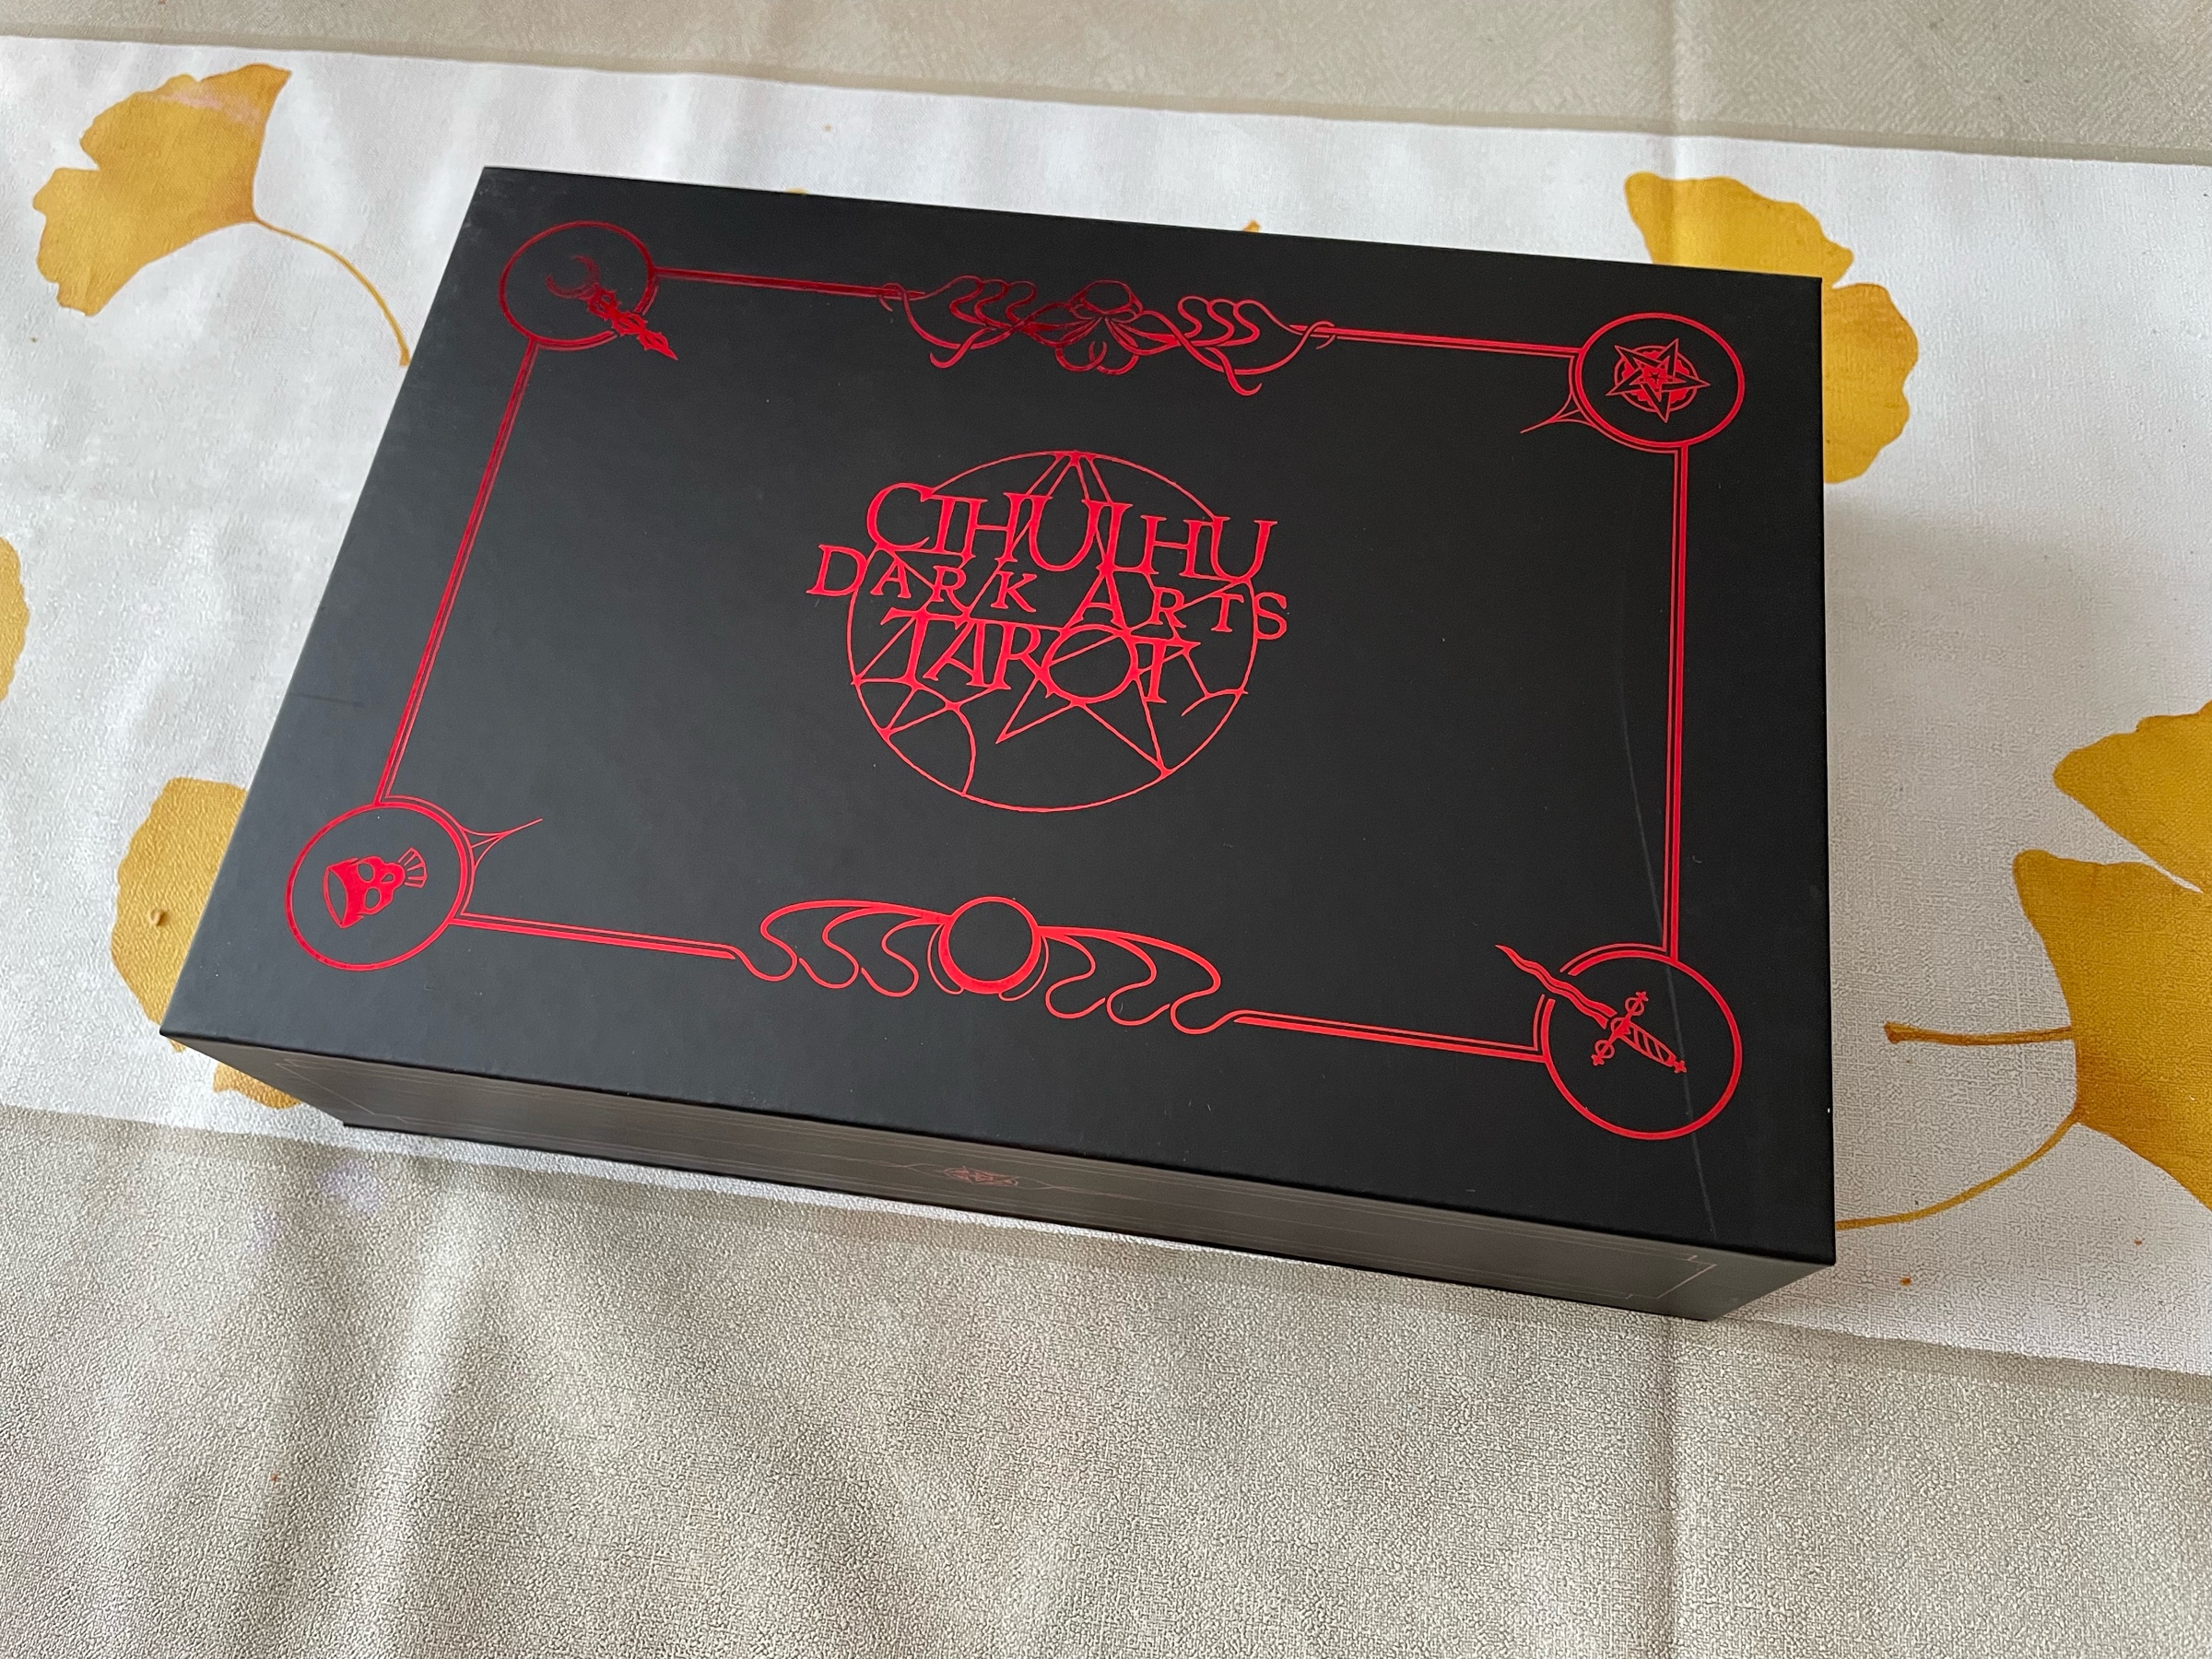
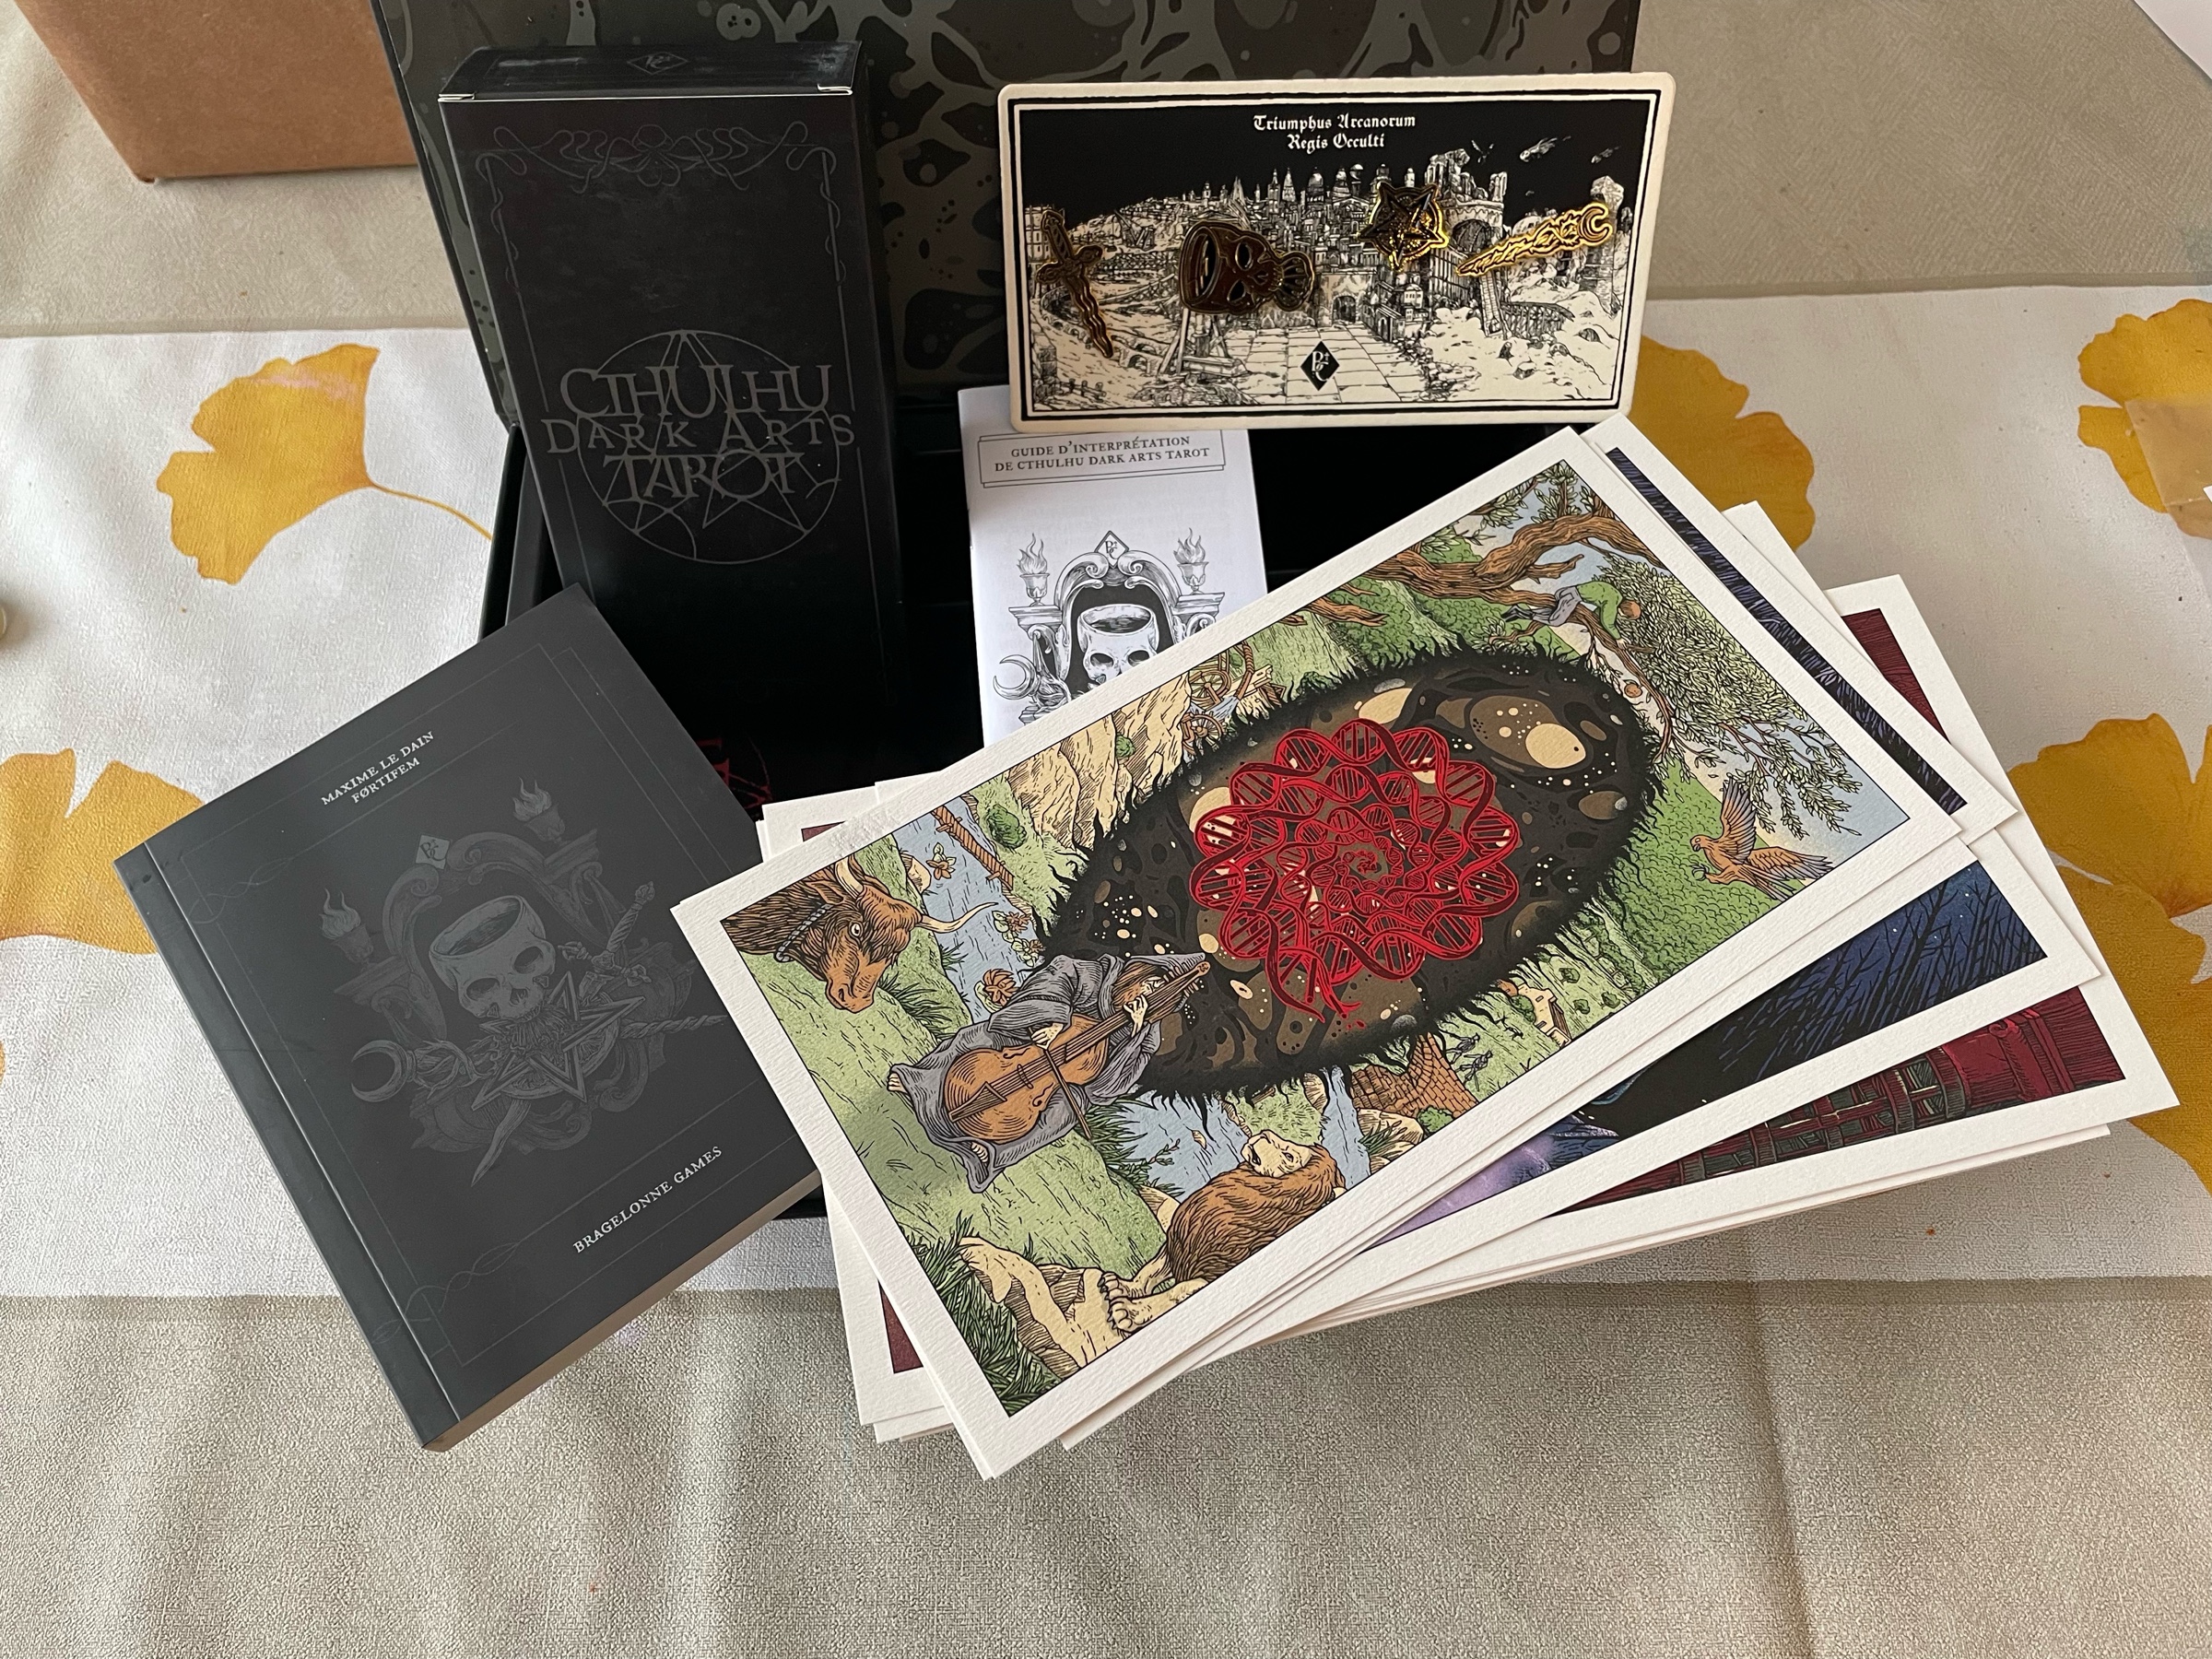
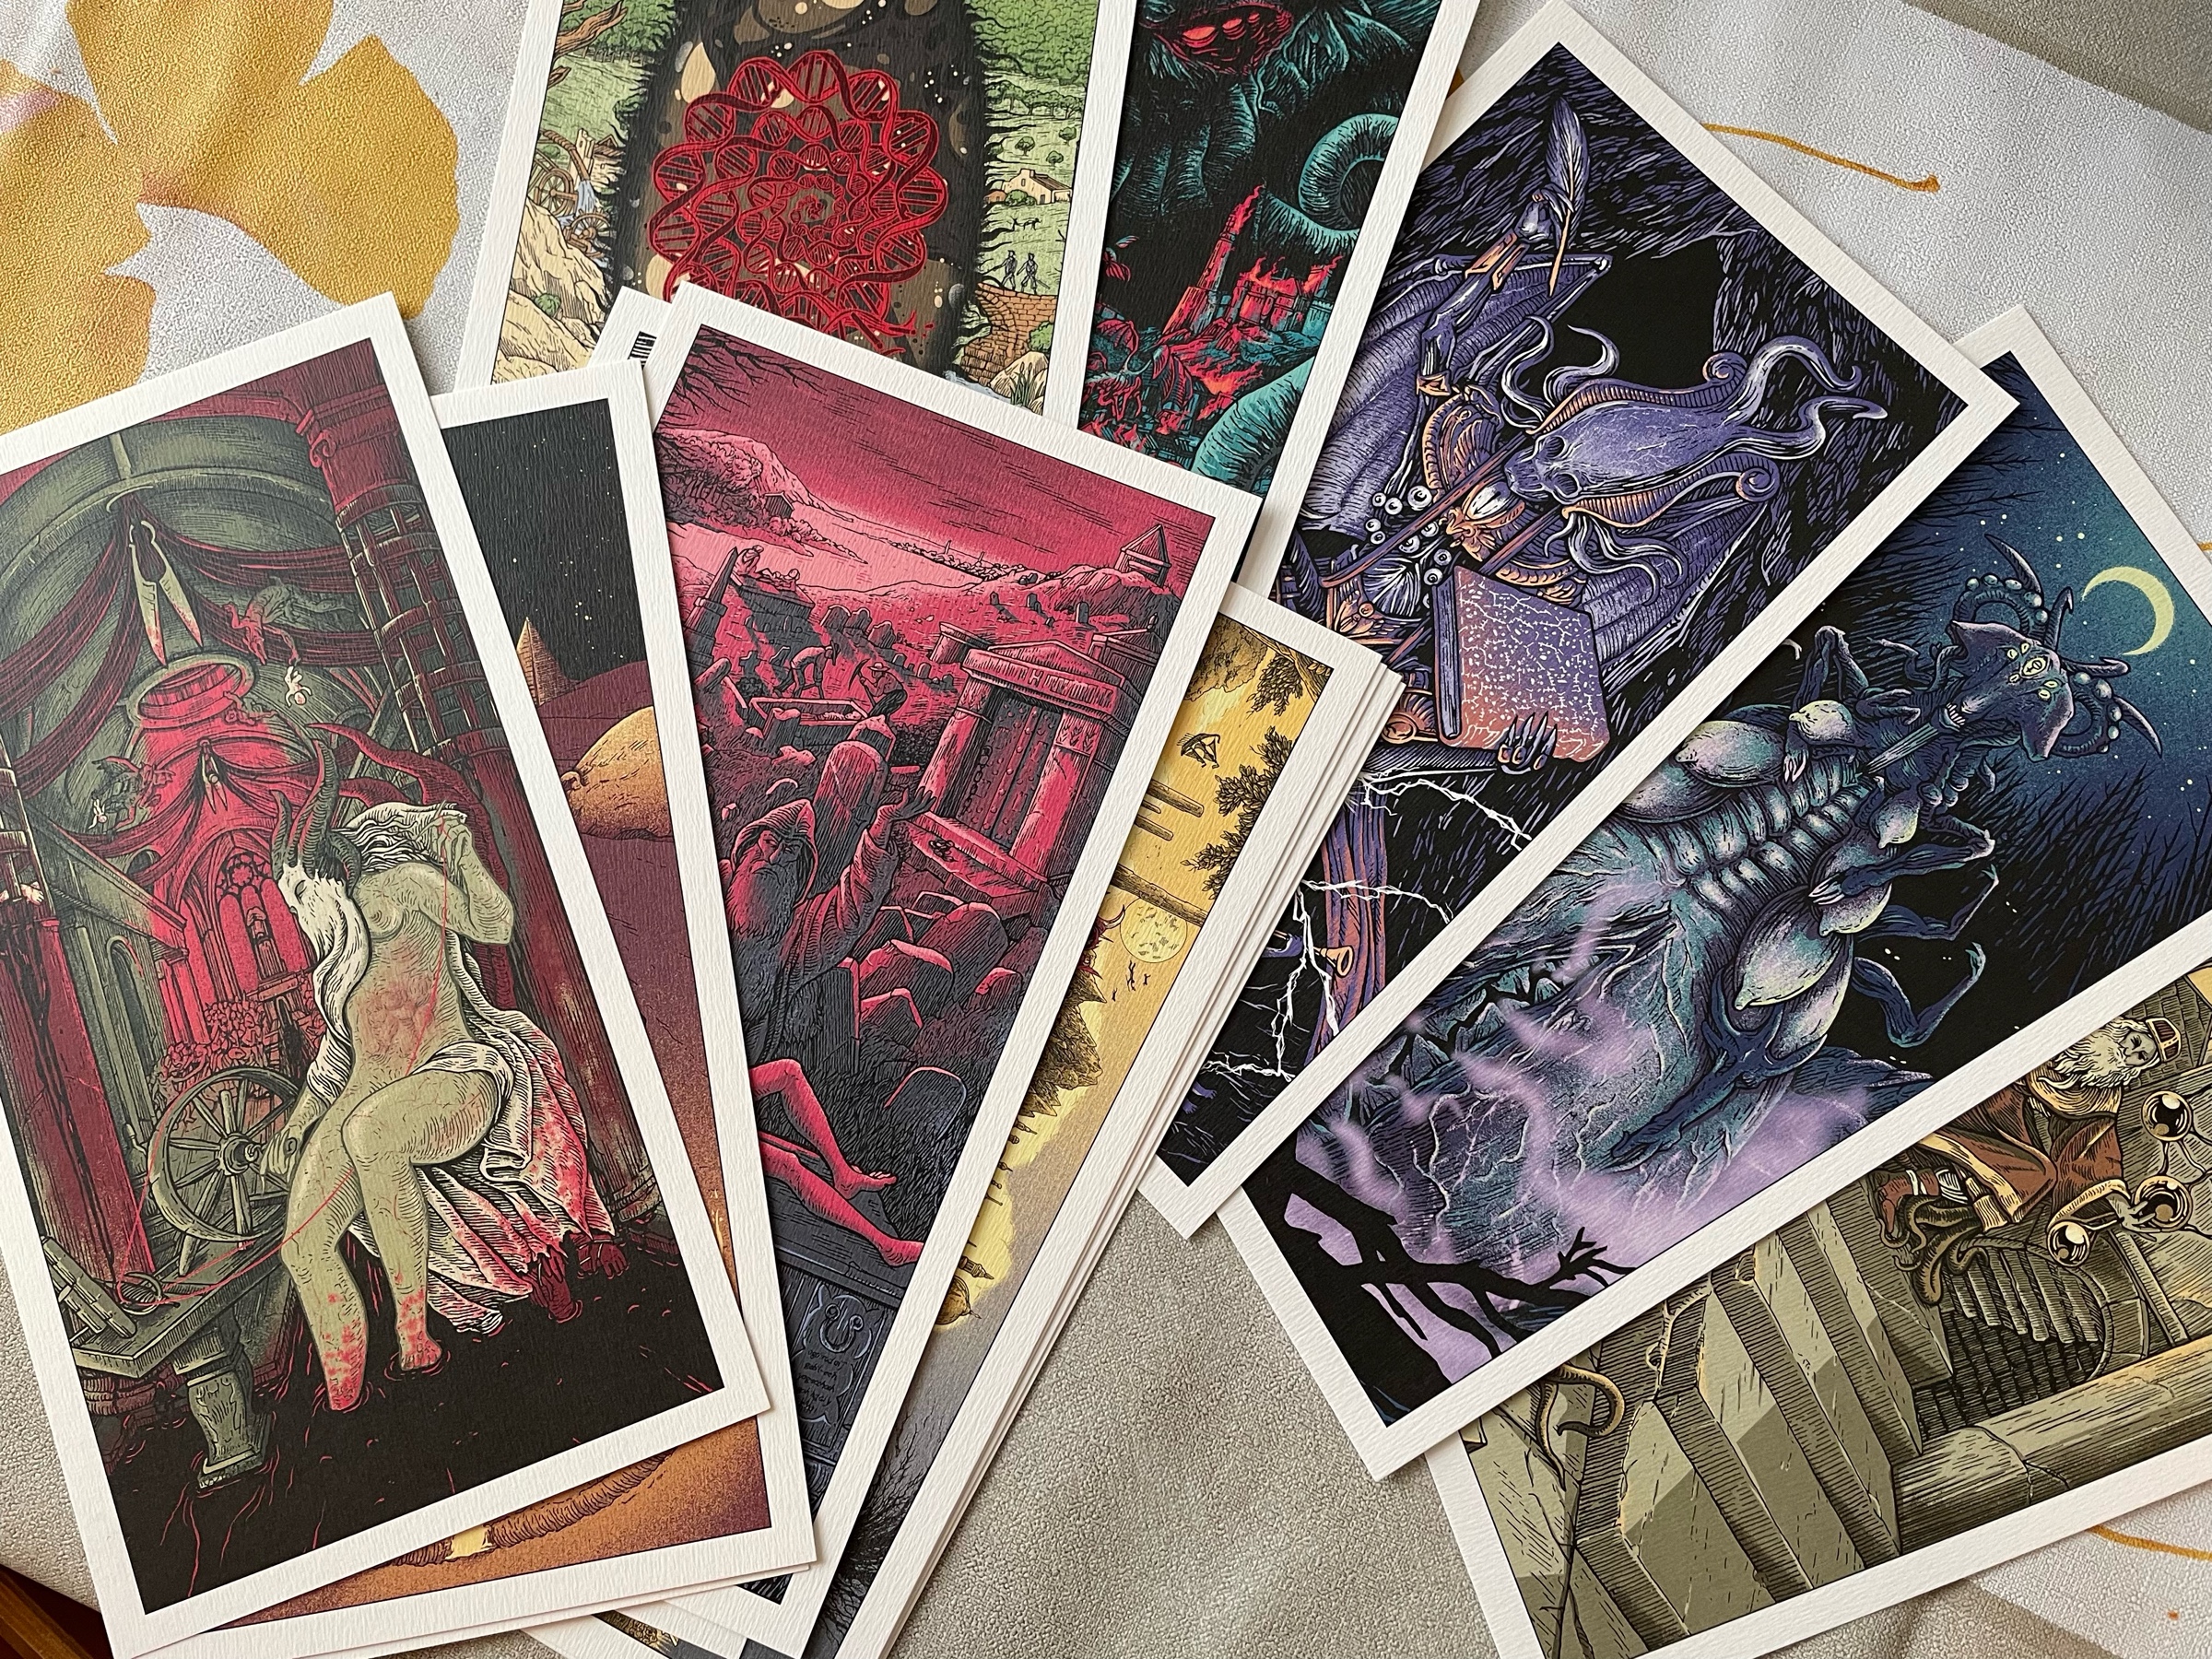
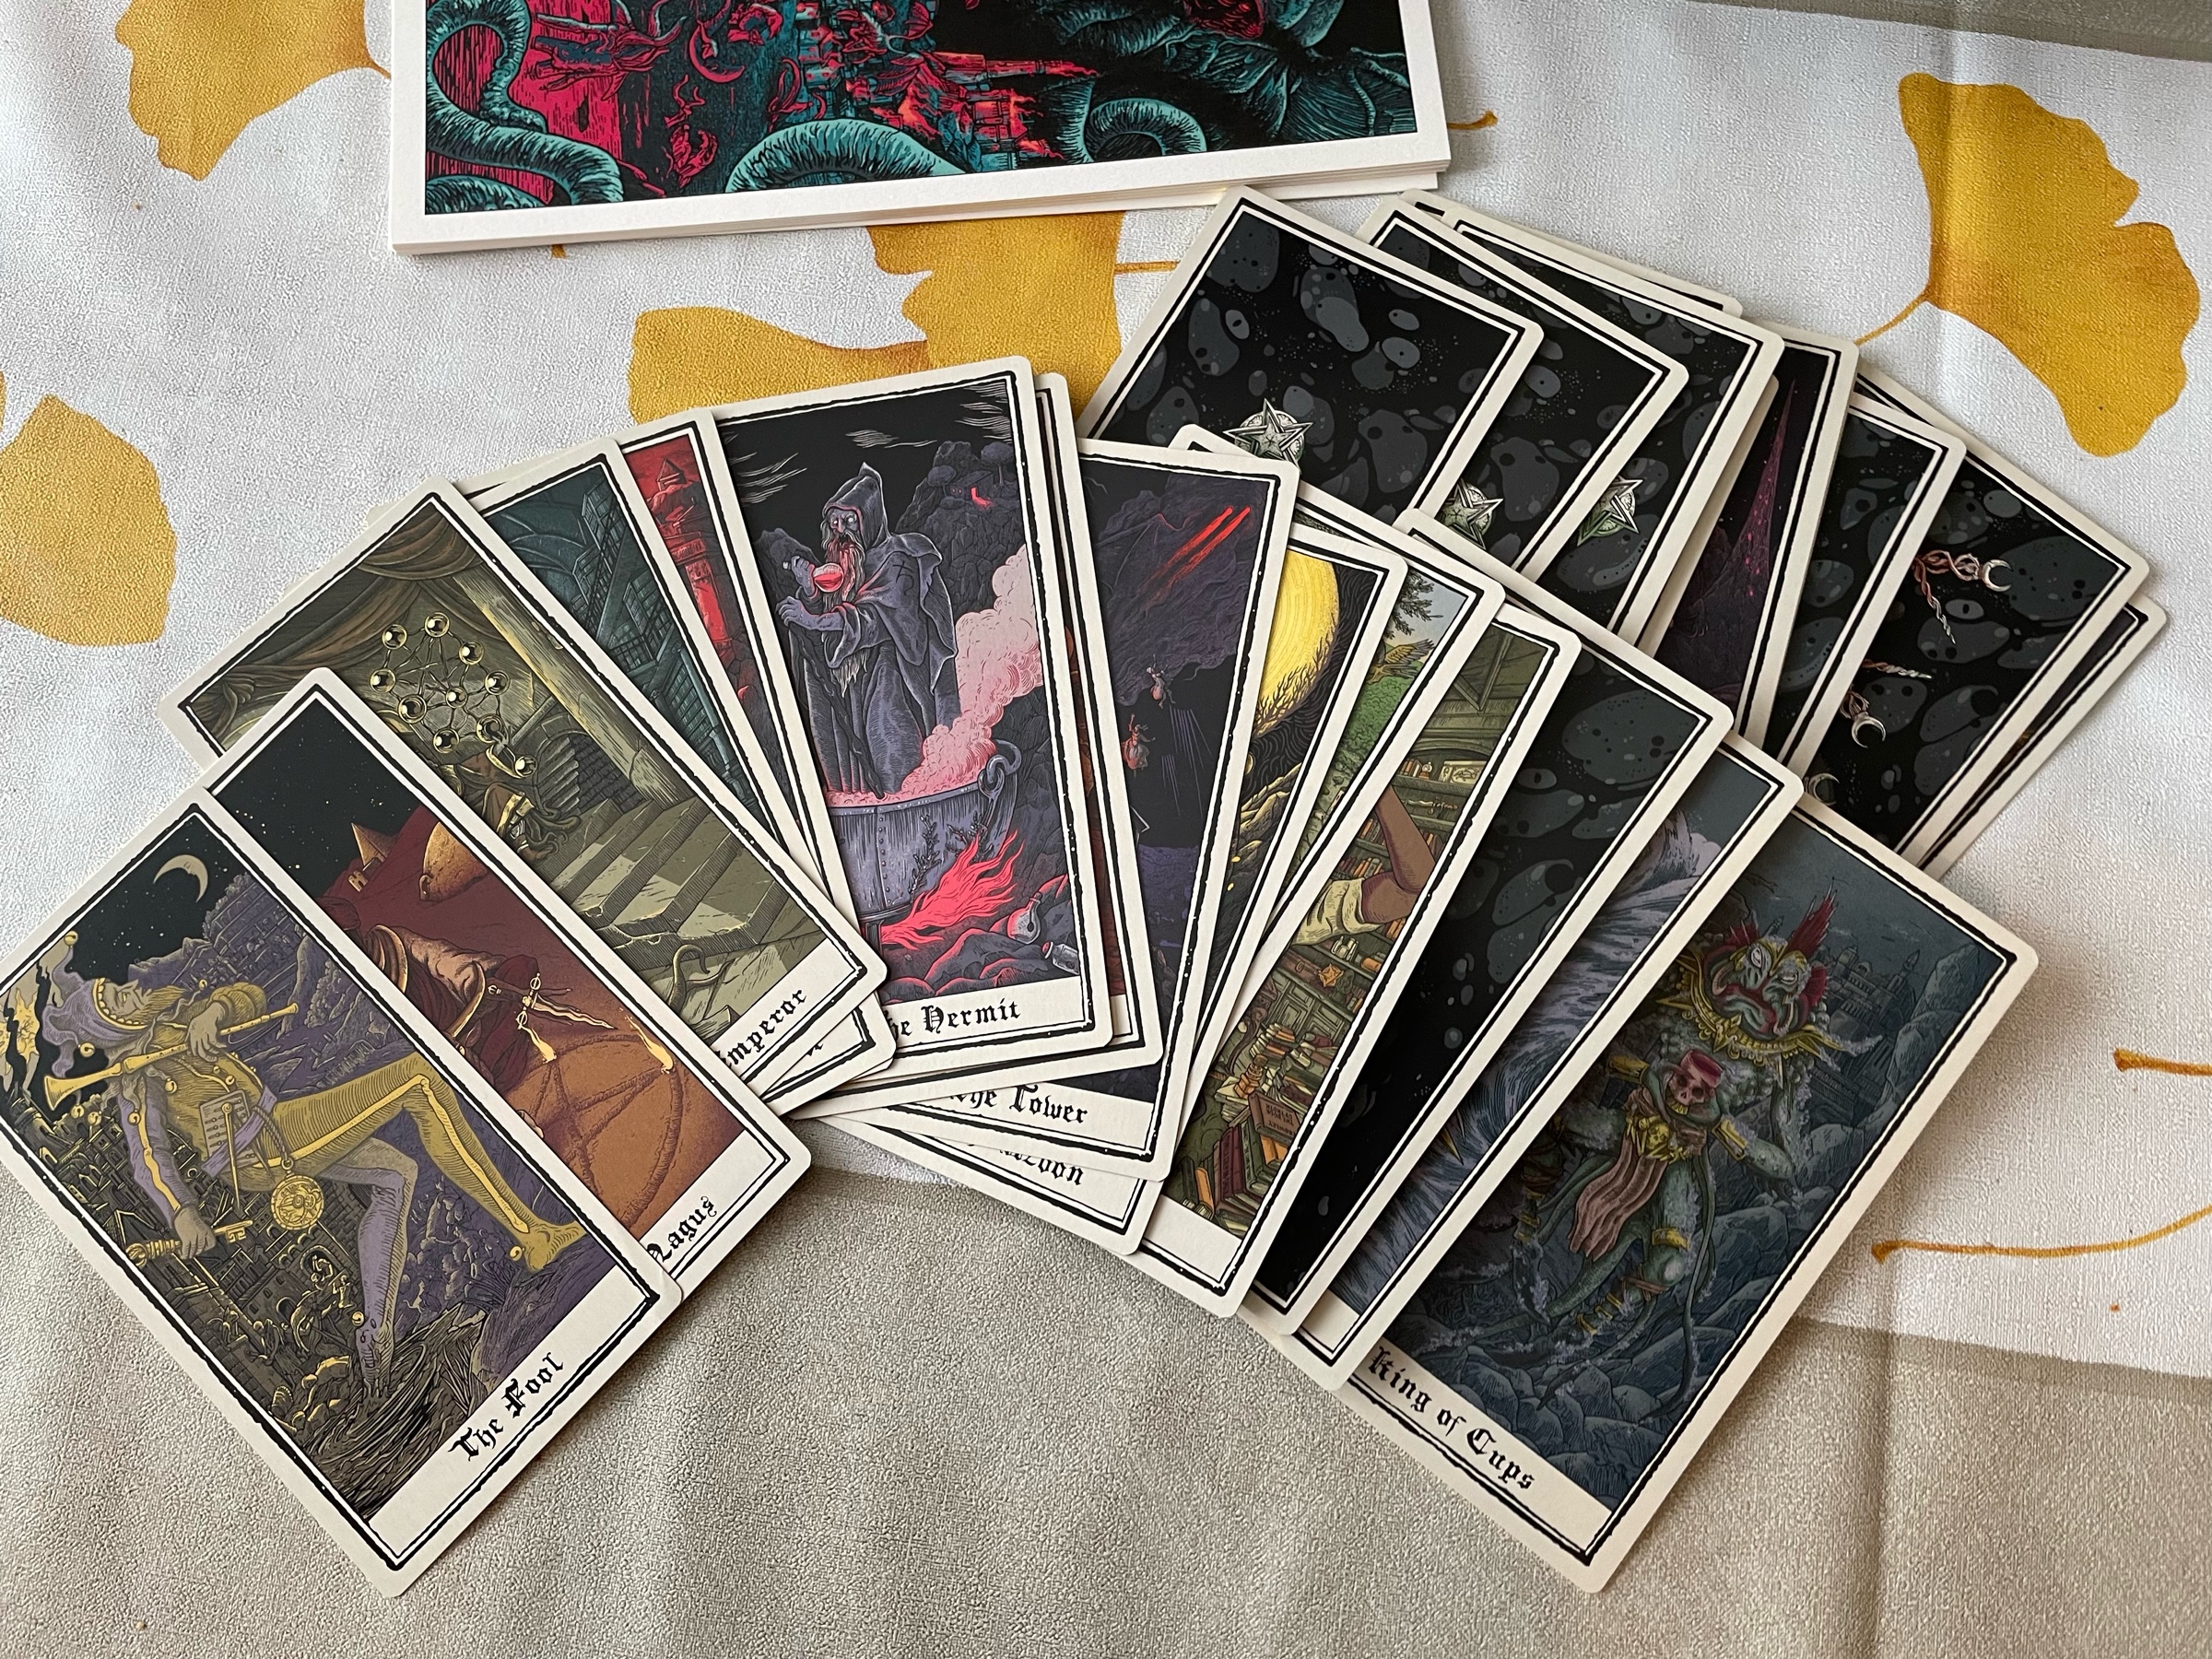
New arrival: some fancy Mythos tarot cards! These will go well next to my fancy HR Giger tarot cards…