The Stochastic Game
Ramblings of General Geekery
A quick drawing before bed time

Finally watched Prey. It was OK, with some really cool bits here and there. I want more monster IPs in random historical eras!
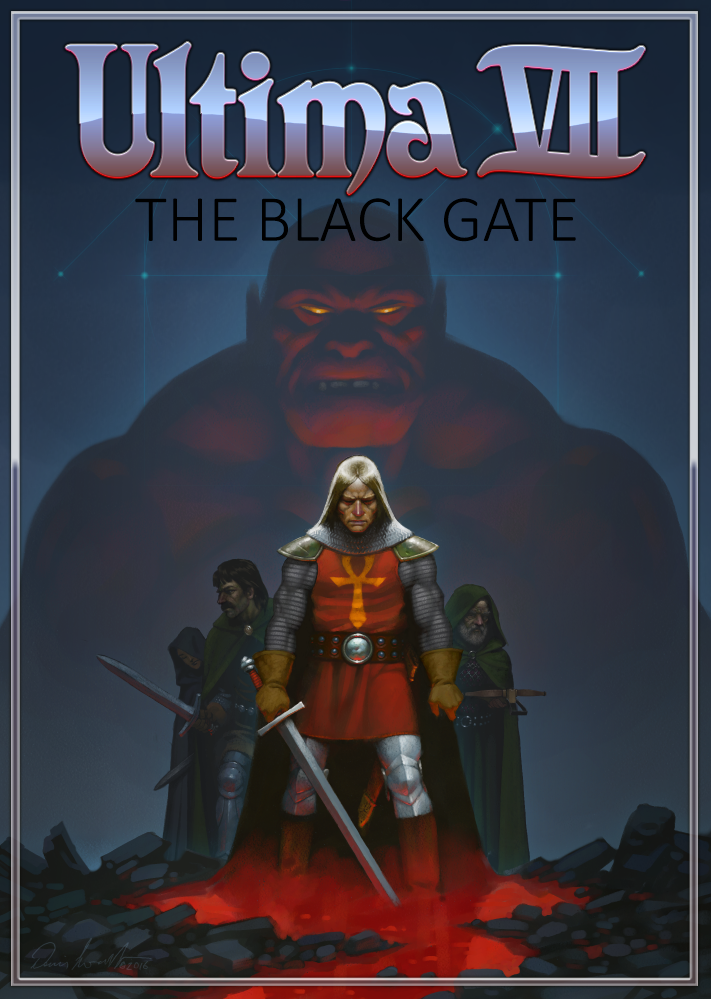
Ooooh boy, I found this Ultima Codex website and this is going to be a time-sink is it? (pictured: Denis Loubet’s recent alternate box art for the amazing classic Ultima 7)
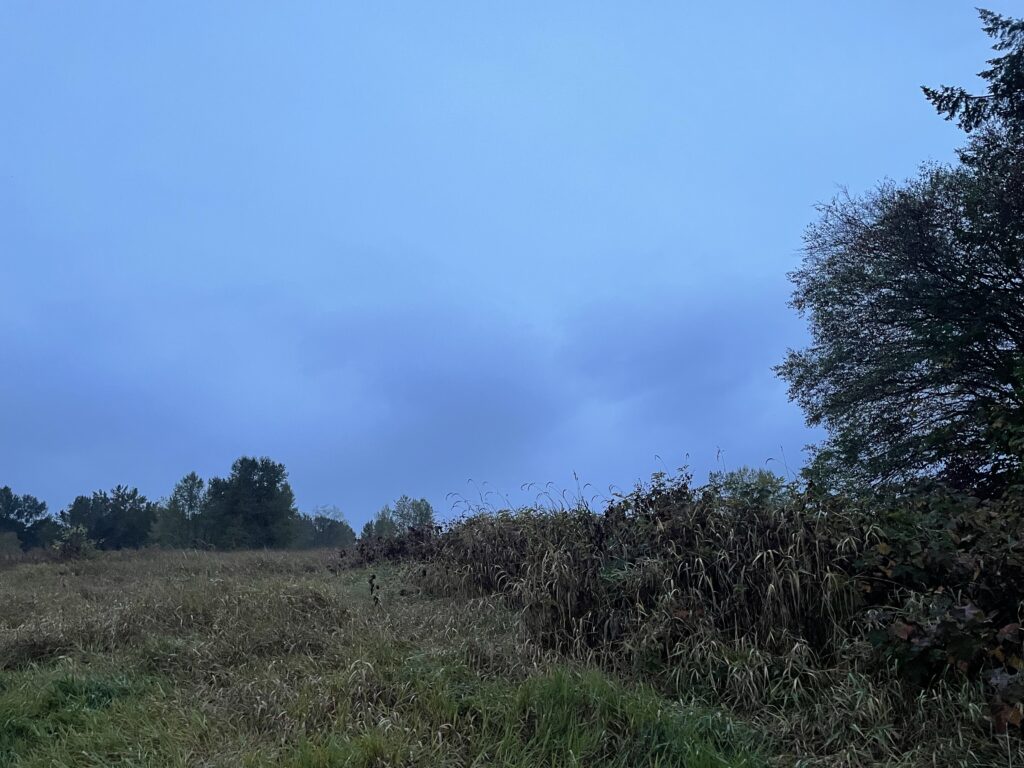
Moody morning


iPadOS Stage Manager looks like a mess… especially when all Apple had to do was implement a fucking tiling window manager.
This is your guide to the TTRPG grognard community:
Finally watched that last episode of that Marvel show… heh I did NOT expect that. Very Grant Morrison (which is good).
In the early-2000s, video game discourse was a lot about how they differ or not from movies, and what should be emulated vs leveraging the medium’s unique qualities. It sometimes feels like RPGs should ask that question too…
Yay rain, finally