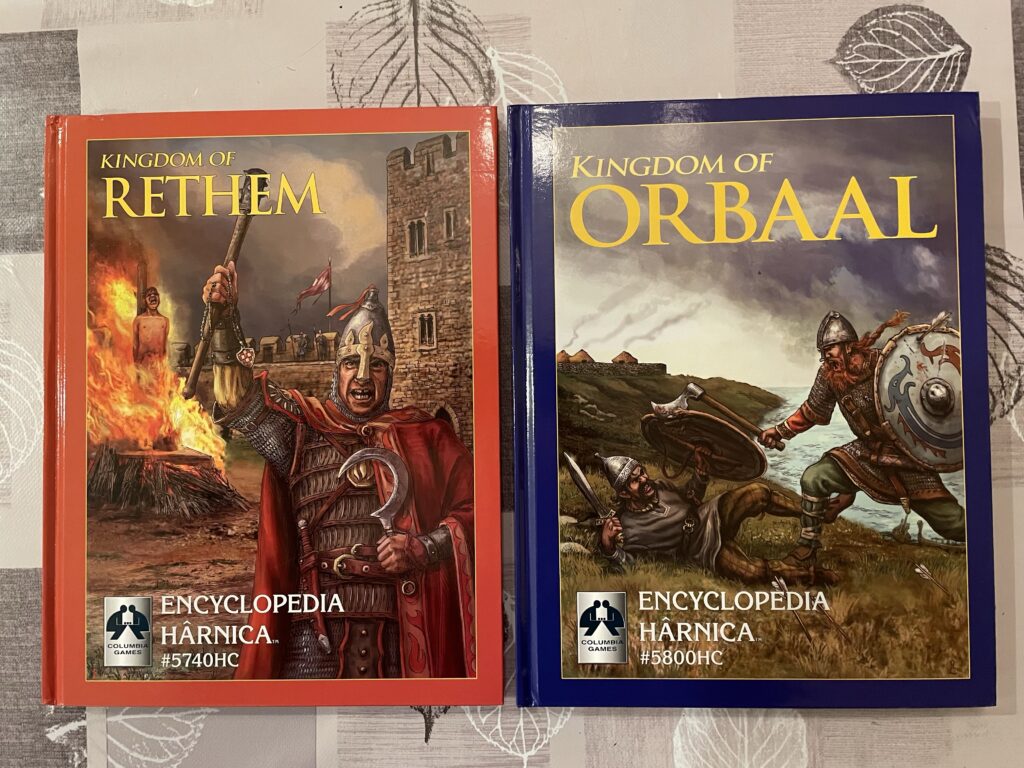
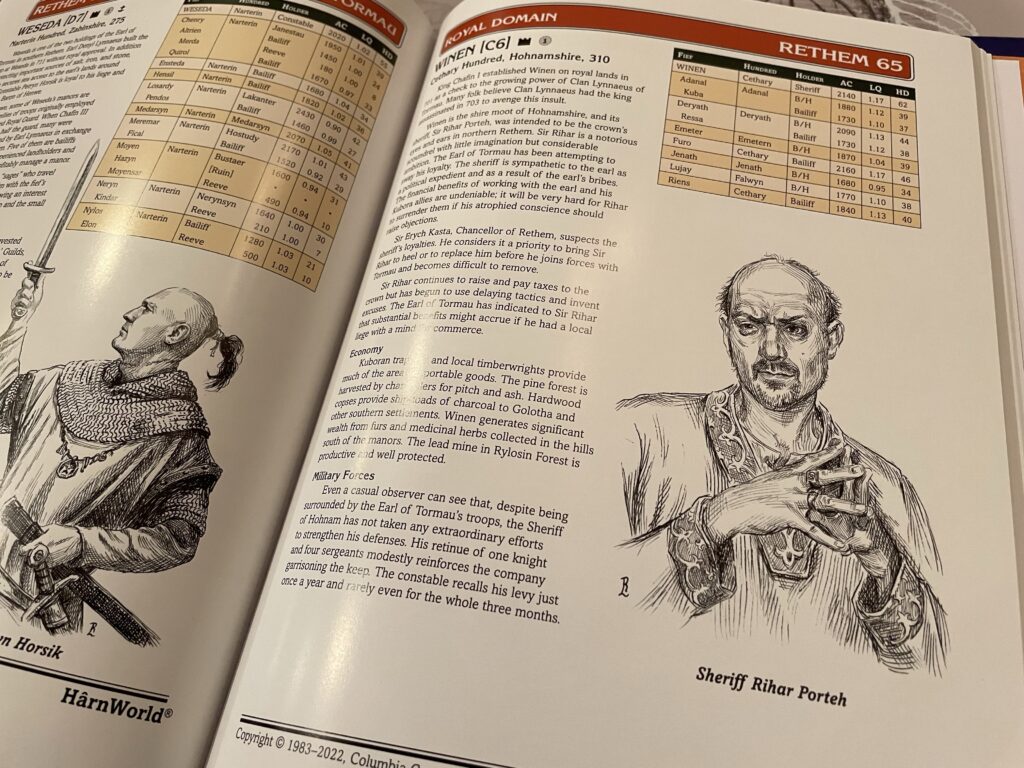
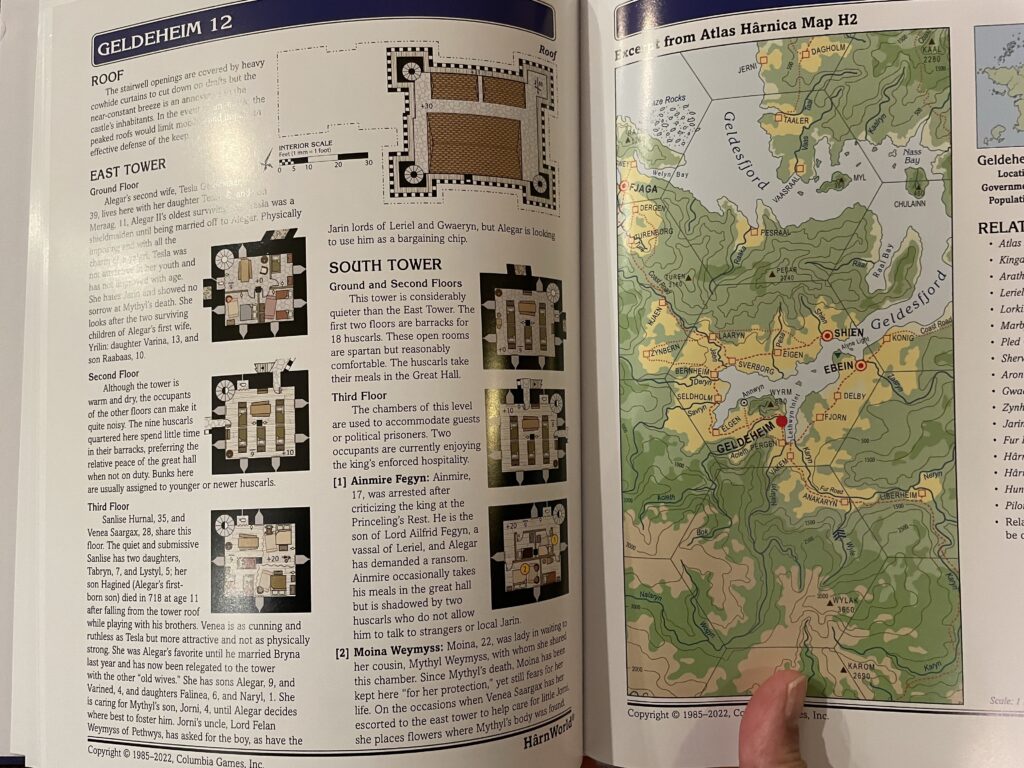
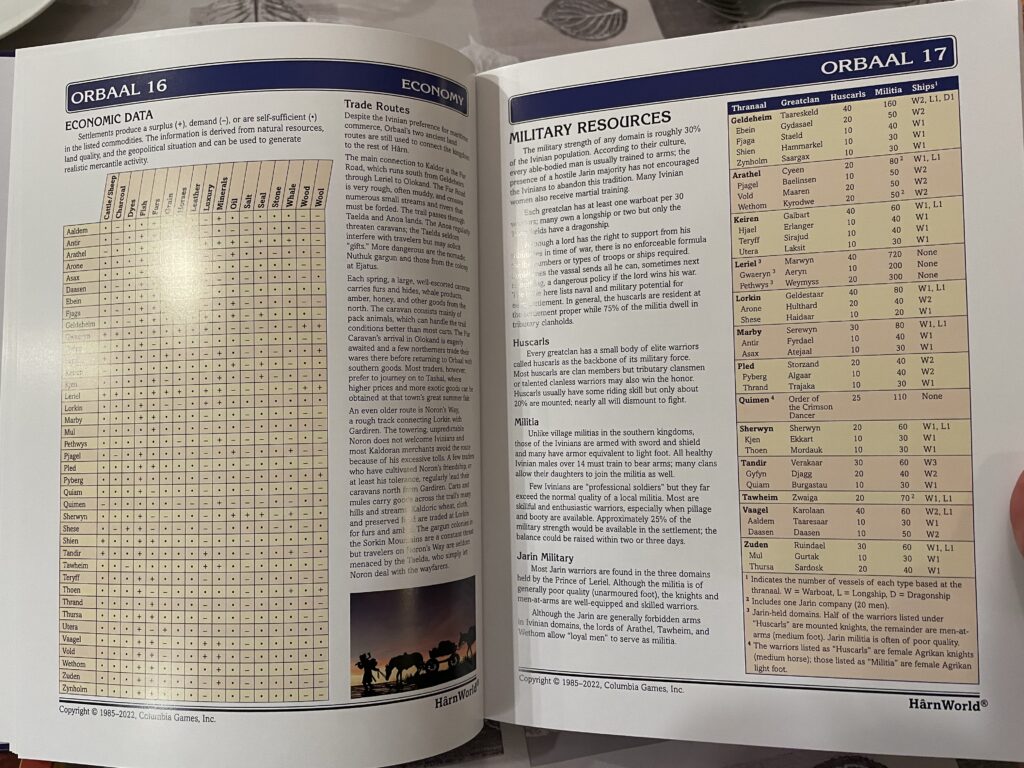
Double Kickstarter arrival! The kingdoms of Rethem and Orbaal for Harn… as always with great art, maps, and lore.
Double Kickstarter arrival! The kingdoms of Rethem and Orbaal for Harn… as always with great art, maps, and lore.
People don’t know how to use umbrellas in public. You’d think Vancouverites would have had some practice but apparently no
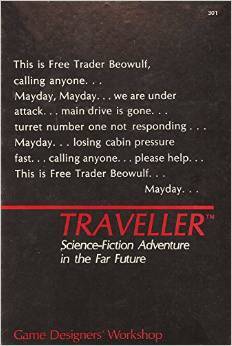
No detailed “games played” retrospective from me (number-chasing is already too prevalent on social media, thank you), but I’ll say that I’m happy I finally got to start playing Traveller! Plus continuing WFRP and RuneQuest. I’m catching up with all the old stuff! #ttrpg
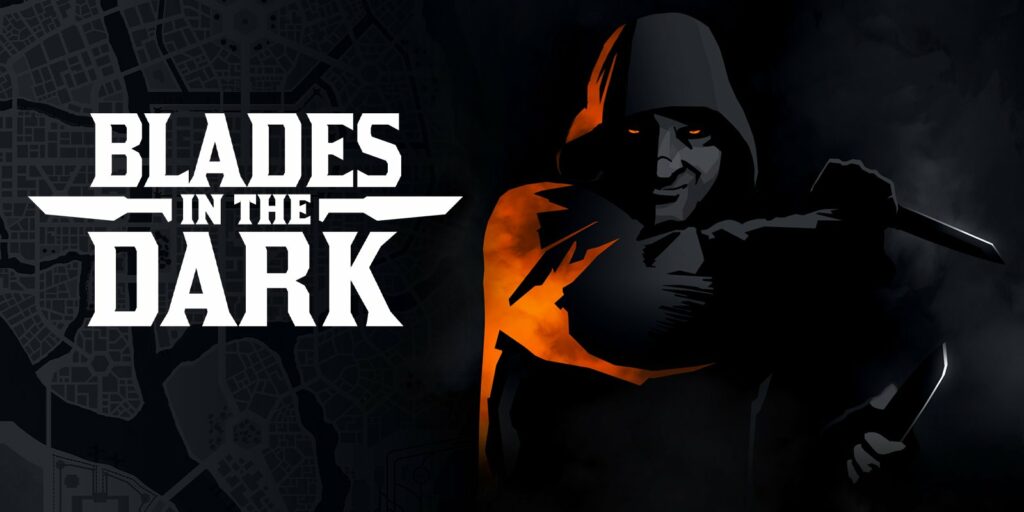
Last year my Friday-evening group played a short campaign of Blades in the Dark (BitD), so I figured I’d share some notes about it — mostly the bits that we did wrong or that I didn’t like, with some actionable recommendations that will hopefully improve your experience should you play BitD yourself.
We played weekly for about six months, going through many adventures. For once in a long while, I was actually simply a player, instead of being the gamemaster! I had wanted to play BitD for a while, and when one of the players said he had the rulebook, I jumped on the occasion to make him run it. So unlike many other TTRPG posts here, this one is exceptionally from my perspective as a player.
Overall the campaign was quite good. Our gamemaster portrayed a few memorable NPCs, and we got into a lot of fun trouble. My main problem with the game was a slightly-too-crunchy system, and our messing up character progression. I doubt that we’ll get back to BitD, not necessarily because we didn’t like it, but mostly because we’ve got so many other games to play and so little time.
My kid, after having watched half a James Bond movie: “he seems to be sleeping with a lot of women, but I’m willing to bet he marries exactly zero”. Pretty close, kid…

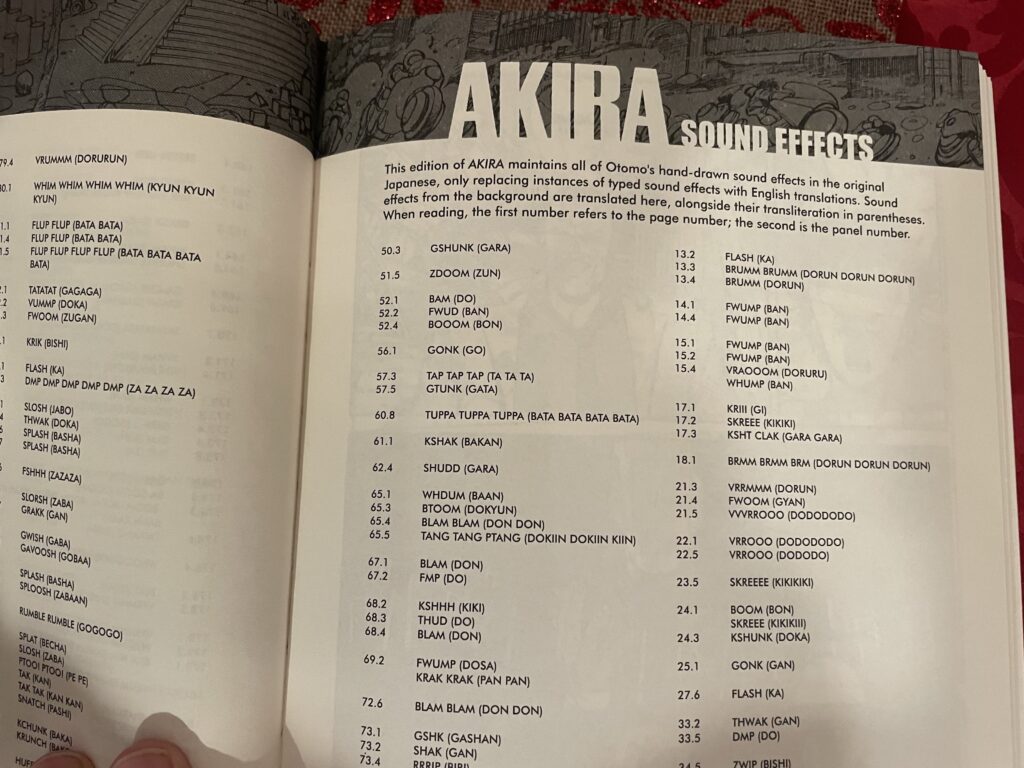
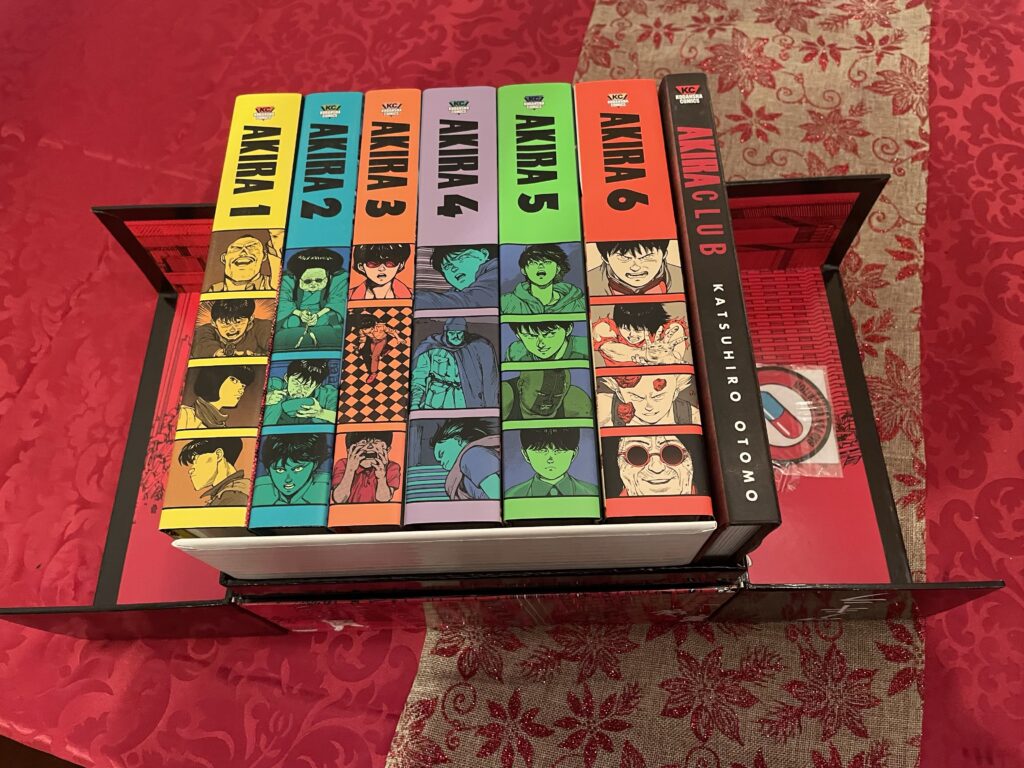
The most amazing thing with this version of AKIRA isn’t just that they kept the original right-to-left reading and Japanese sound effects… it’s that they included a translation index of those sound effects!
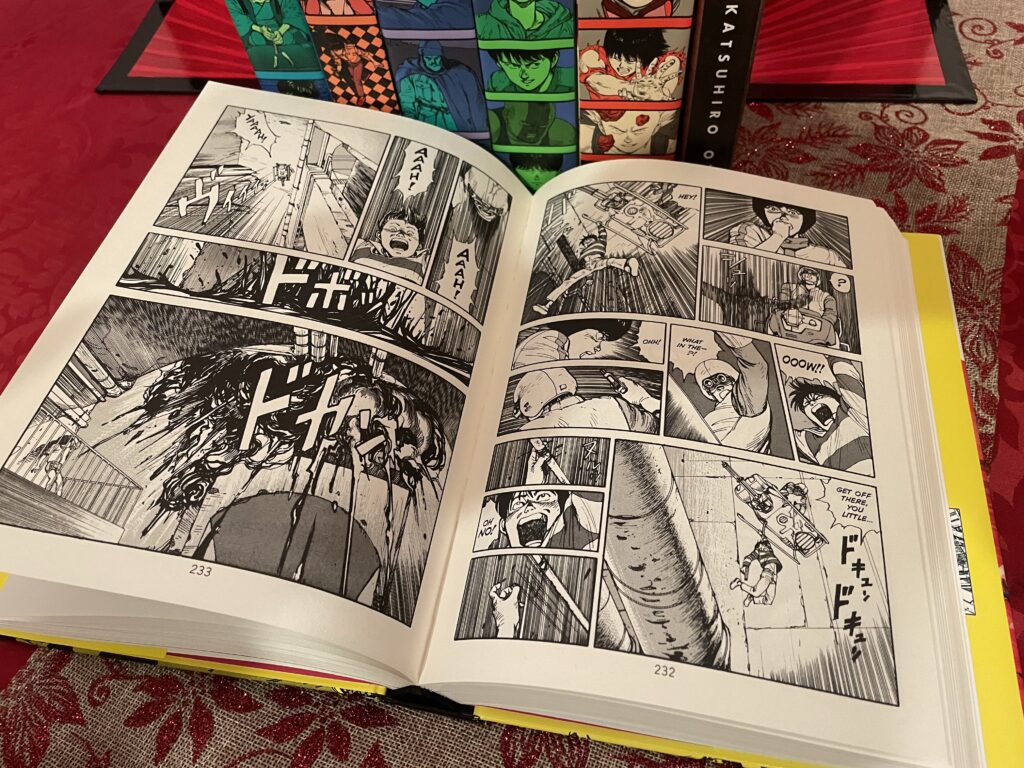
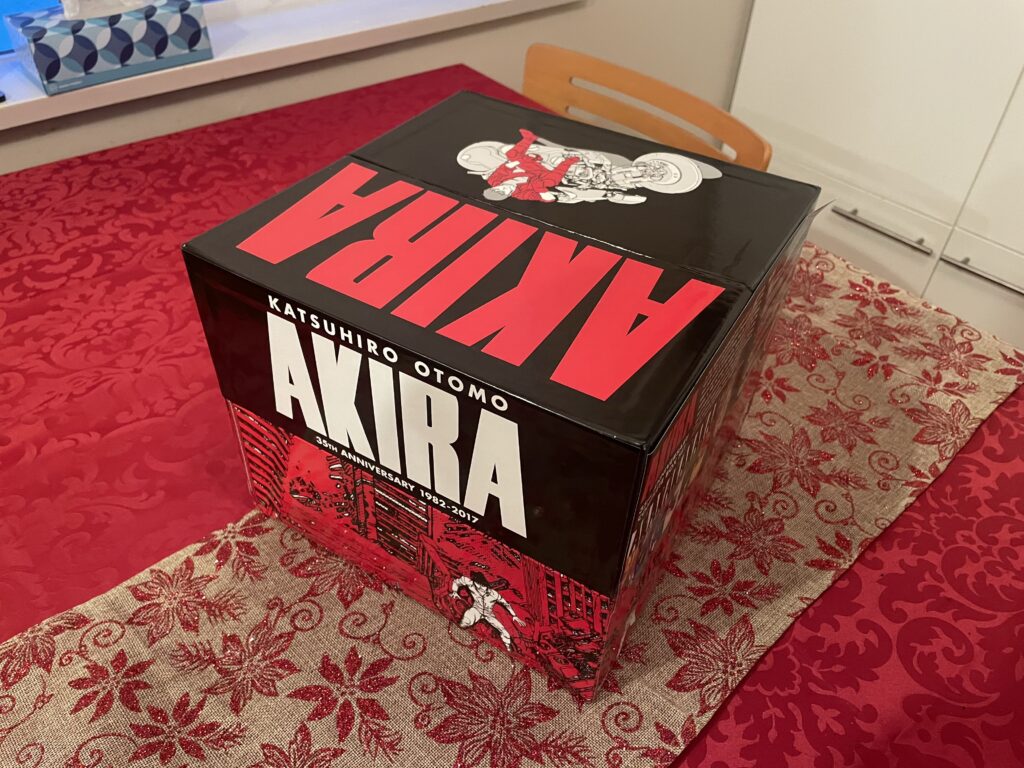
Merry Christmas and happy whatever-you-celebrate, everyone! This year I gave myself a way way way overdue gift: the complete AKIRA series!
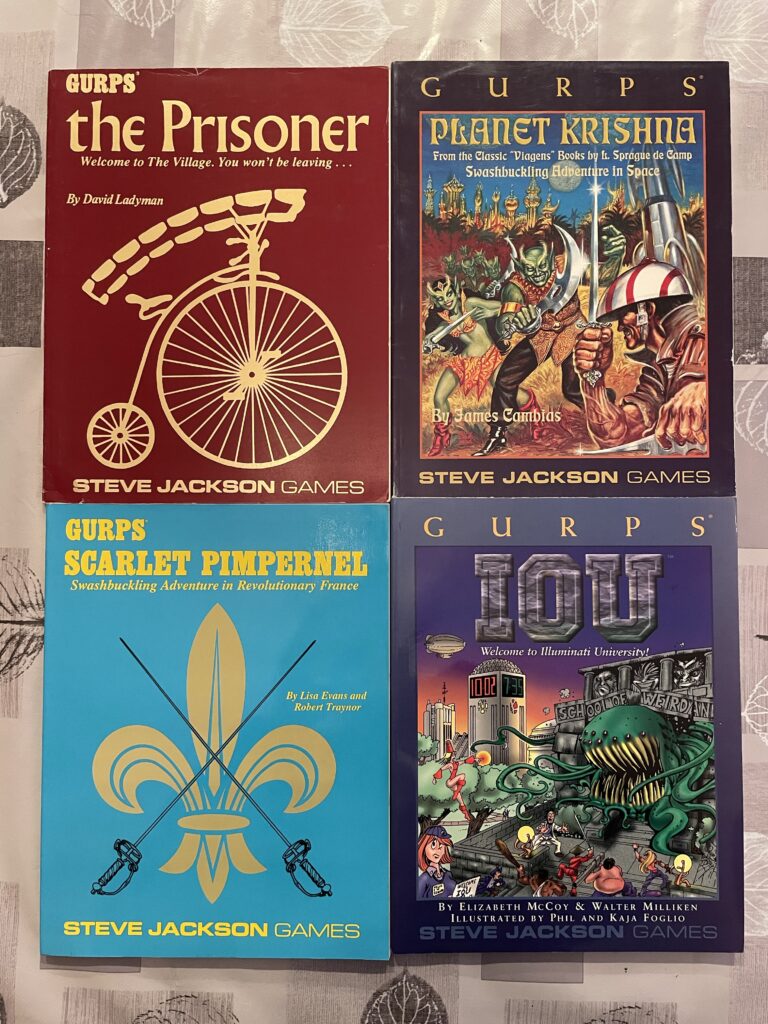
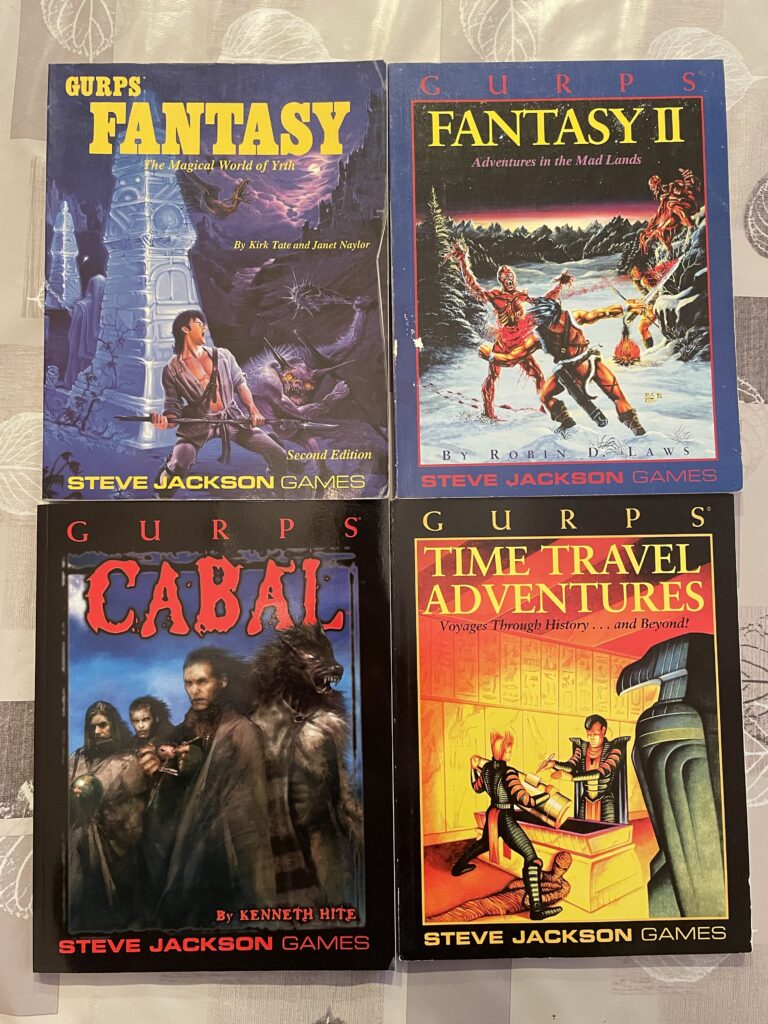
Before itch.io and PbtA and OSR, GURPS was one place to find weirdly specific, one-off games and settings!

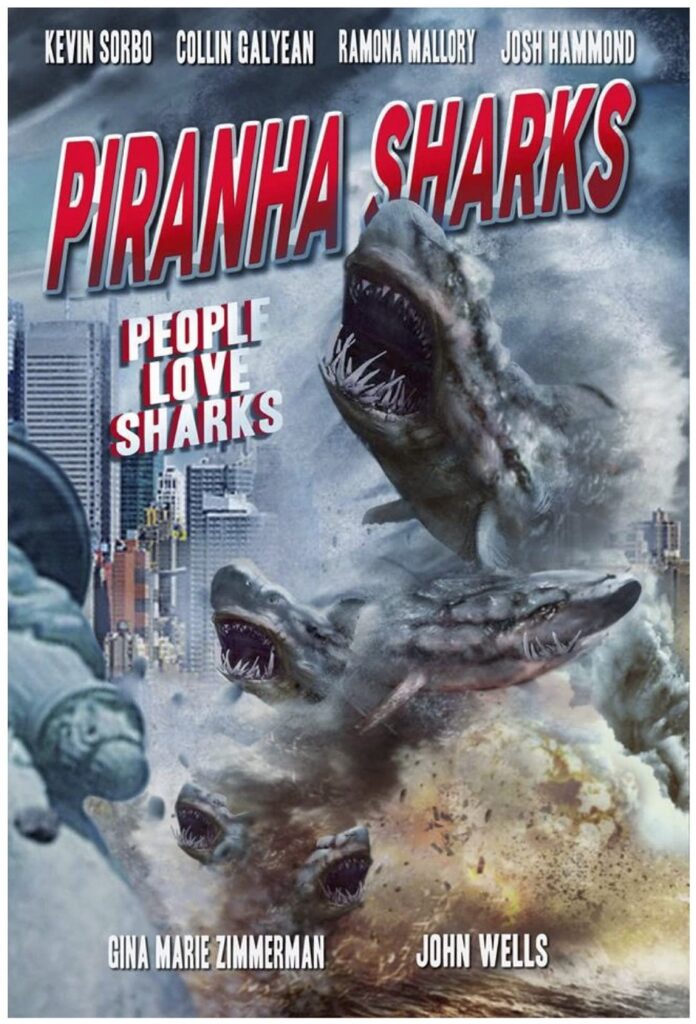
Piranha Sharks was… something. WTF/minute ratio was high, production values low, just enough budget to seemingly get Kevin Sorbo for one day of shooting, and absolutely ridiculous premise! Still, it’s 31st on Kevin Kulp’s list of 130+ shark movies!
I find it hilarious that long-term Apple Store apologists like Gruber are upset about Twitter banning links to other social media sites.