Happy free (and non-free 😋) RPG day!
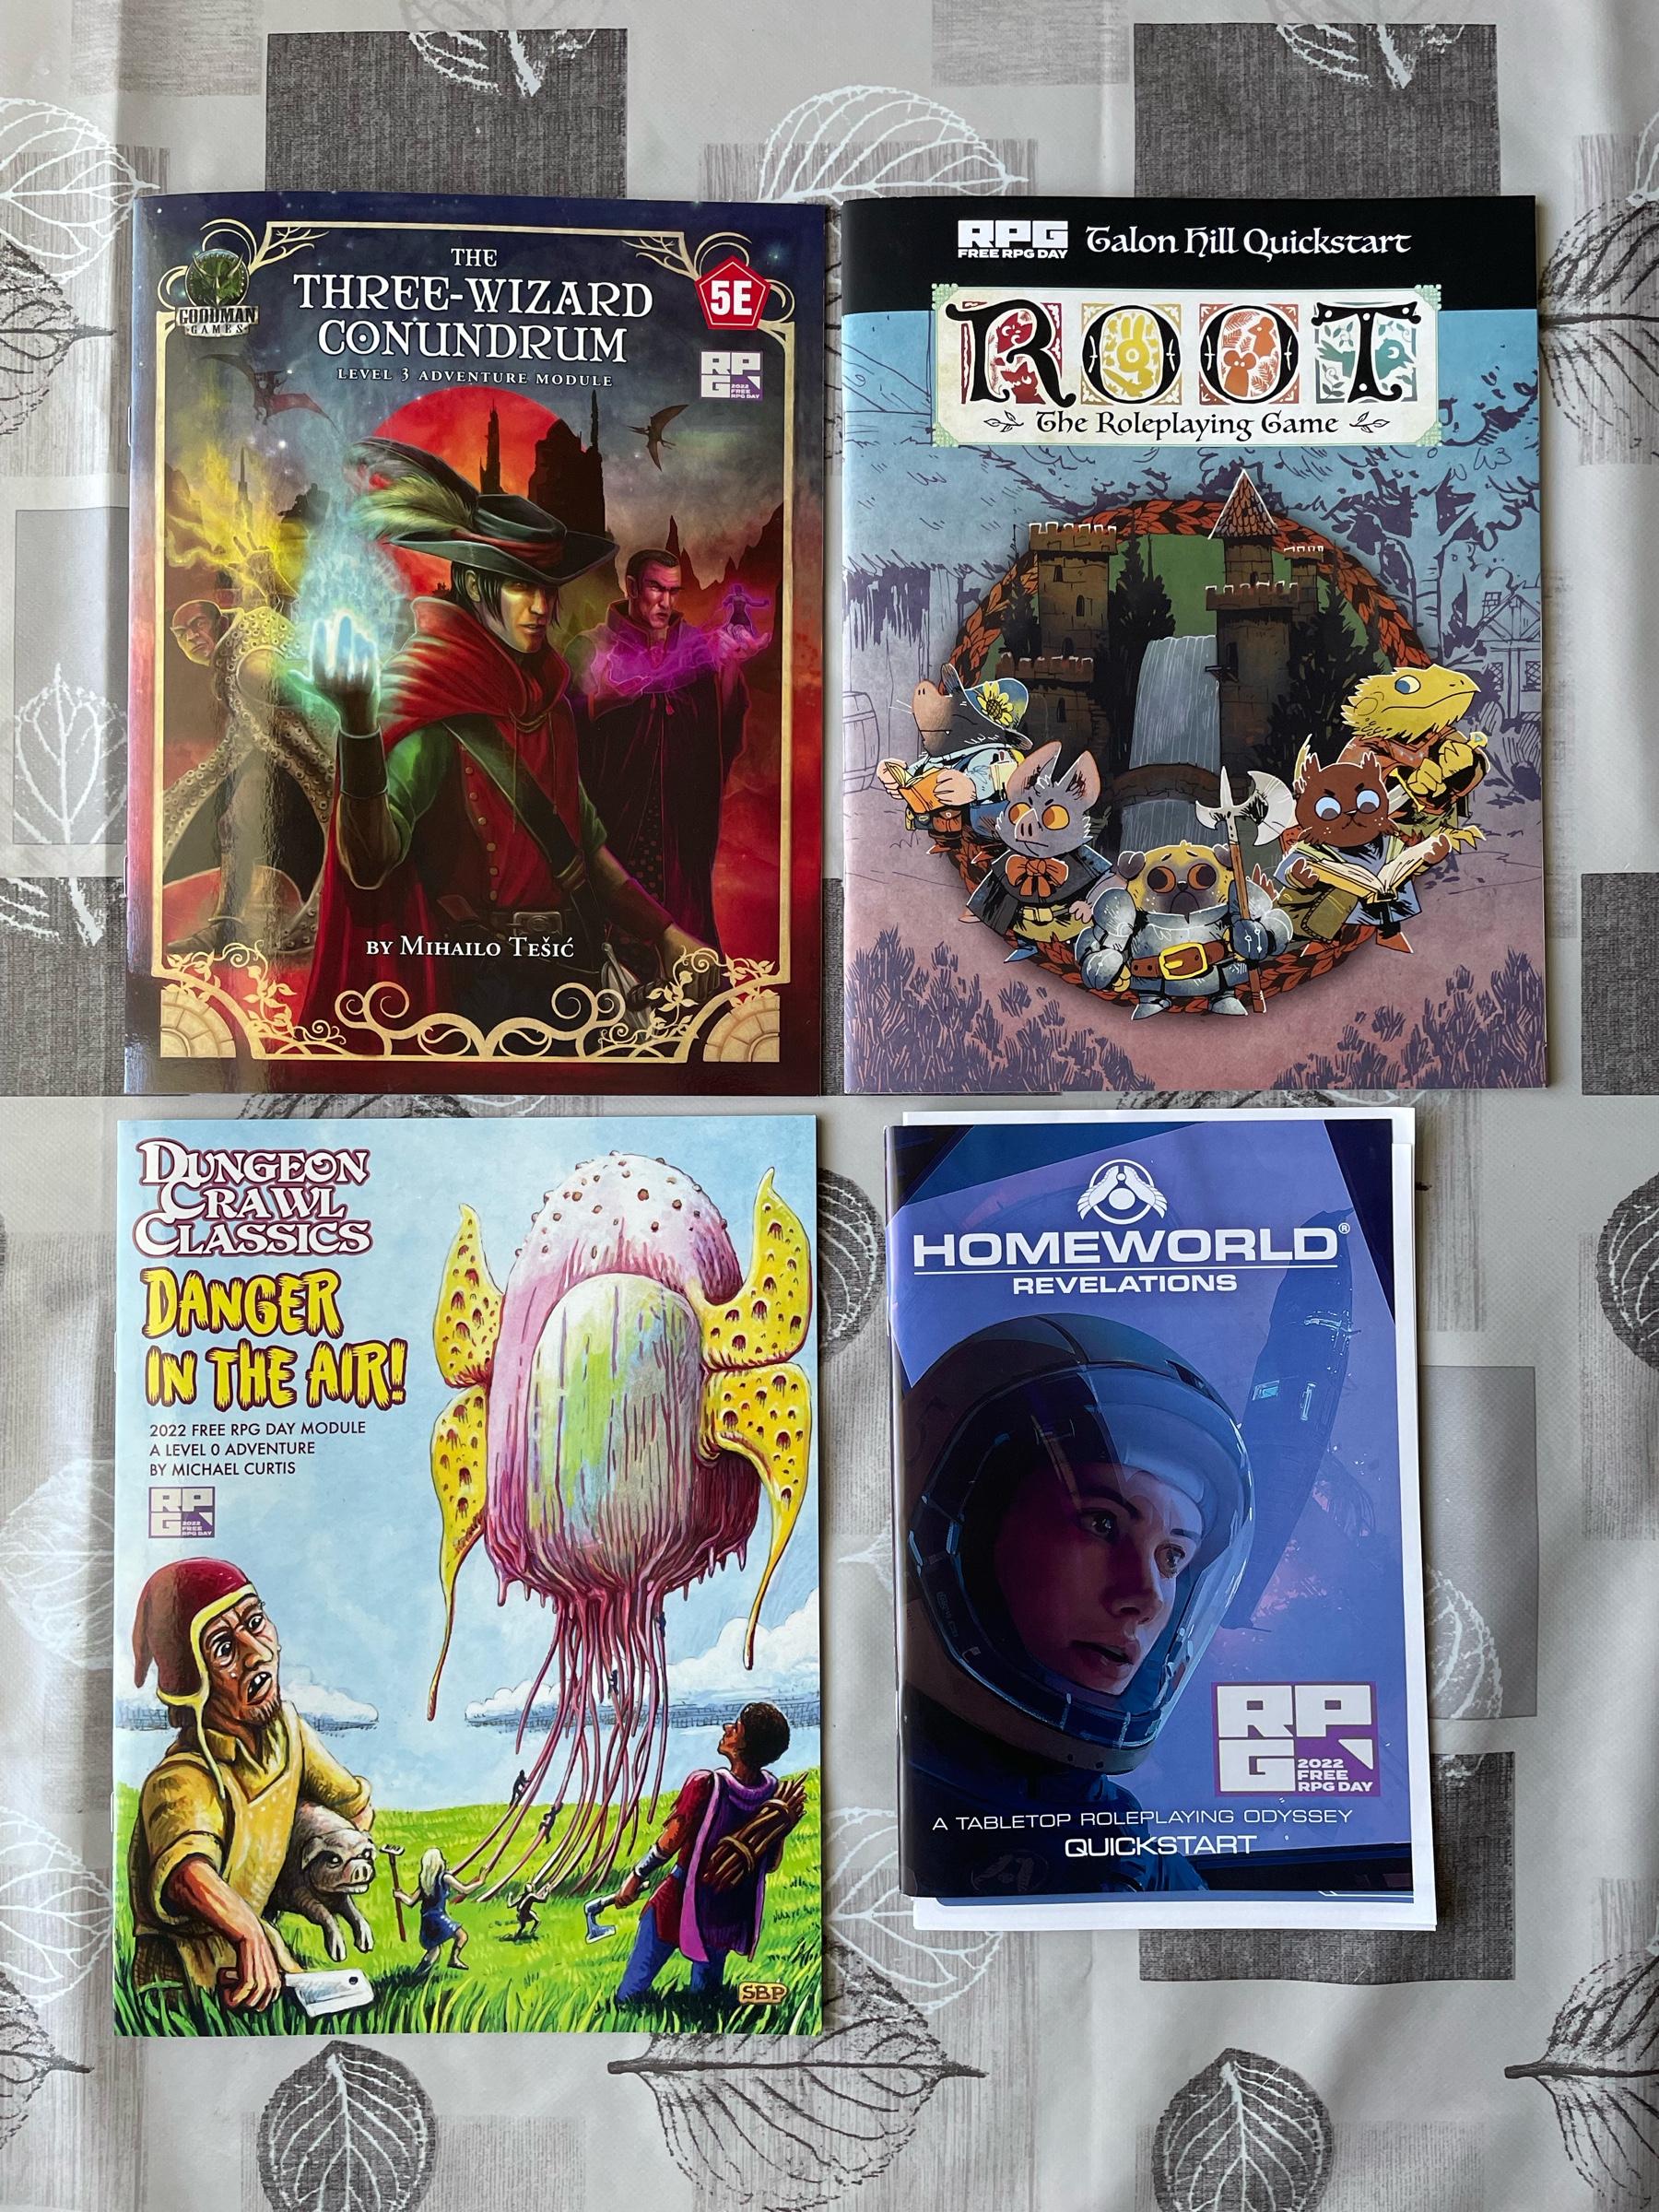
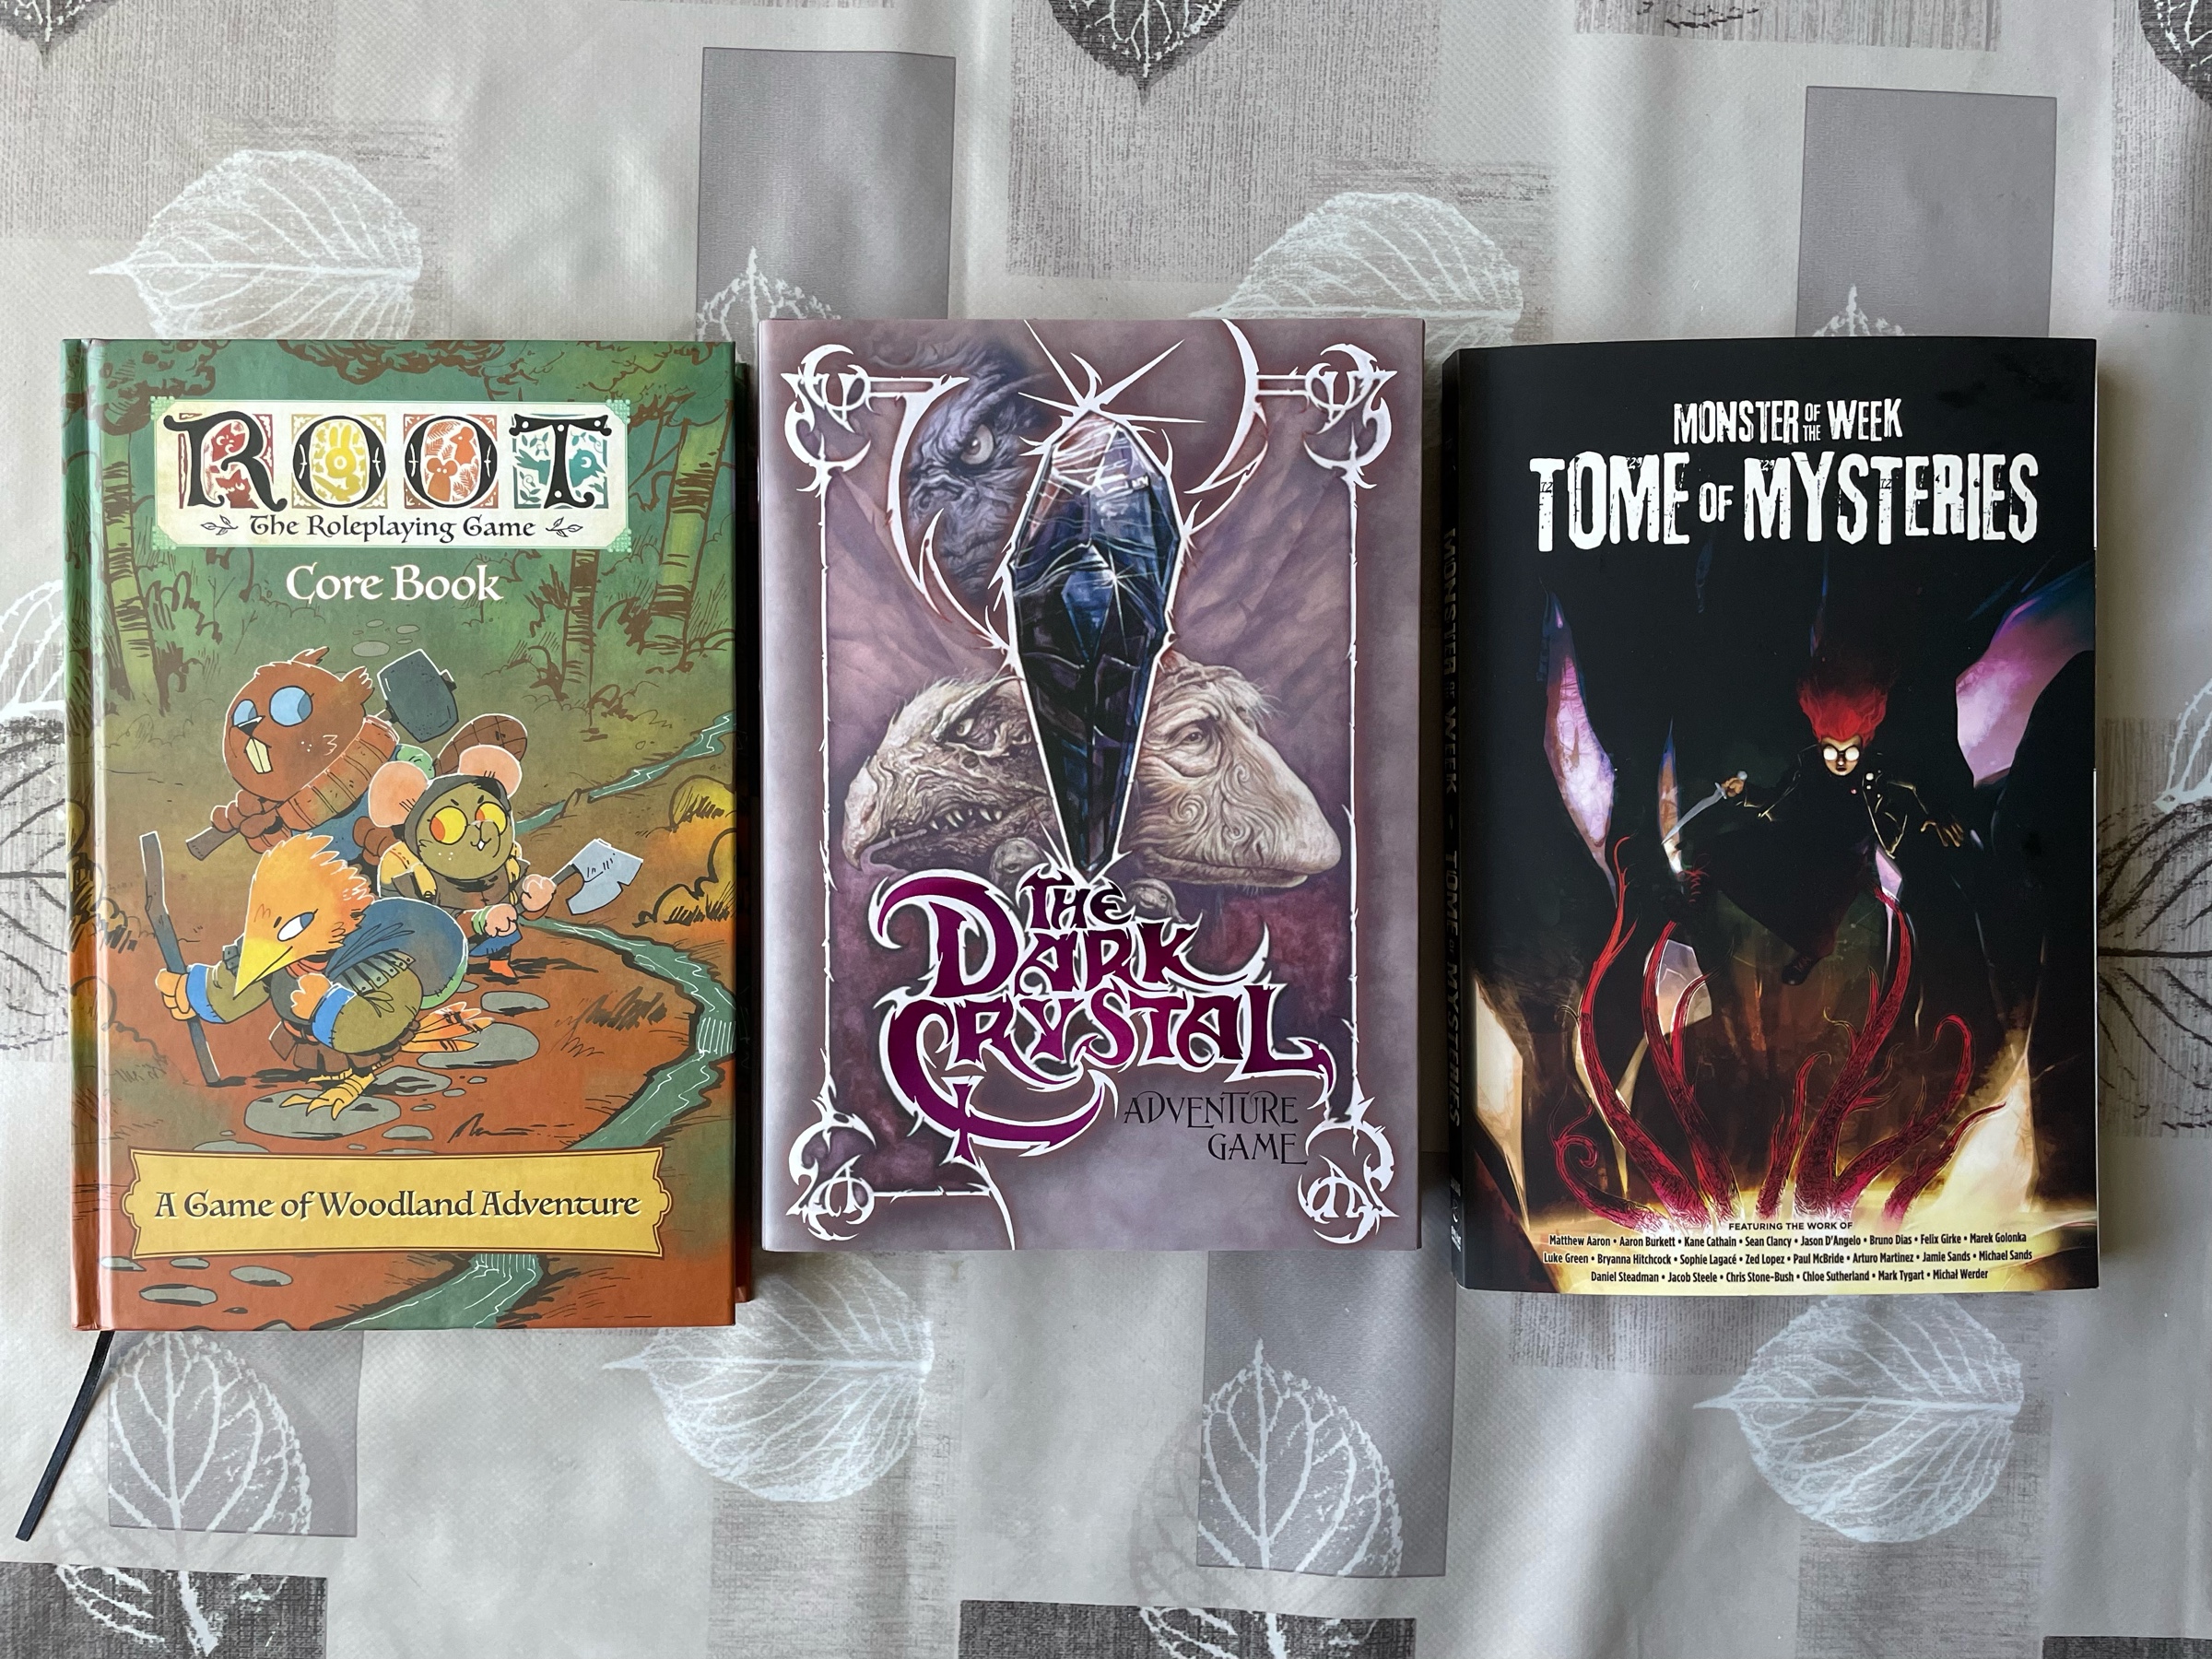
Happy free (and non-free 😋) RPG day!
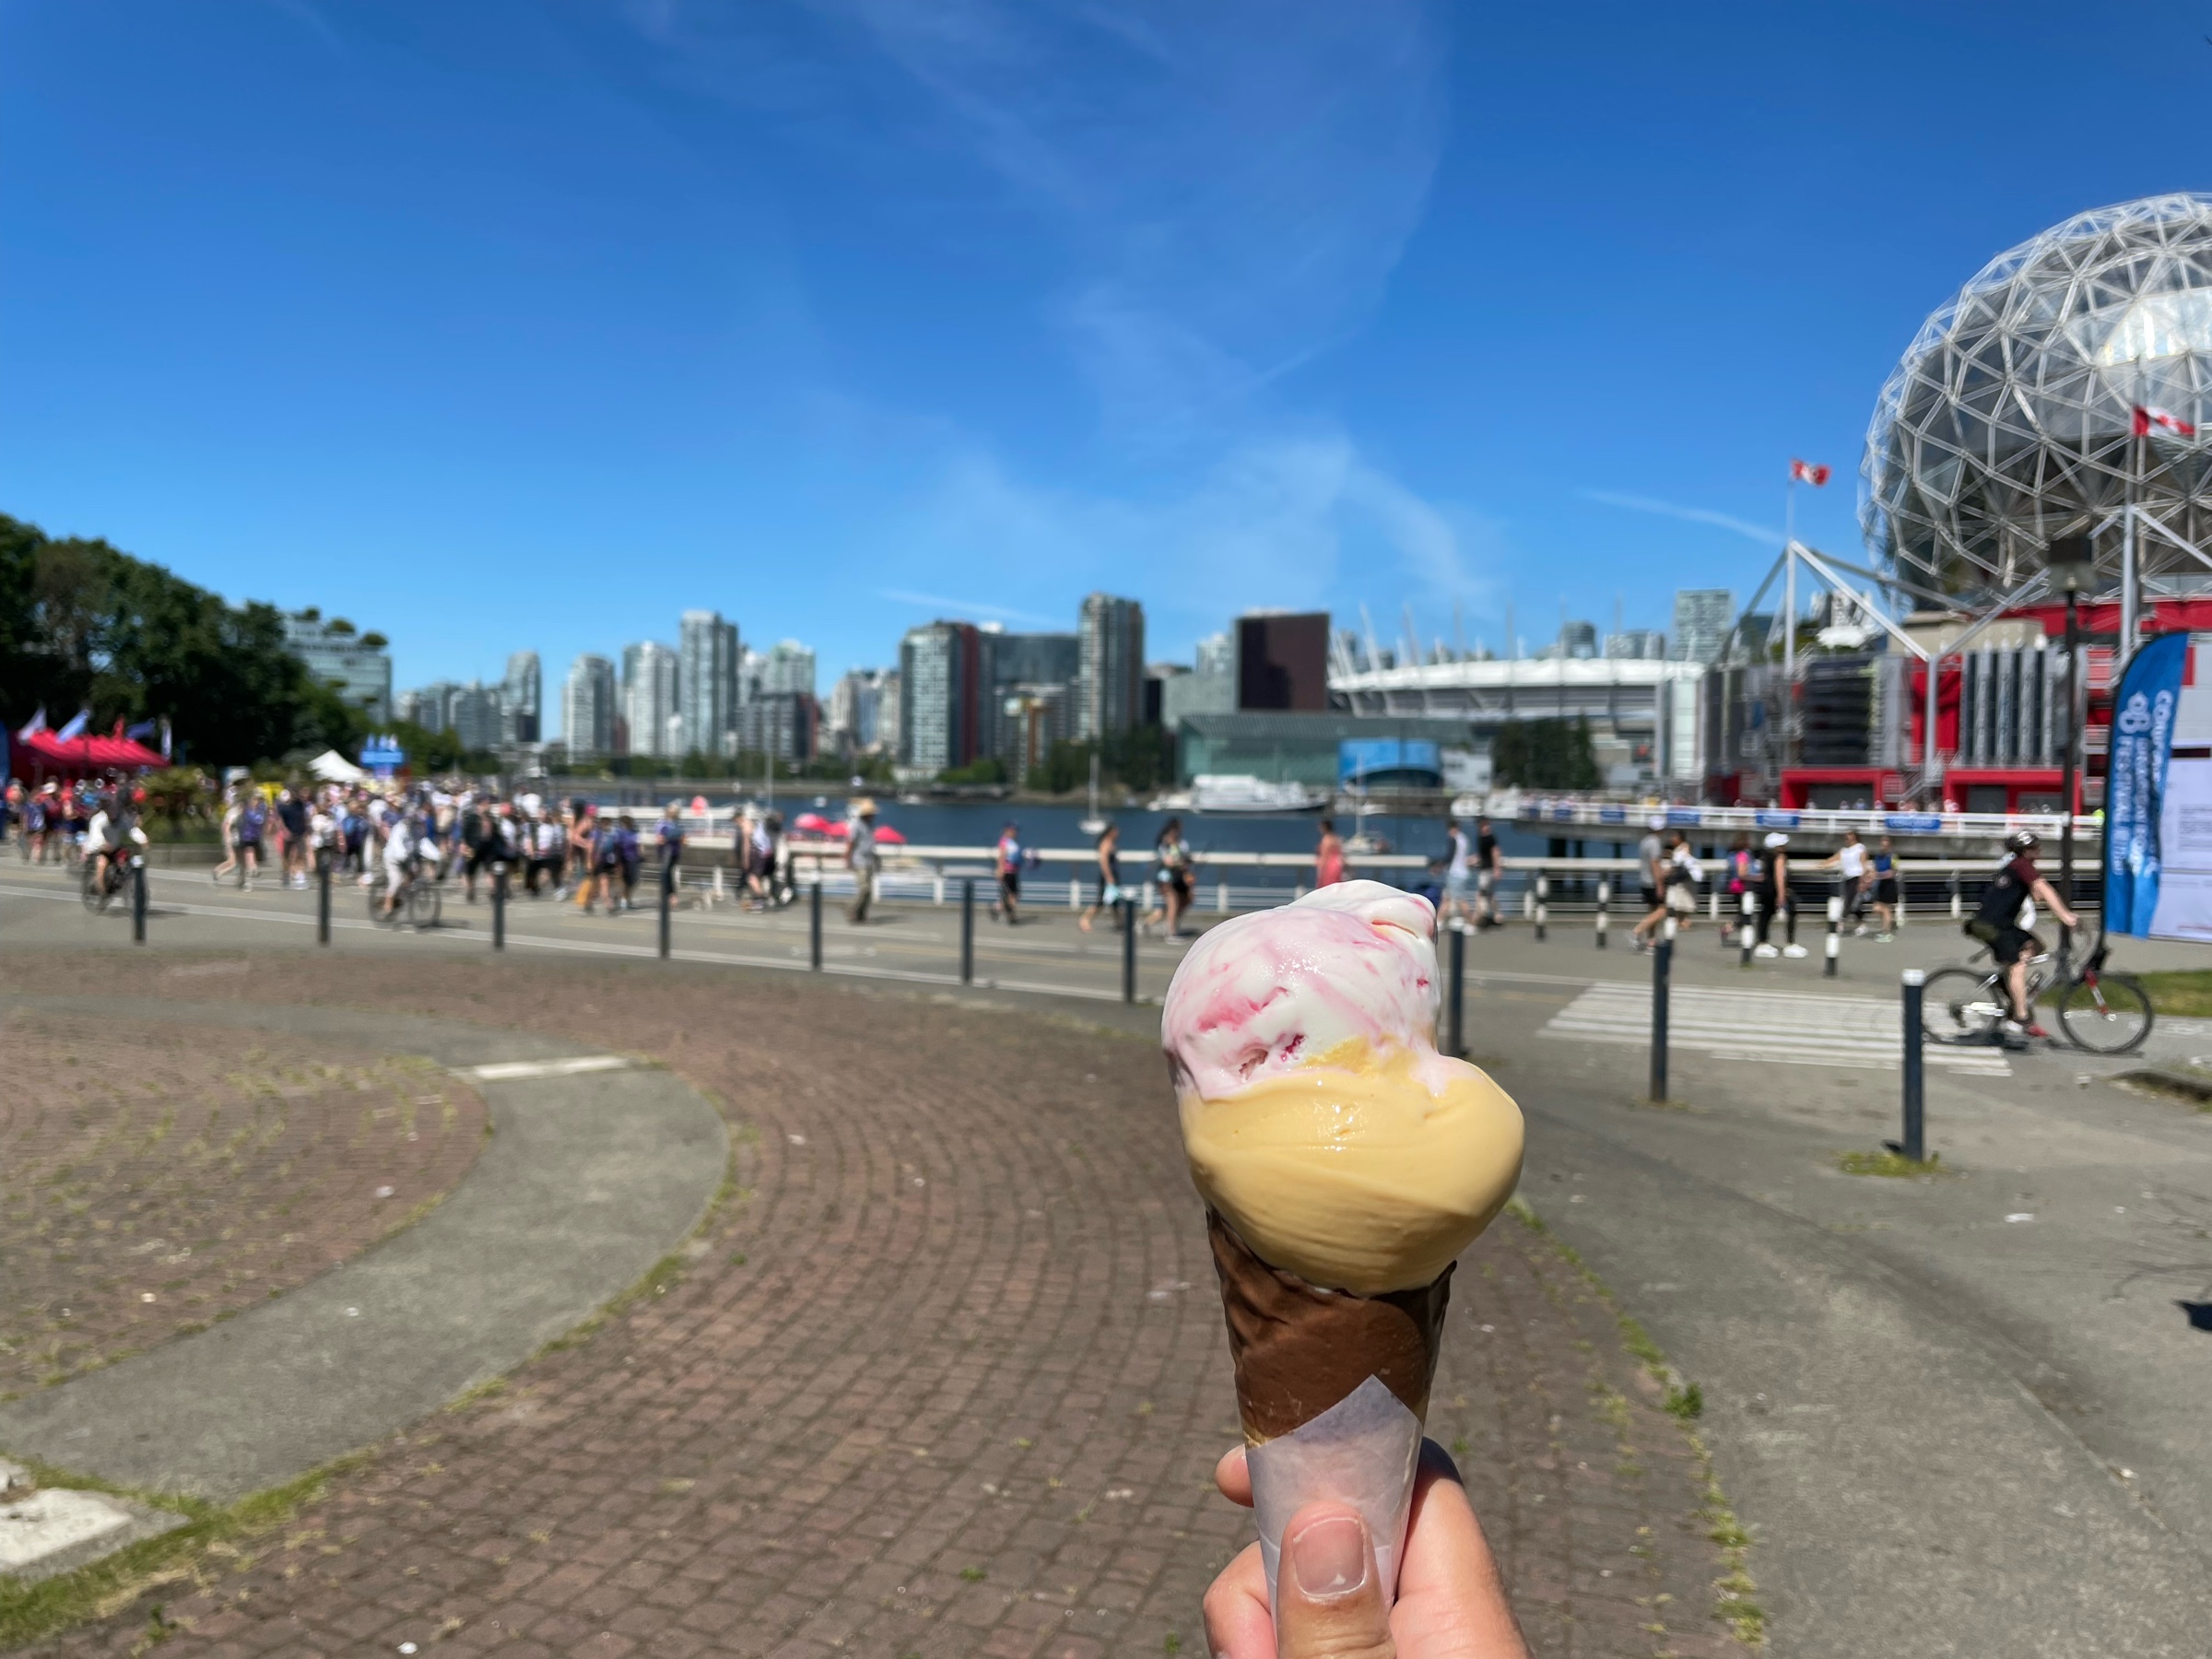
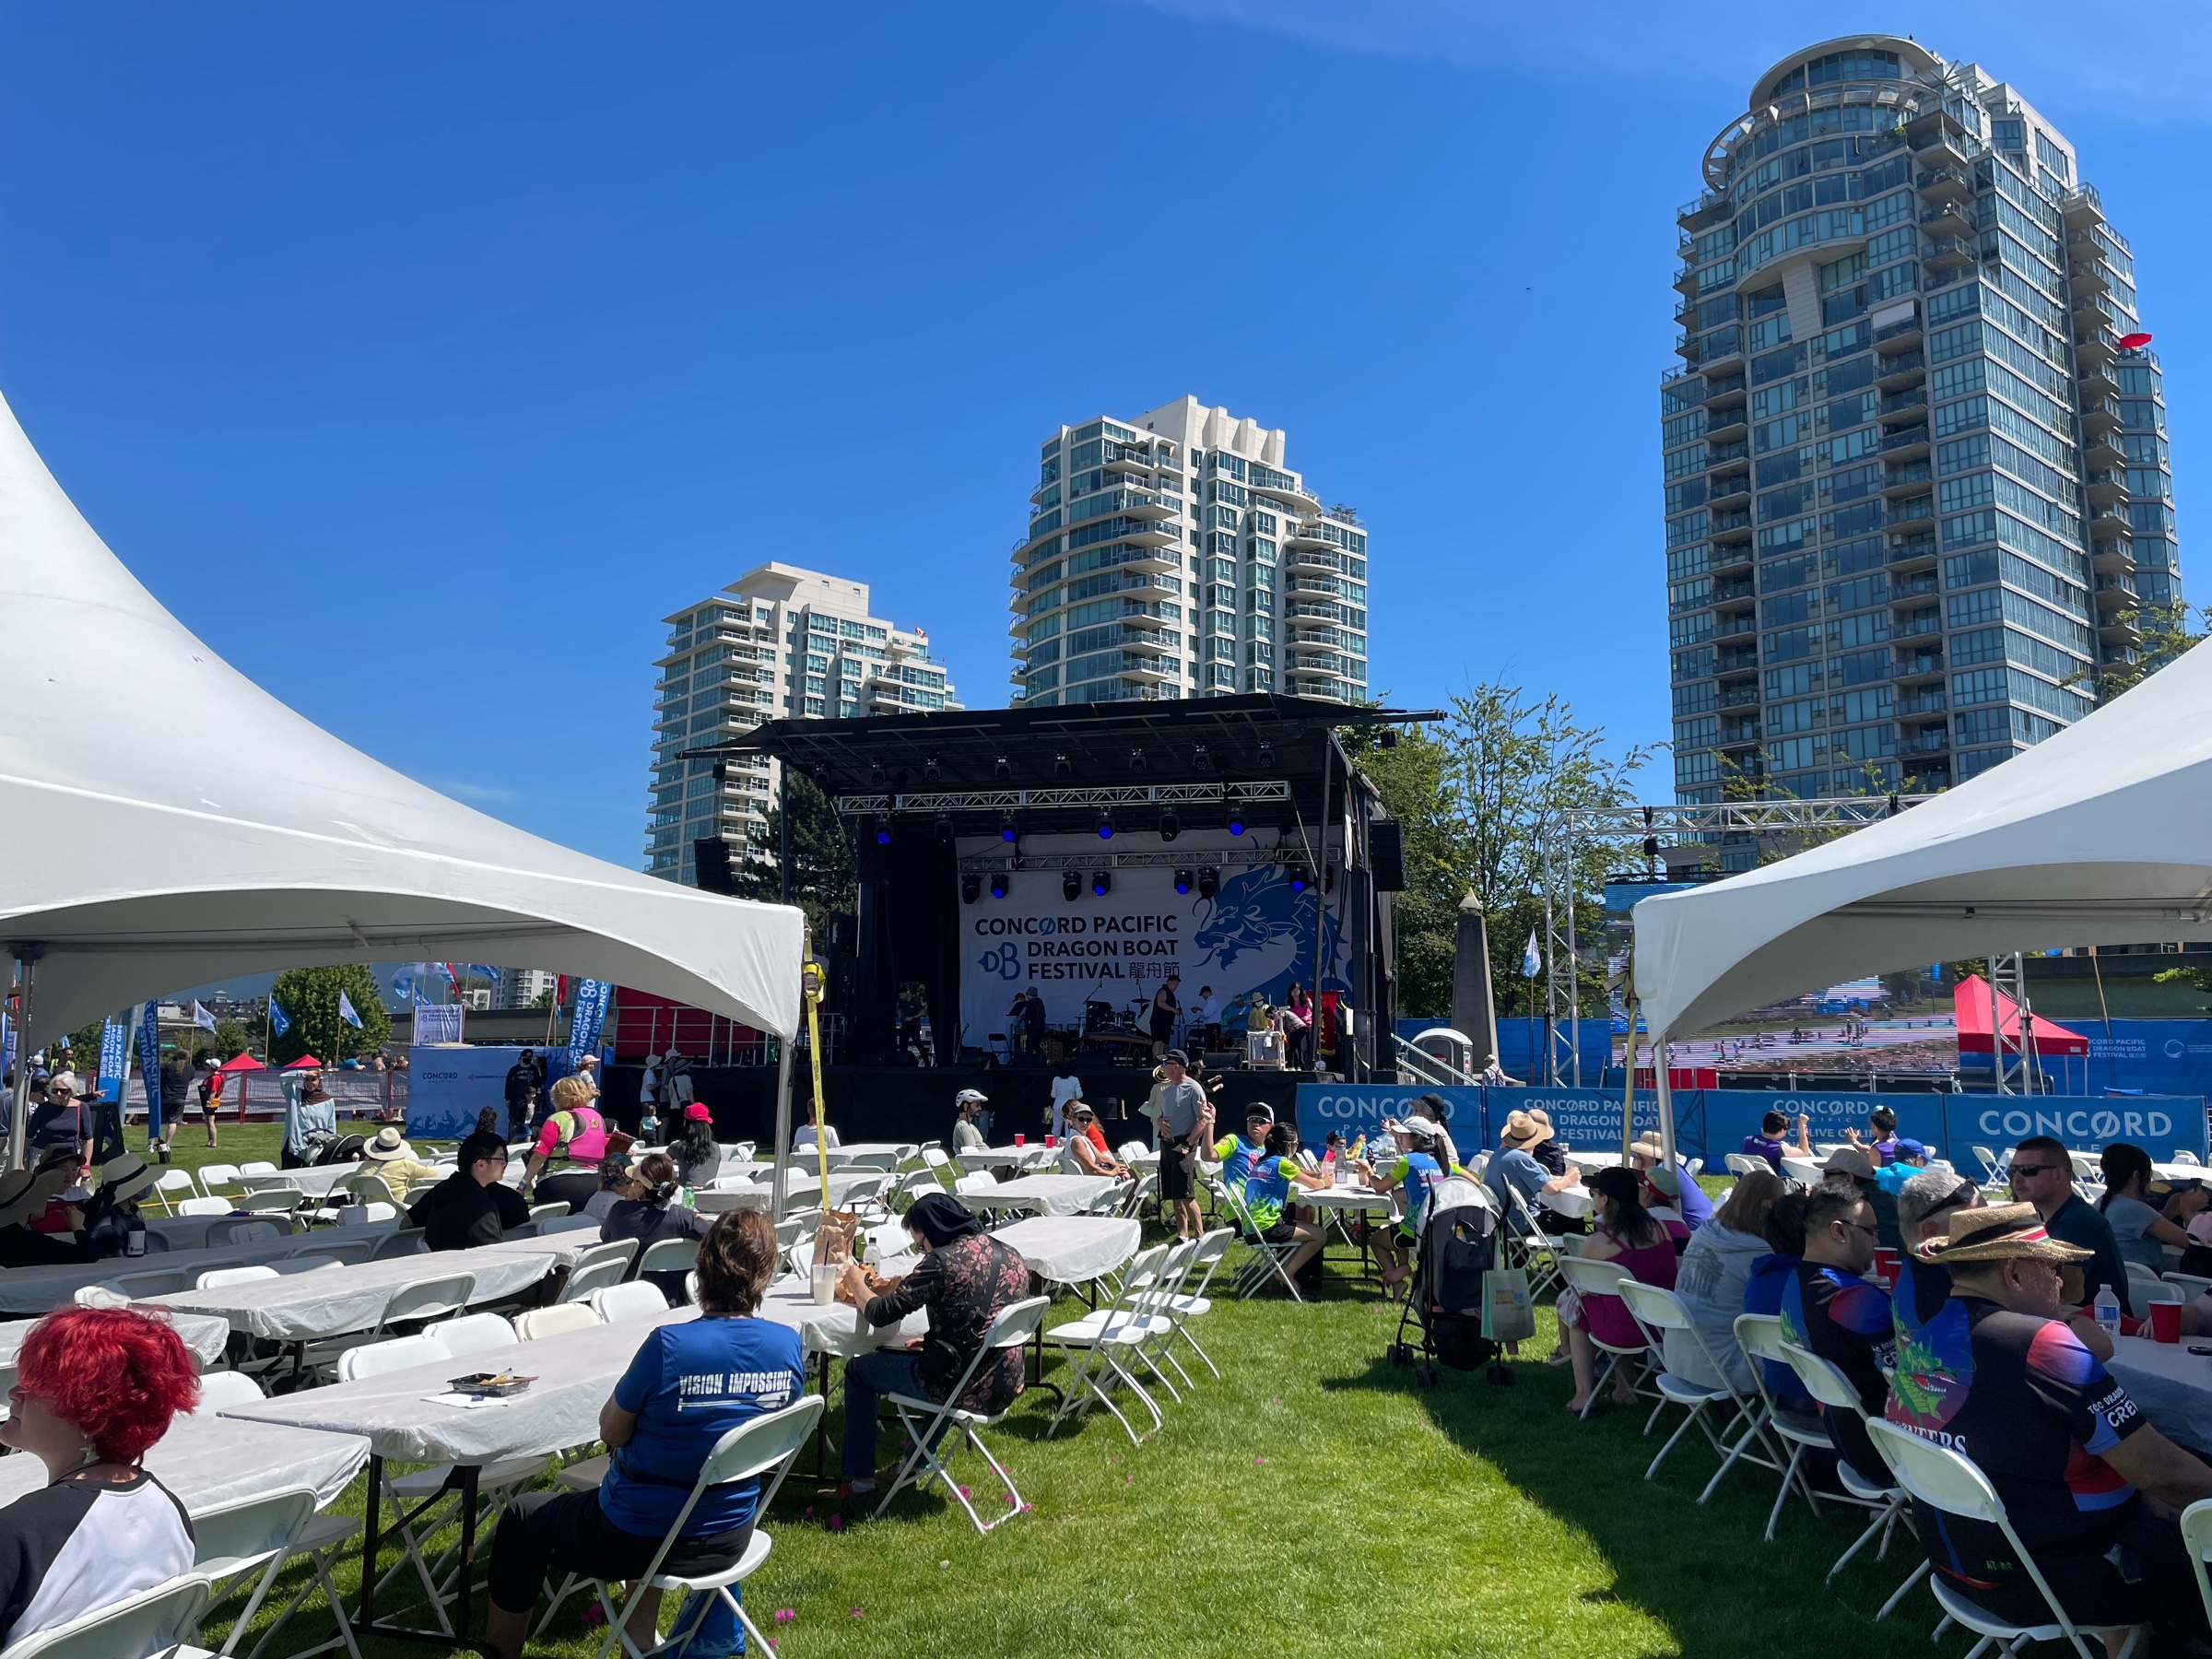
Good morning! I just wanted some ice cream and ended up wandering into a dragon boat festival thing. Thankfully I escaped. With ice cream.
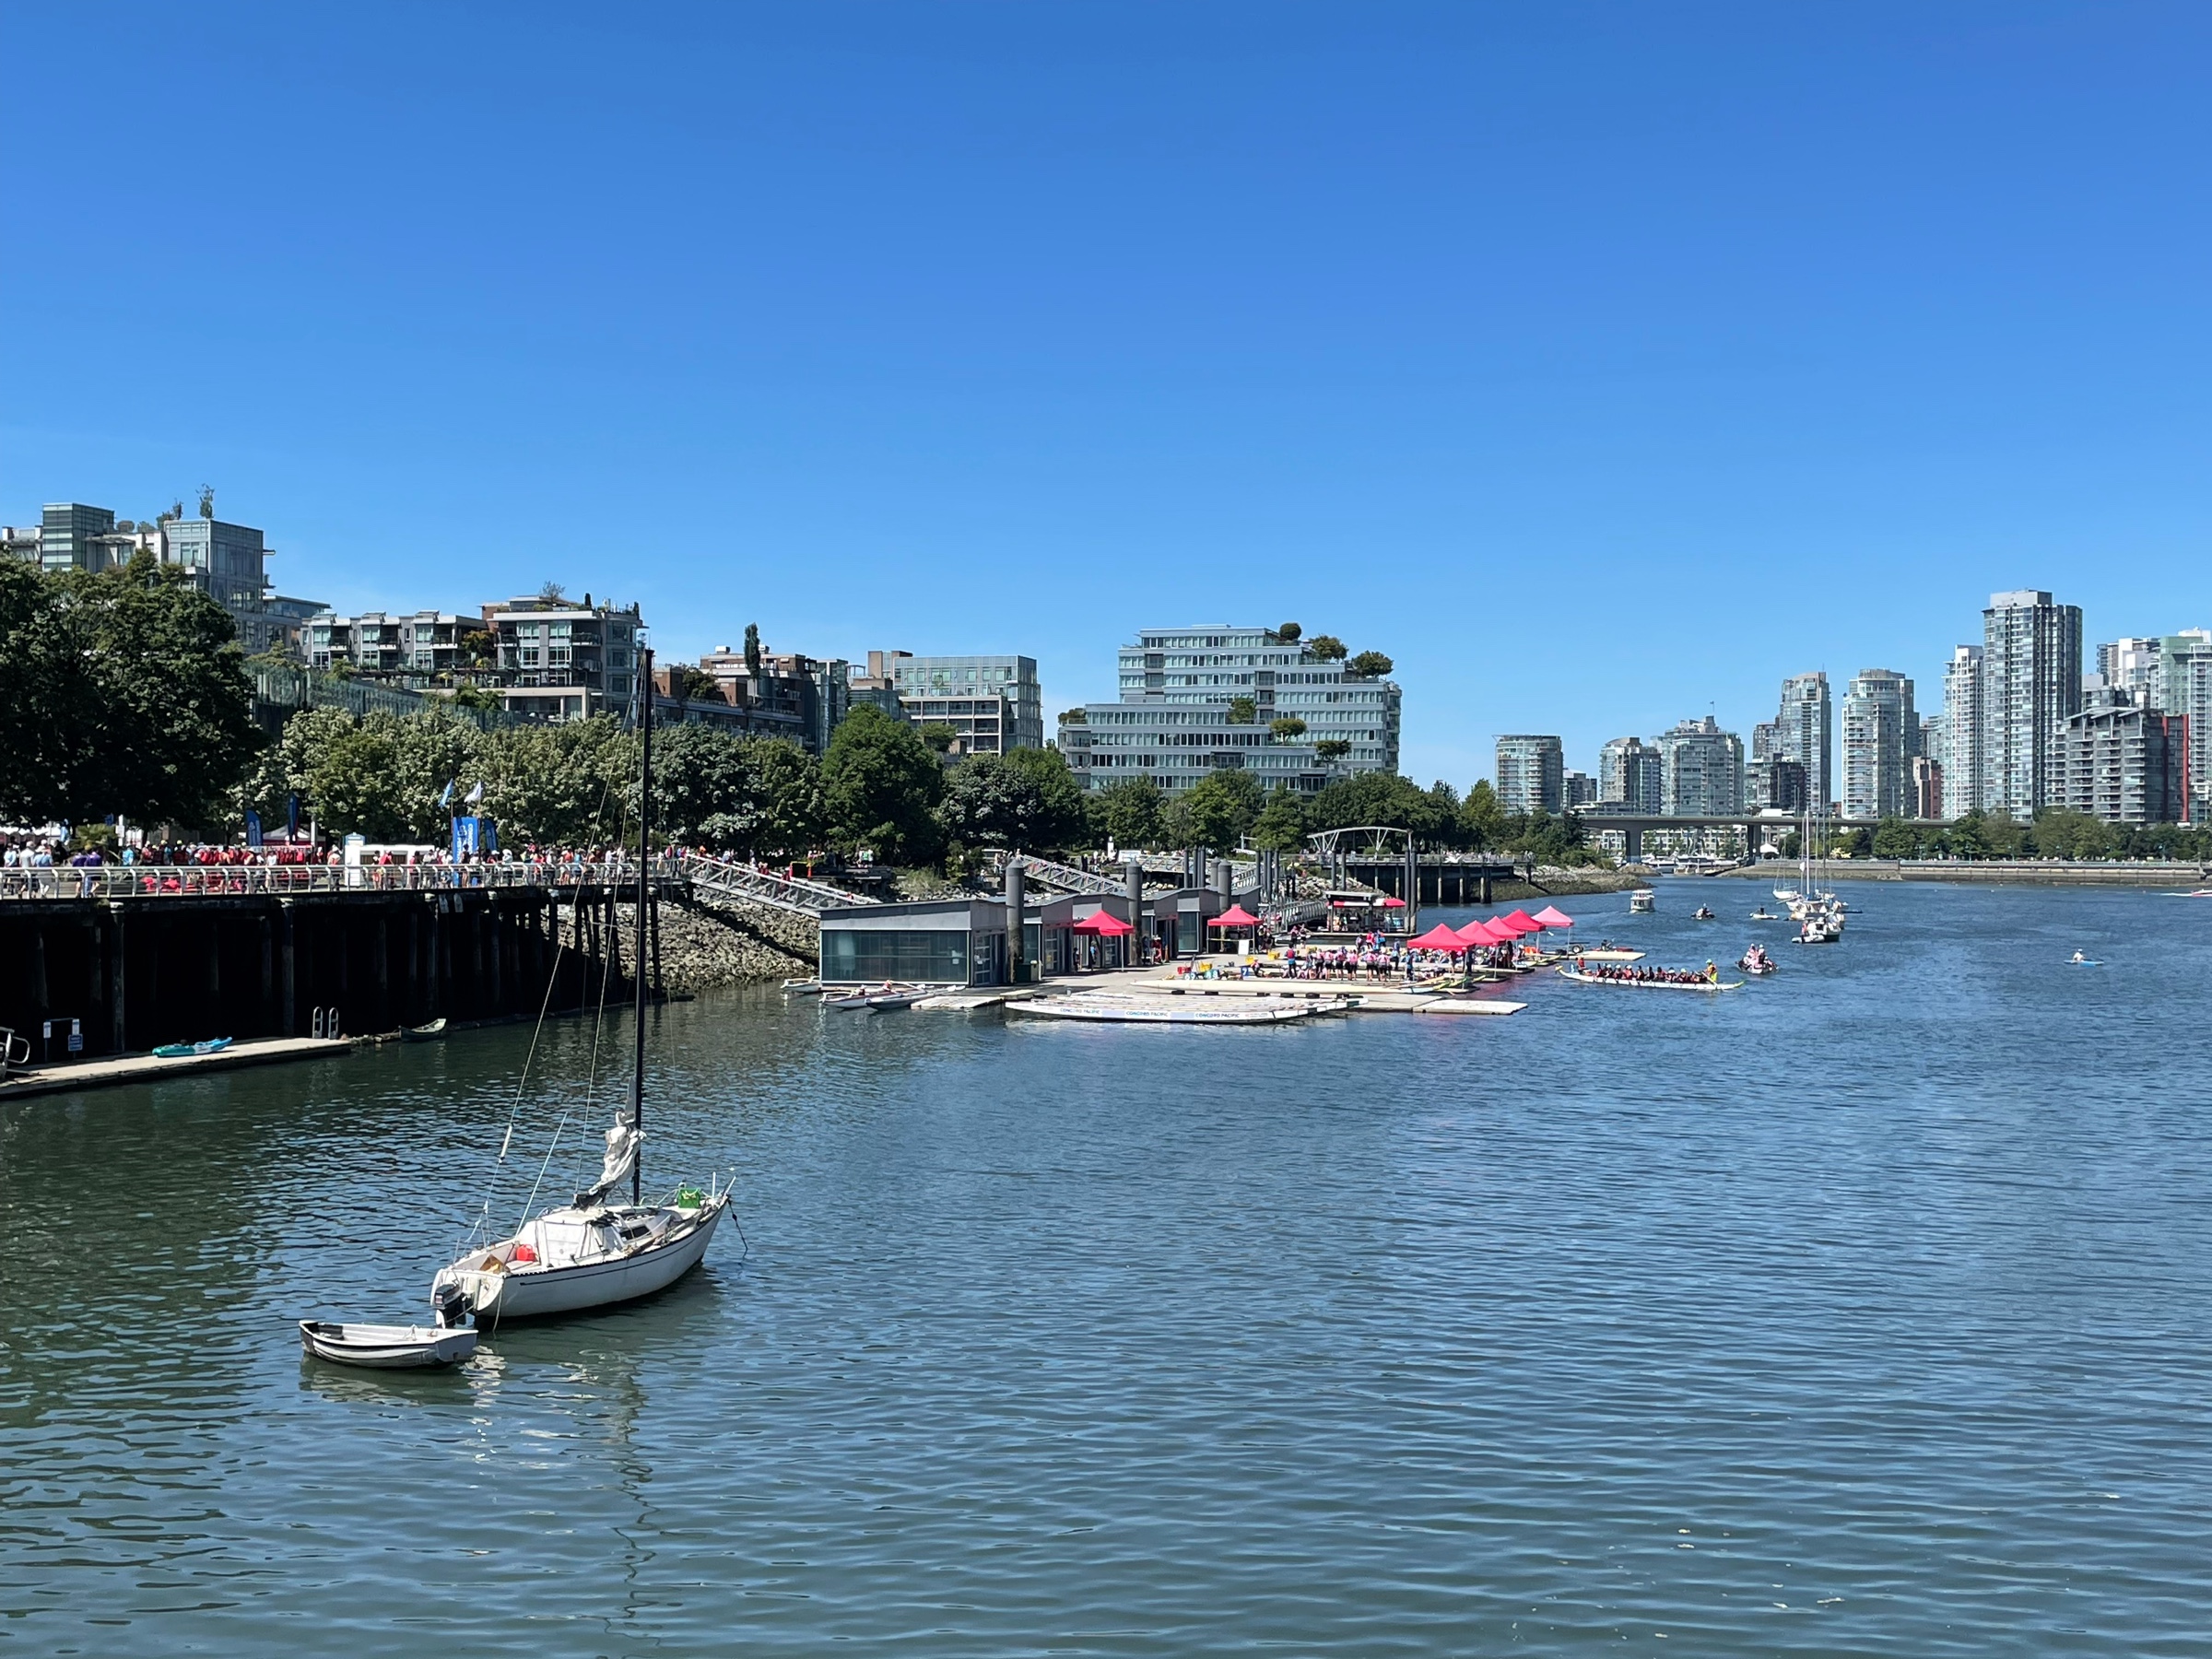
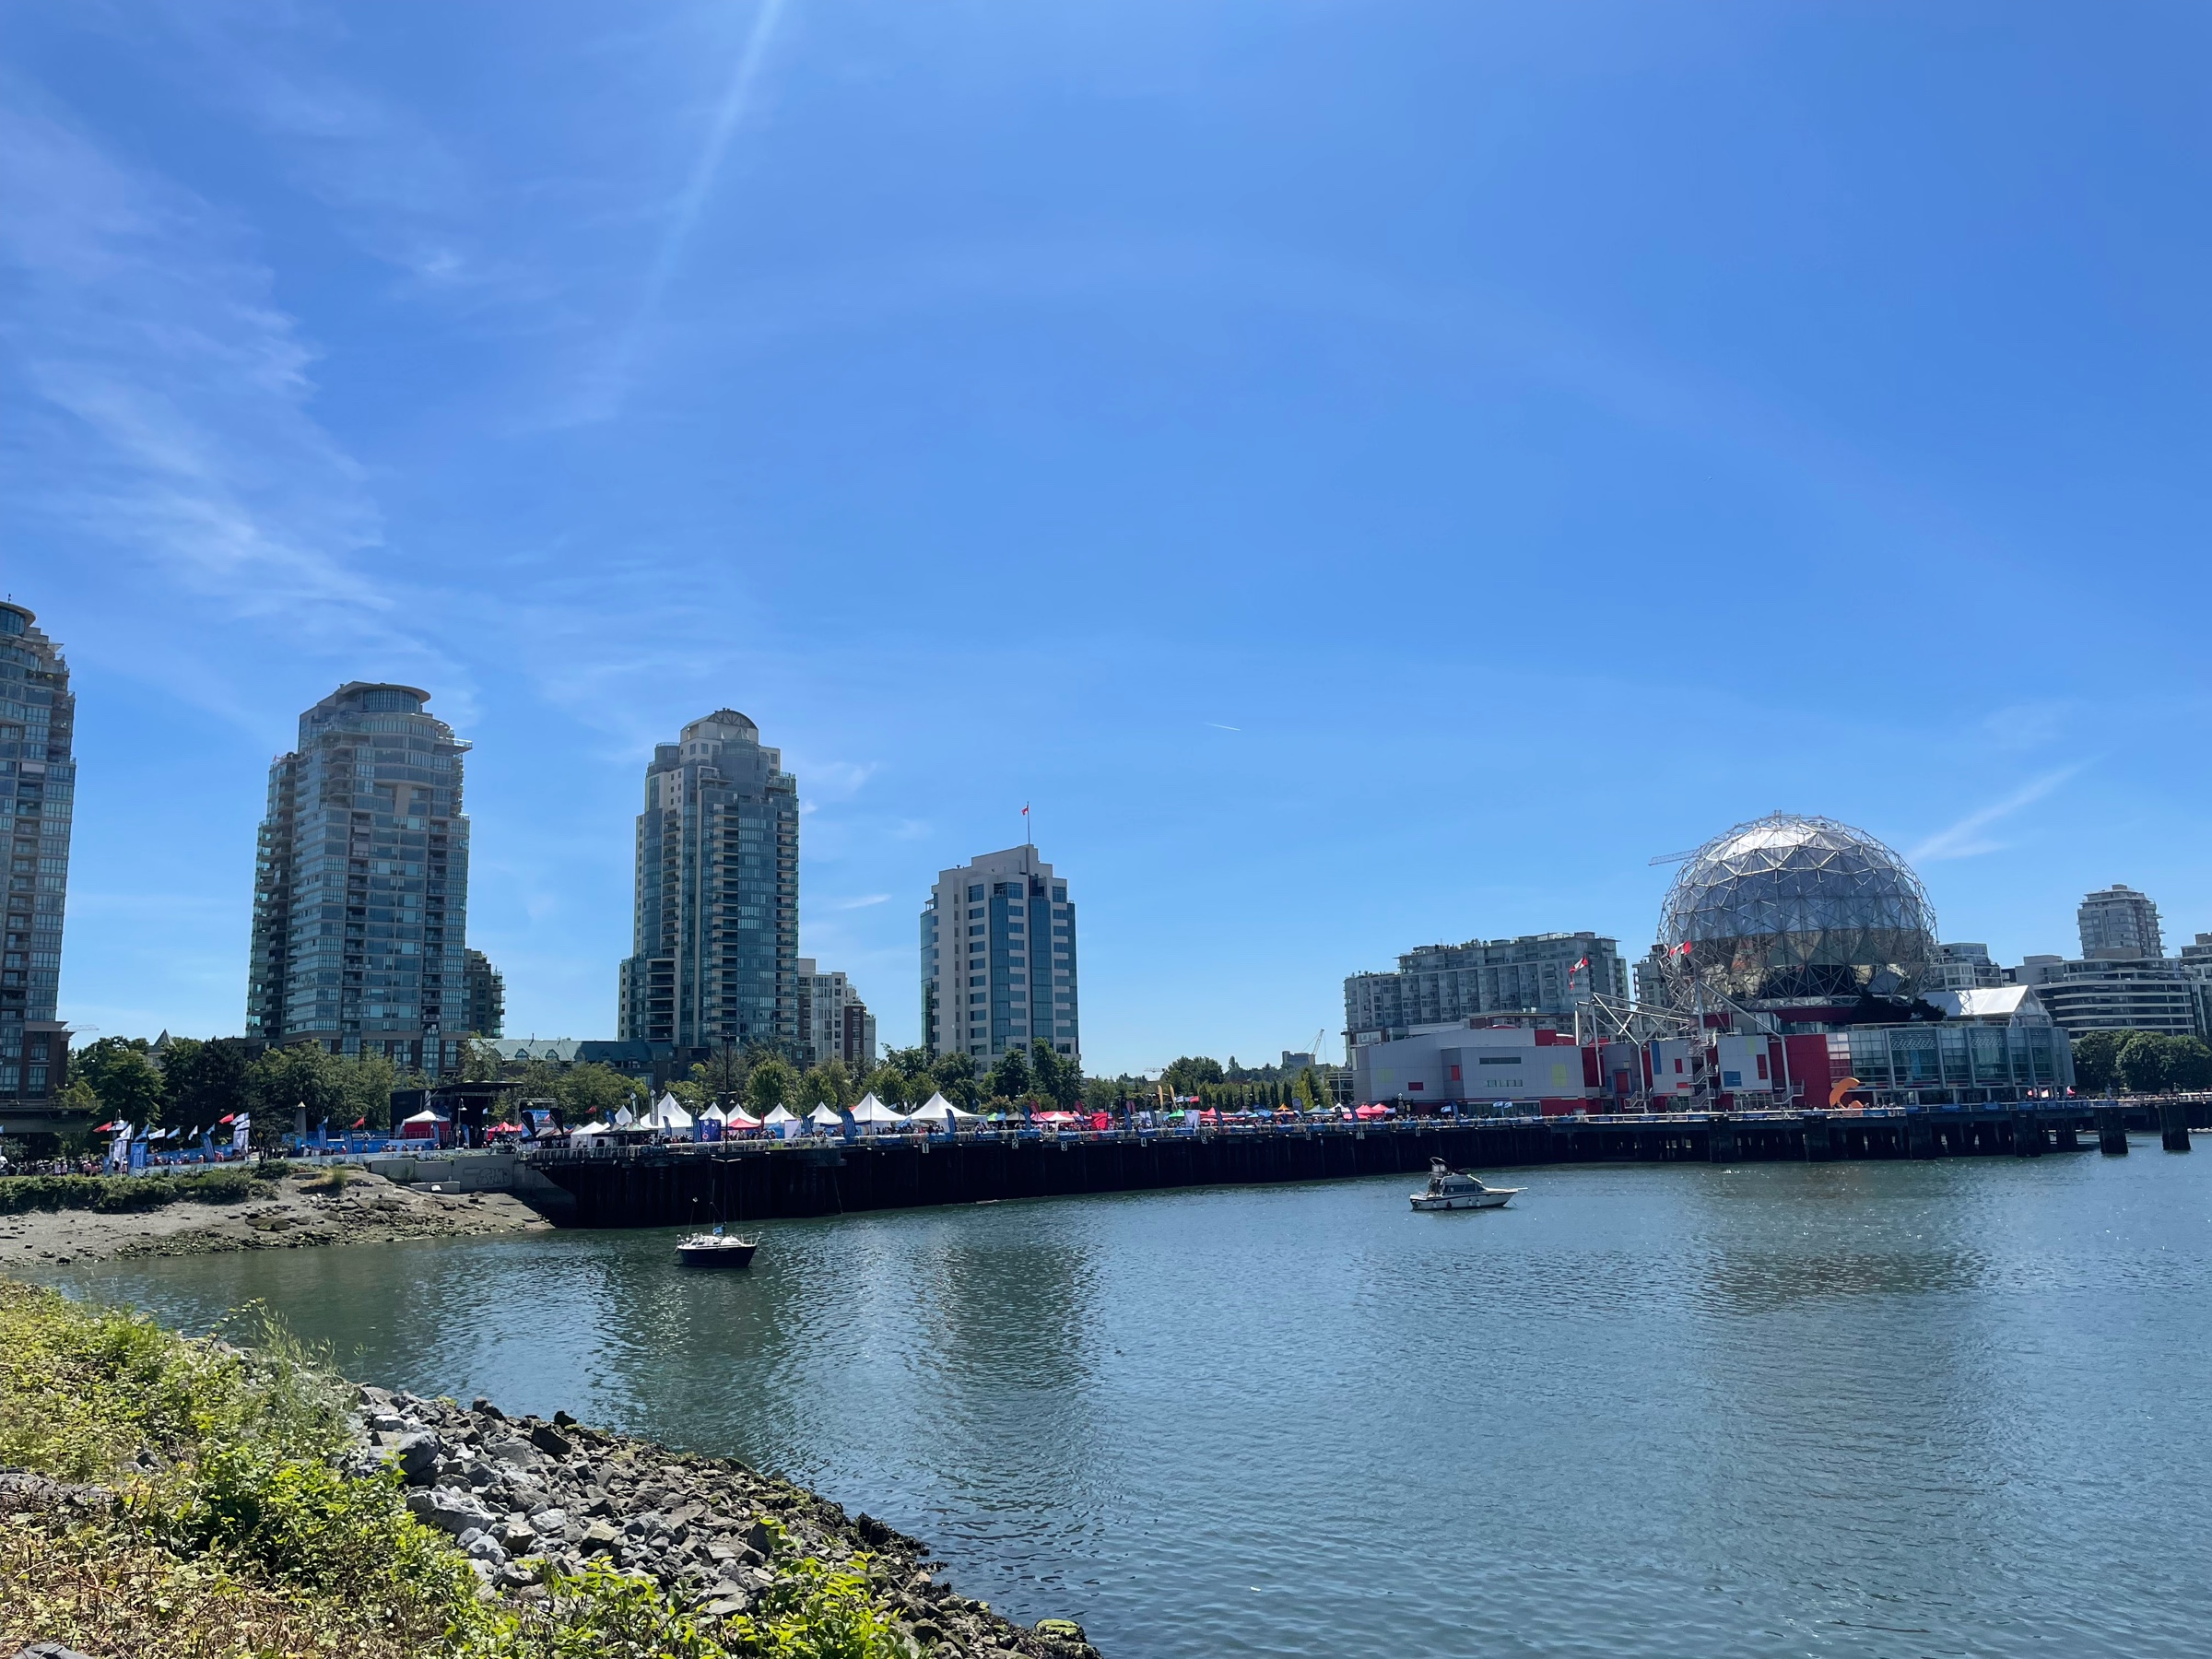
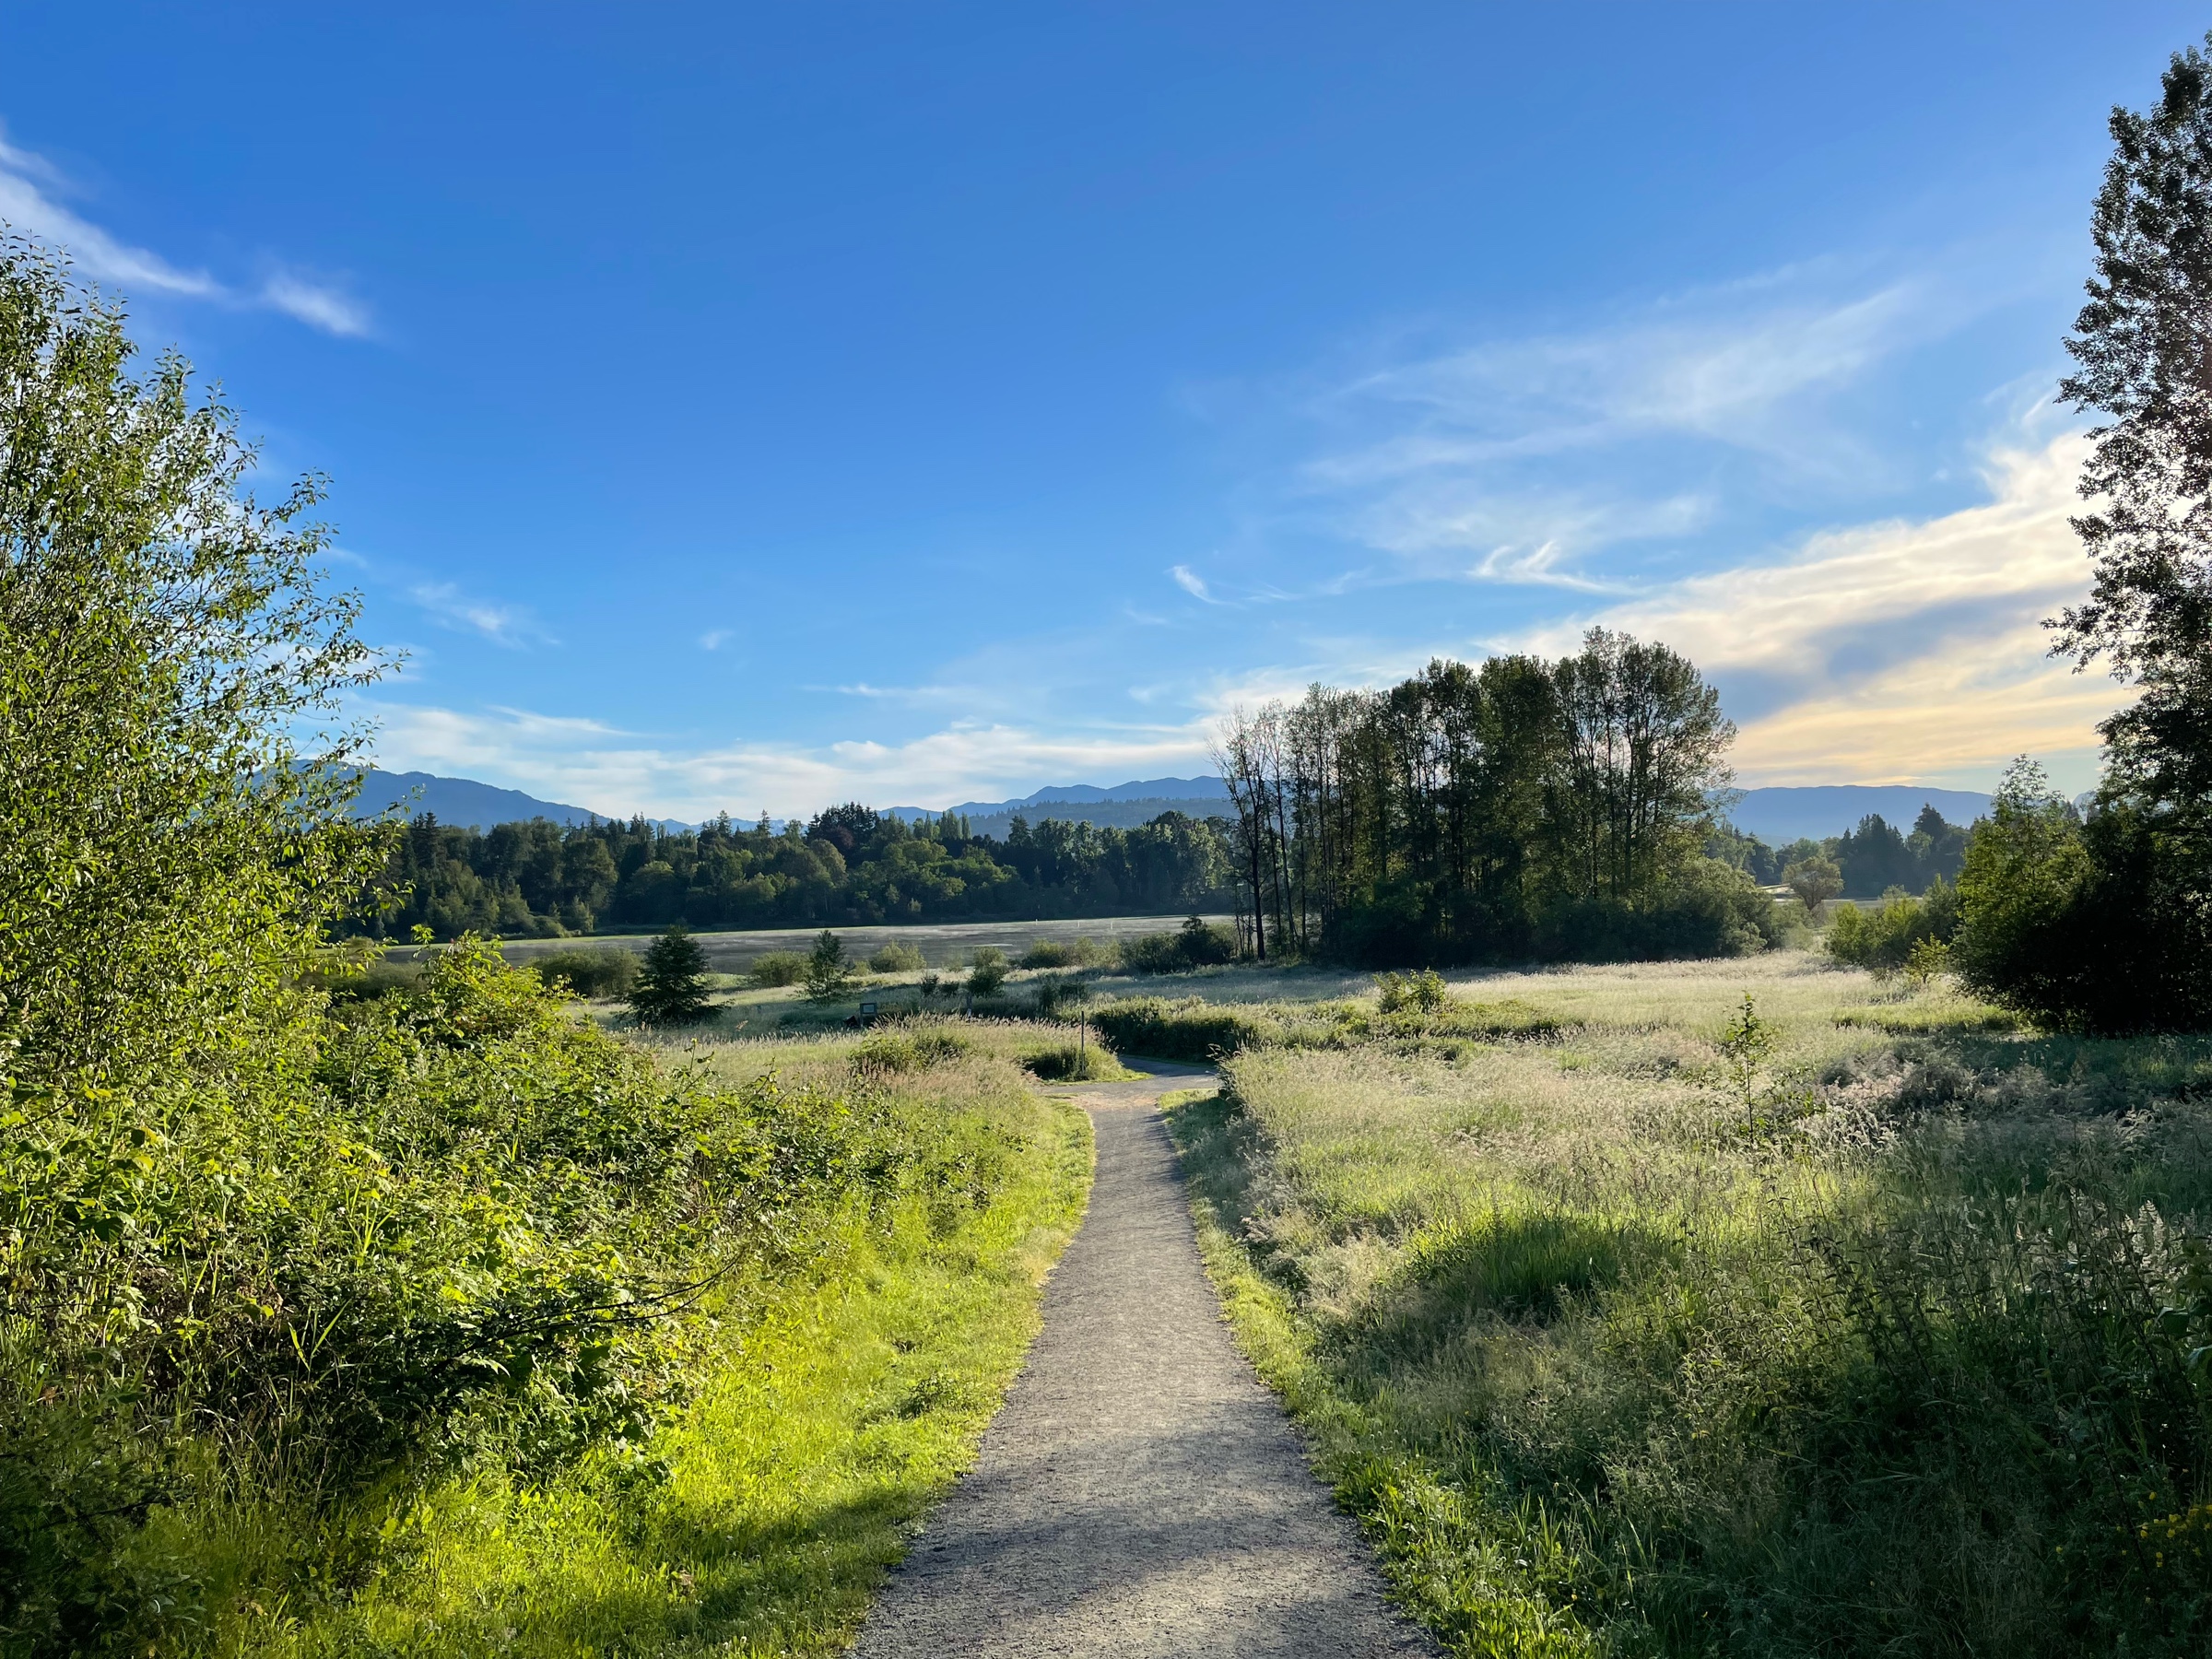
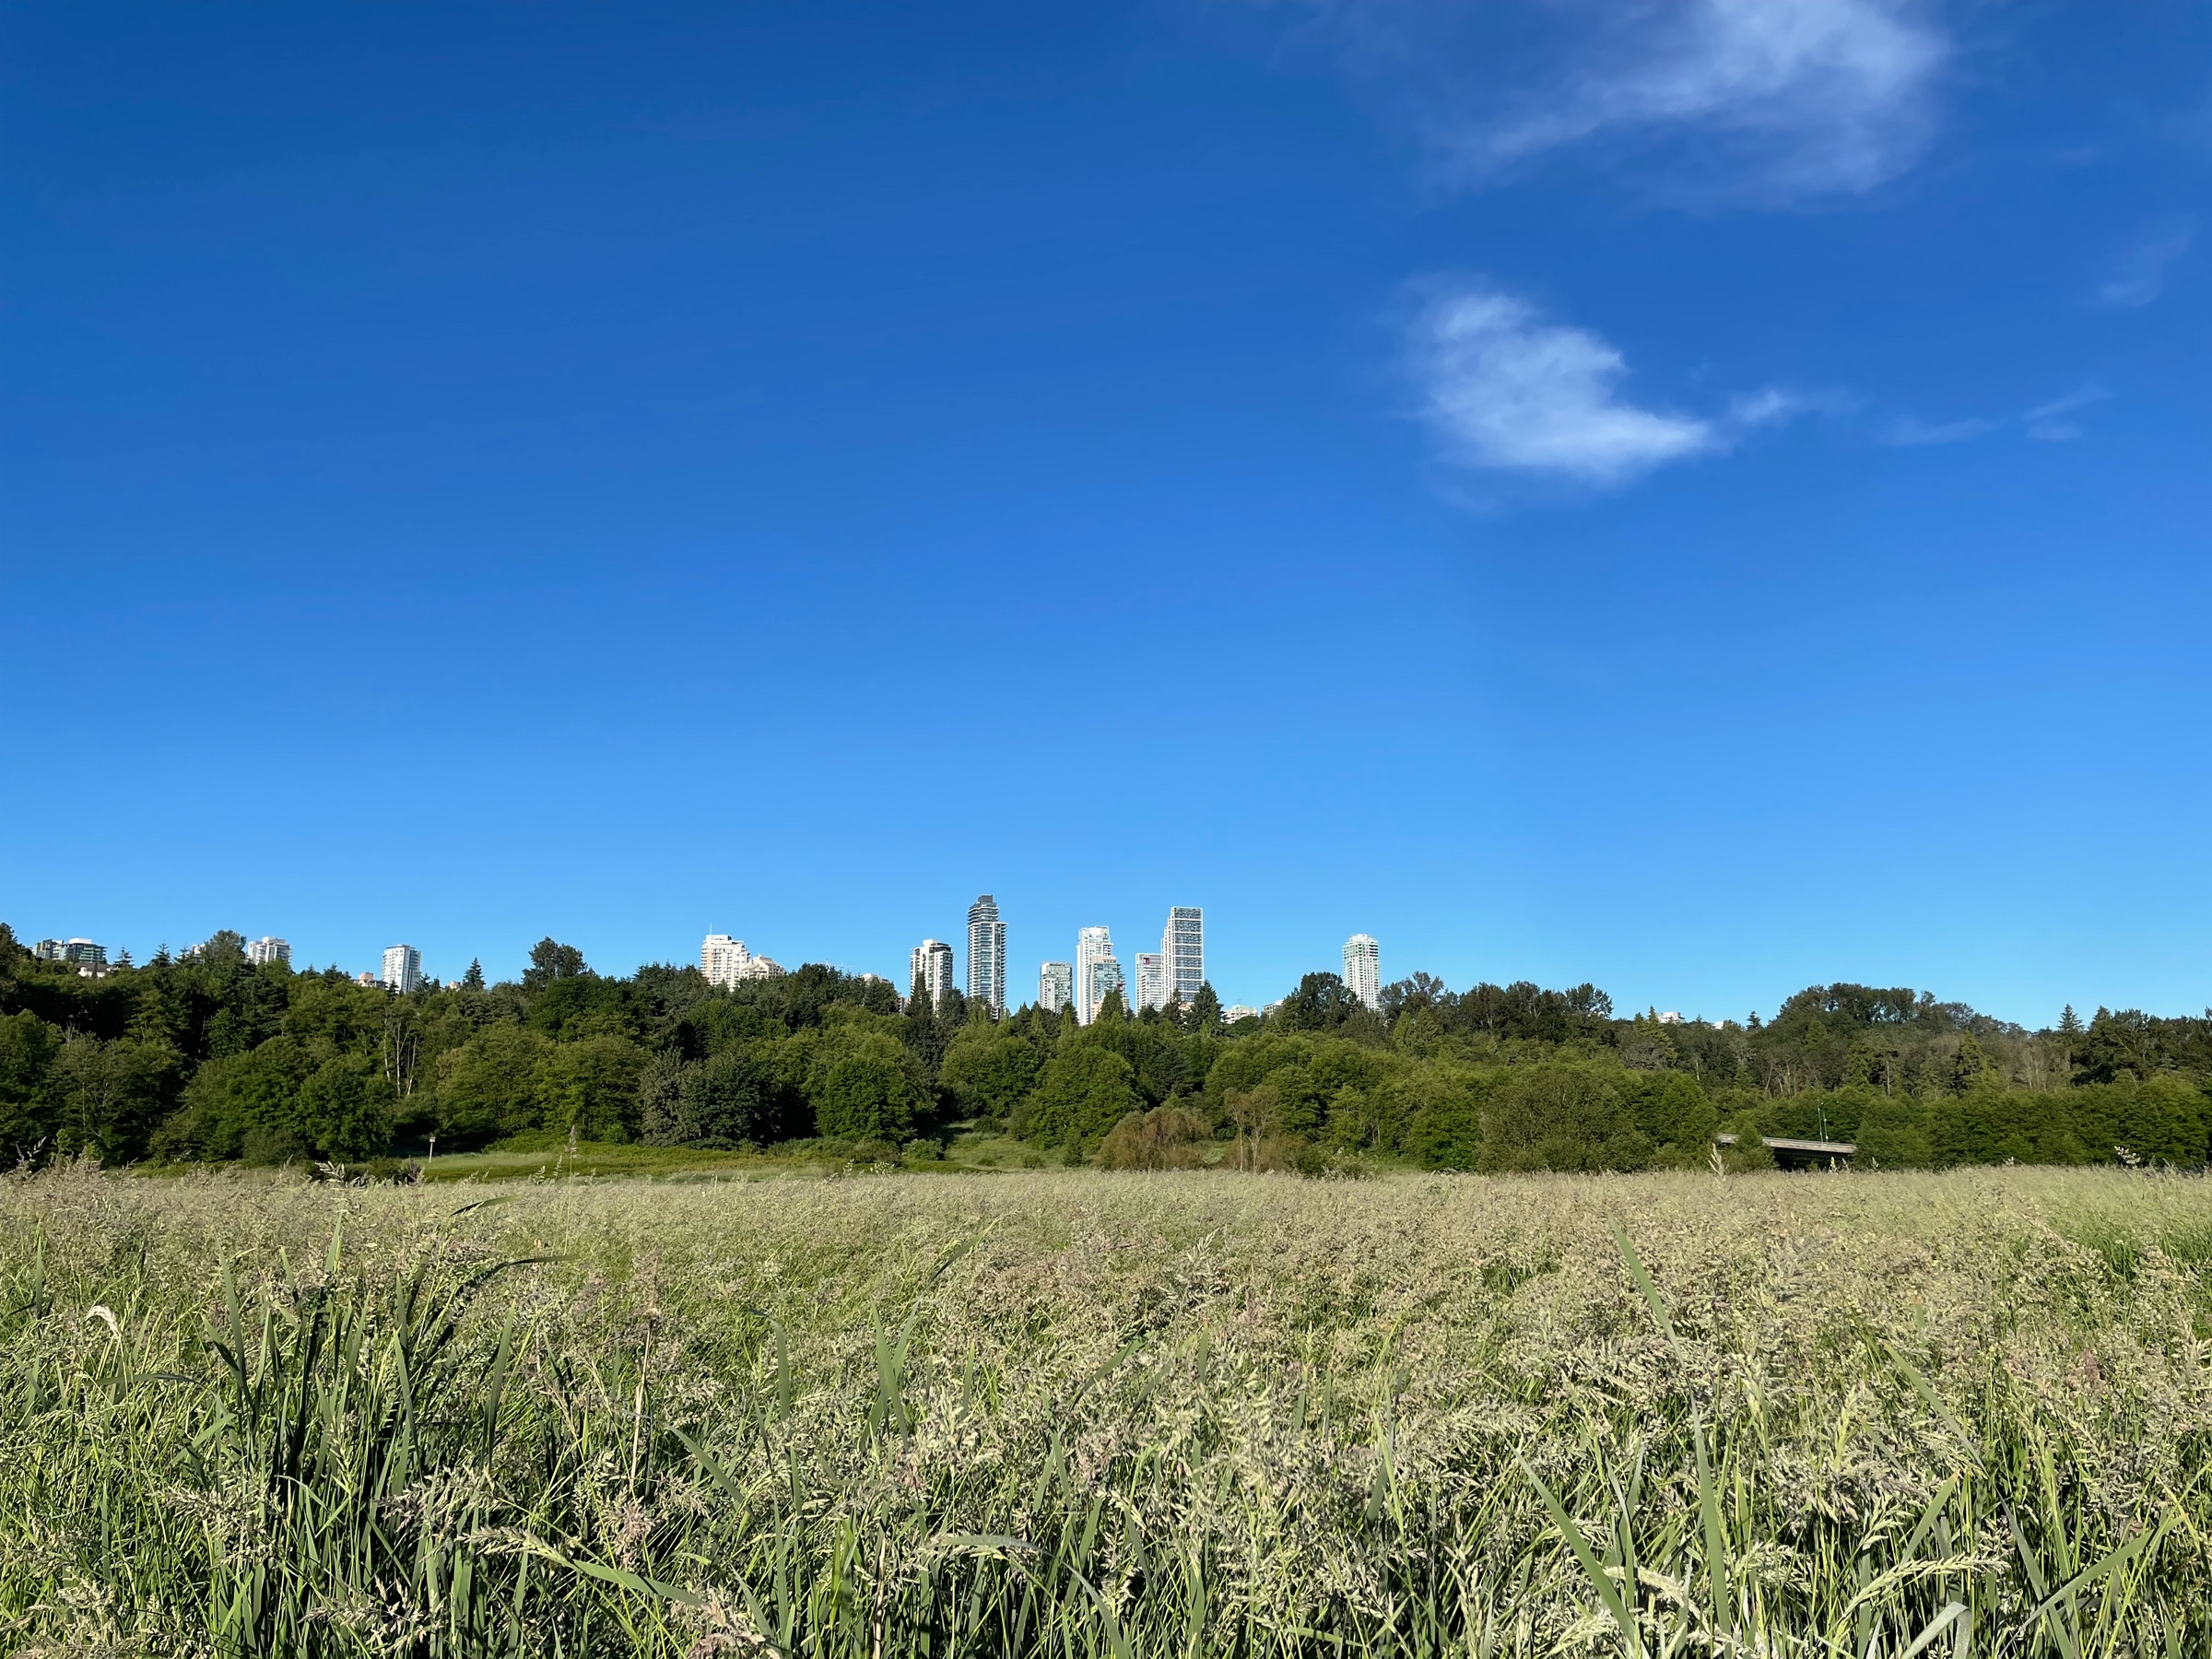
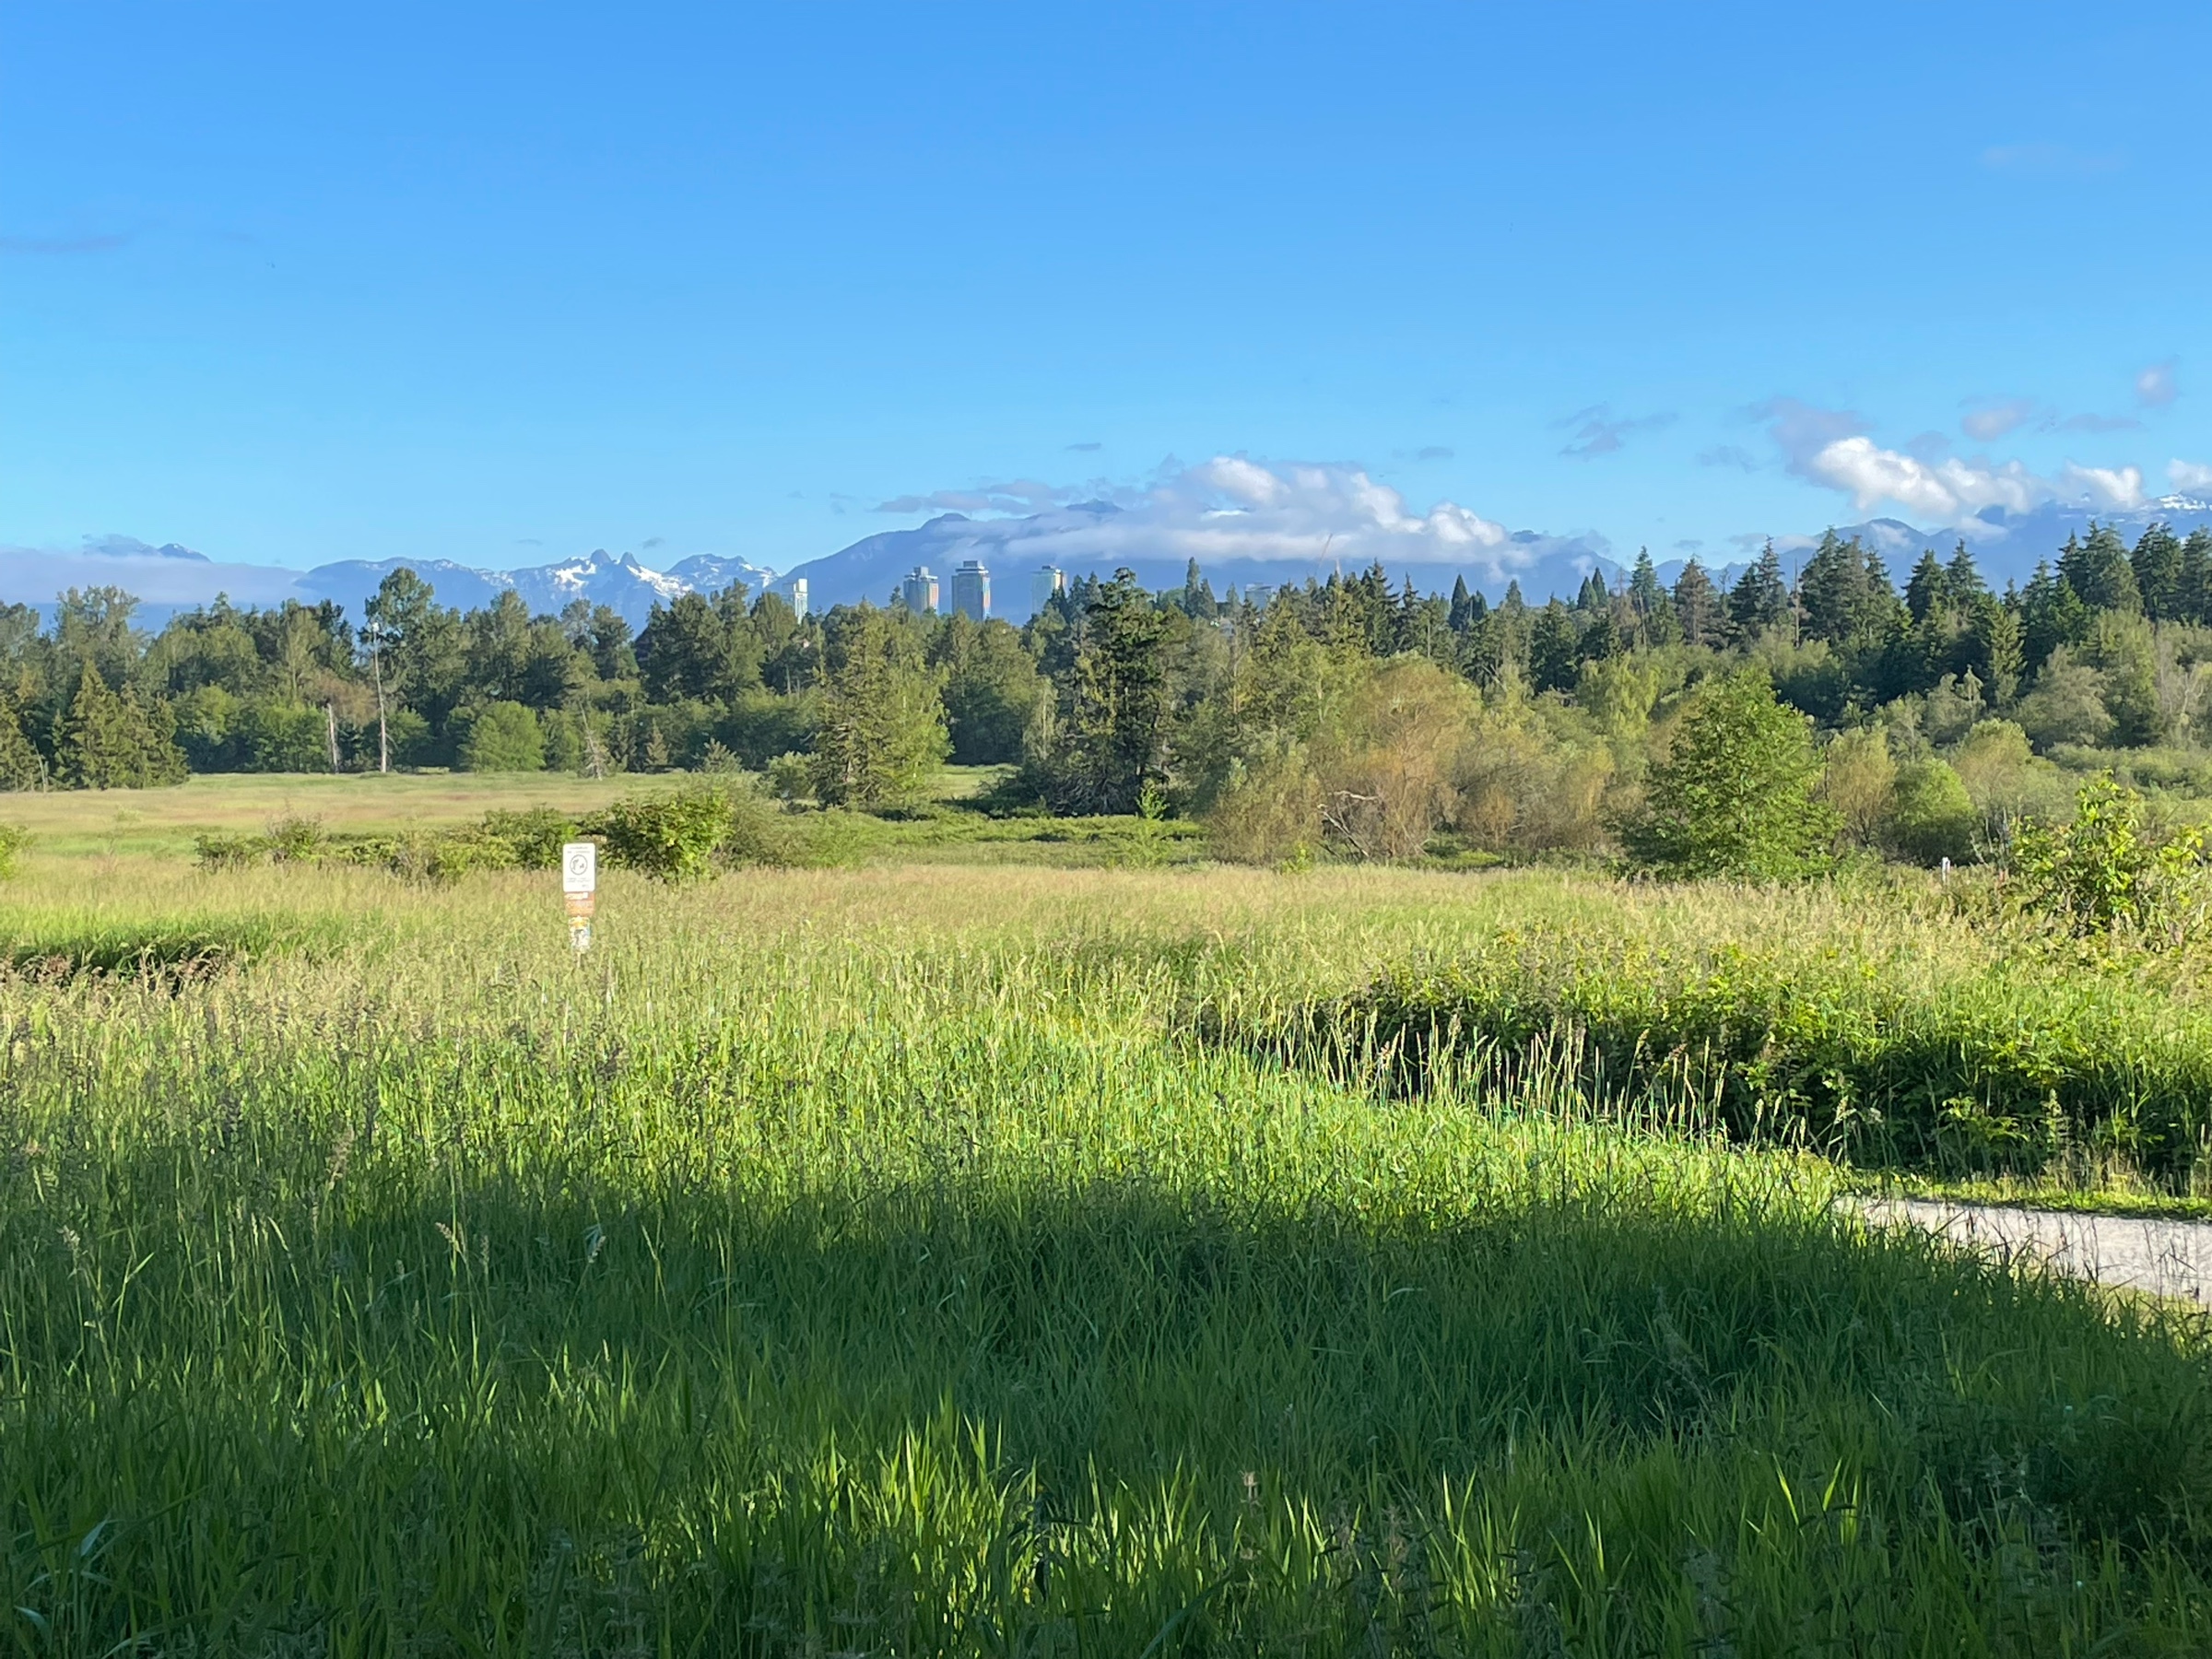
I don’t like blue skies. Give me some
clouds!
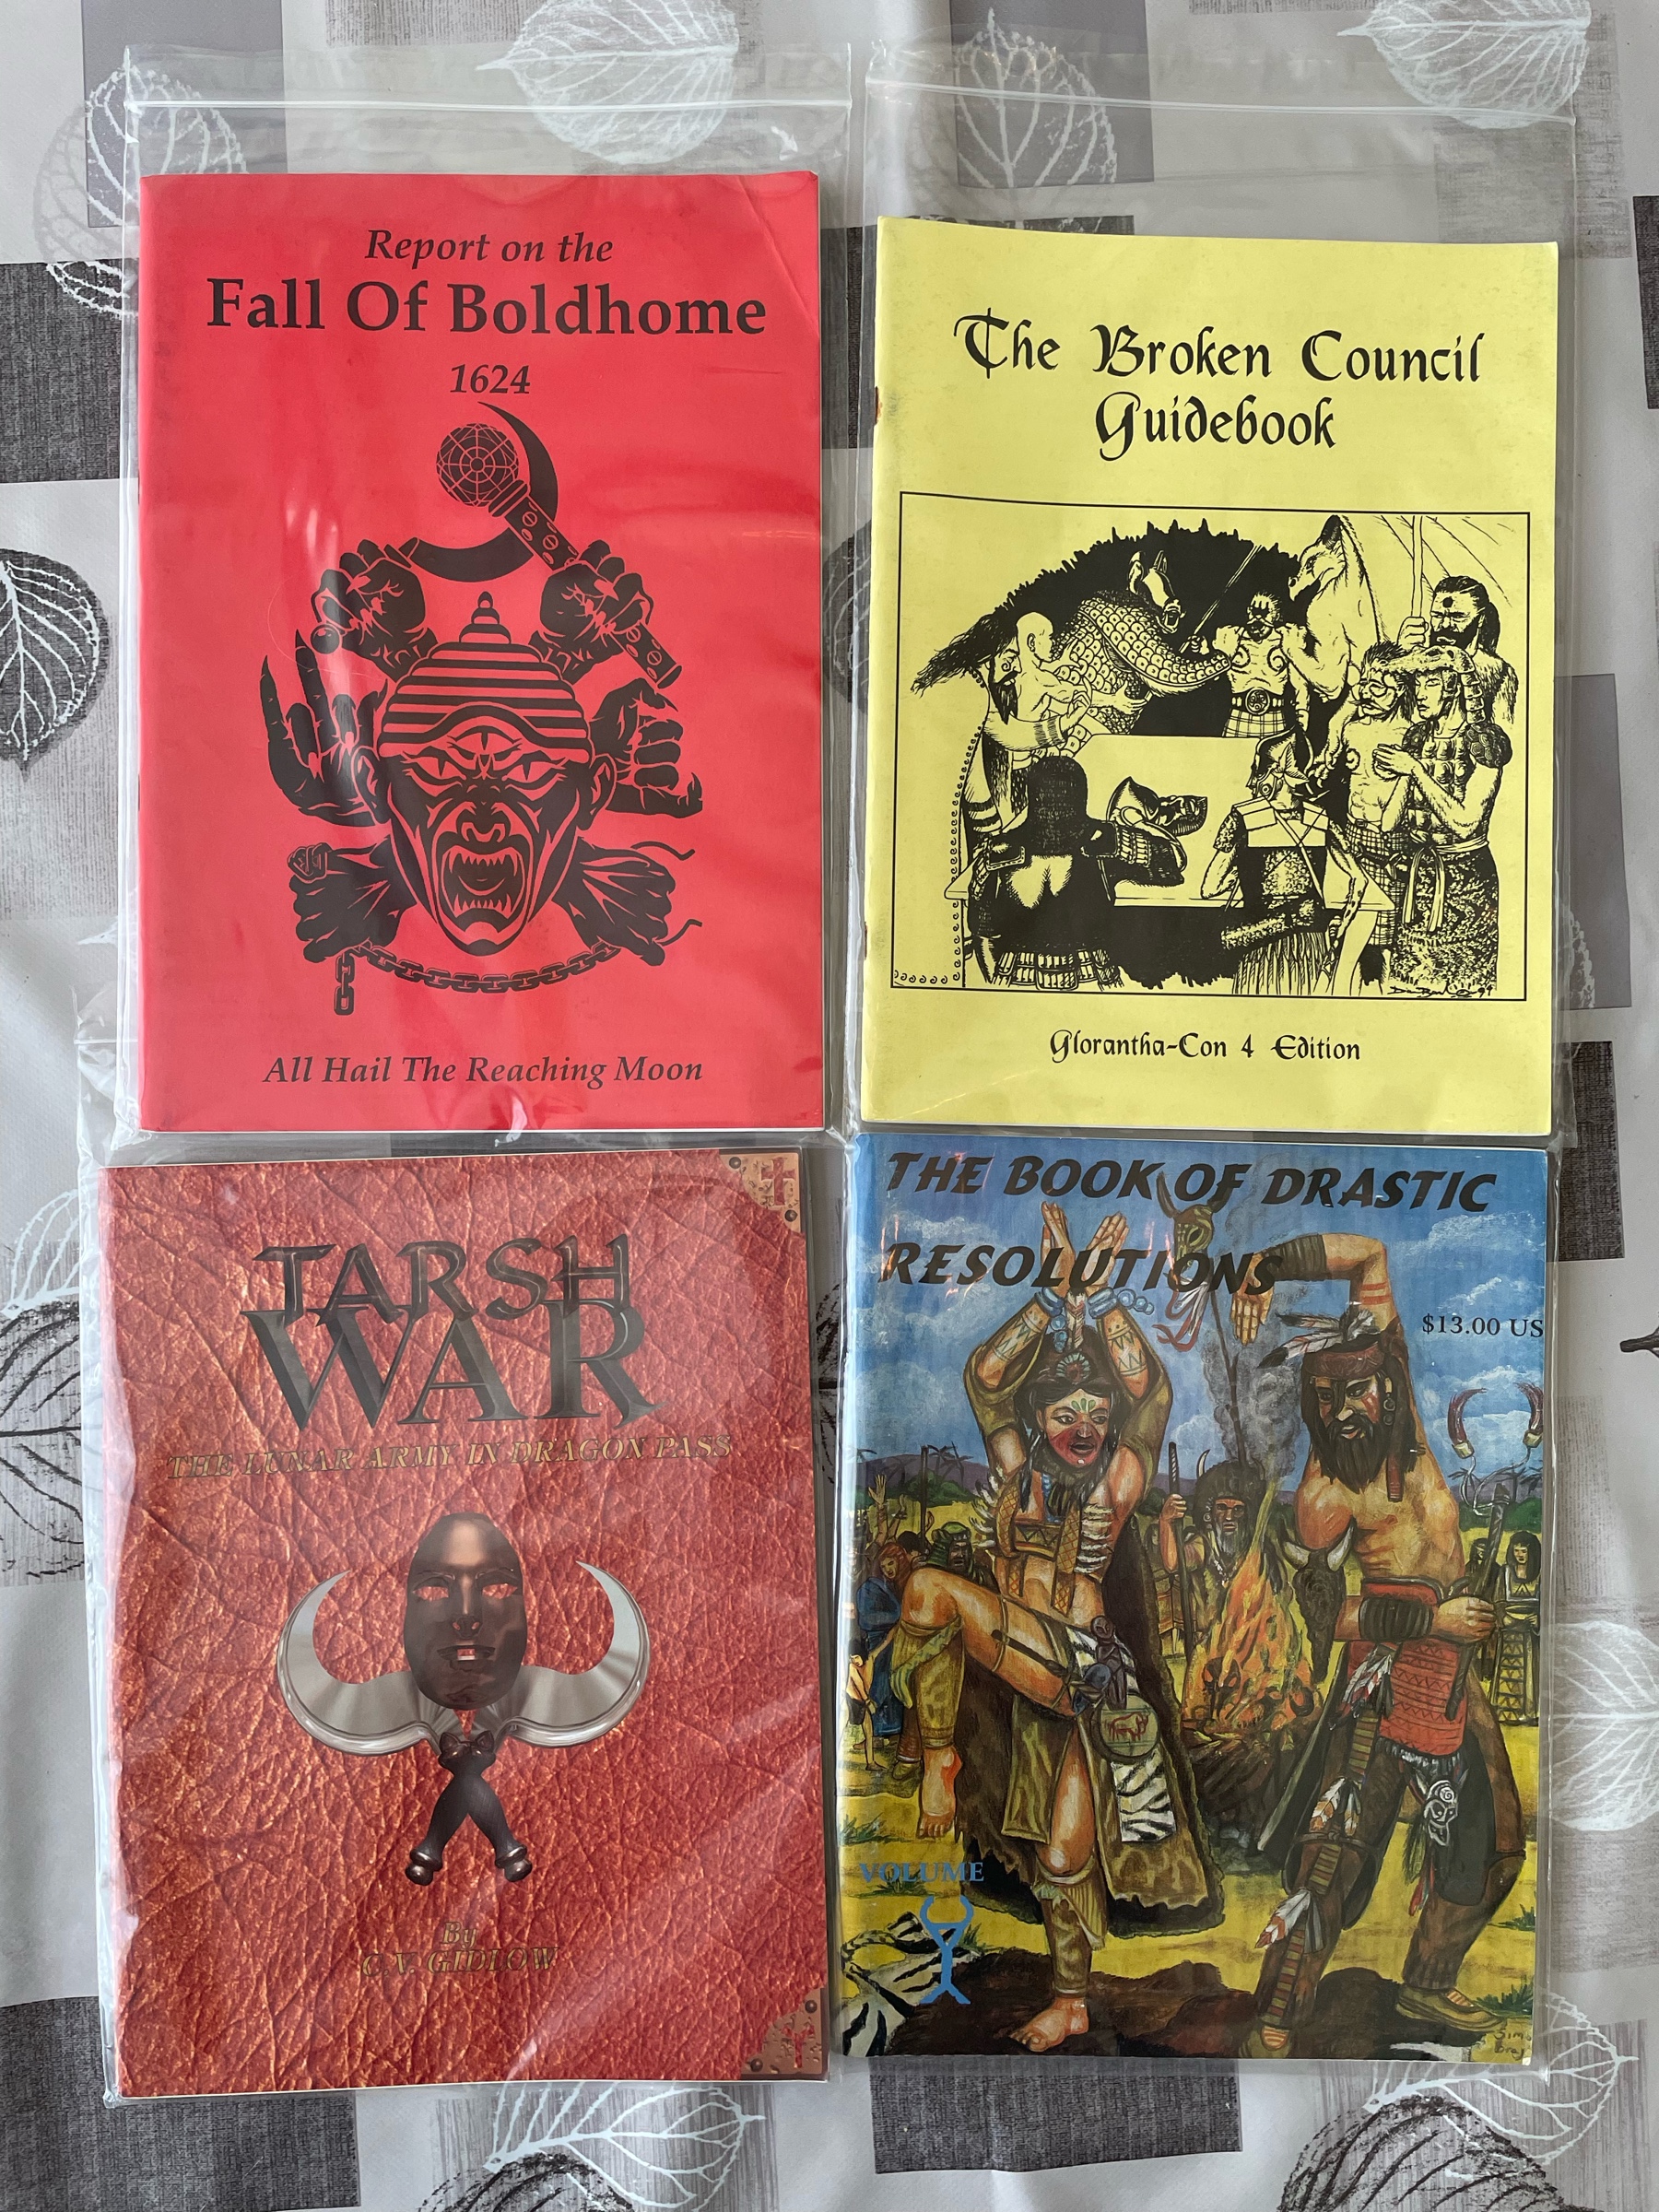
Got a few more rare Glorantha fanzines…
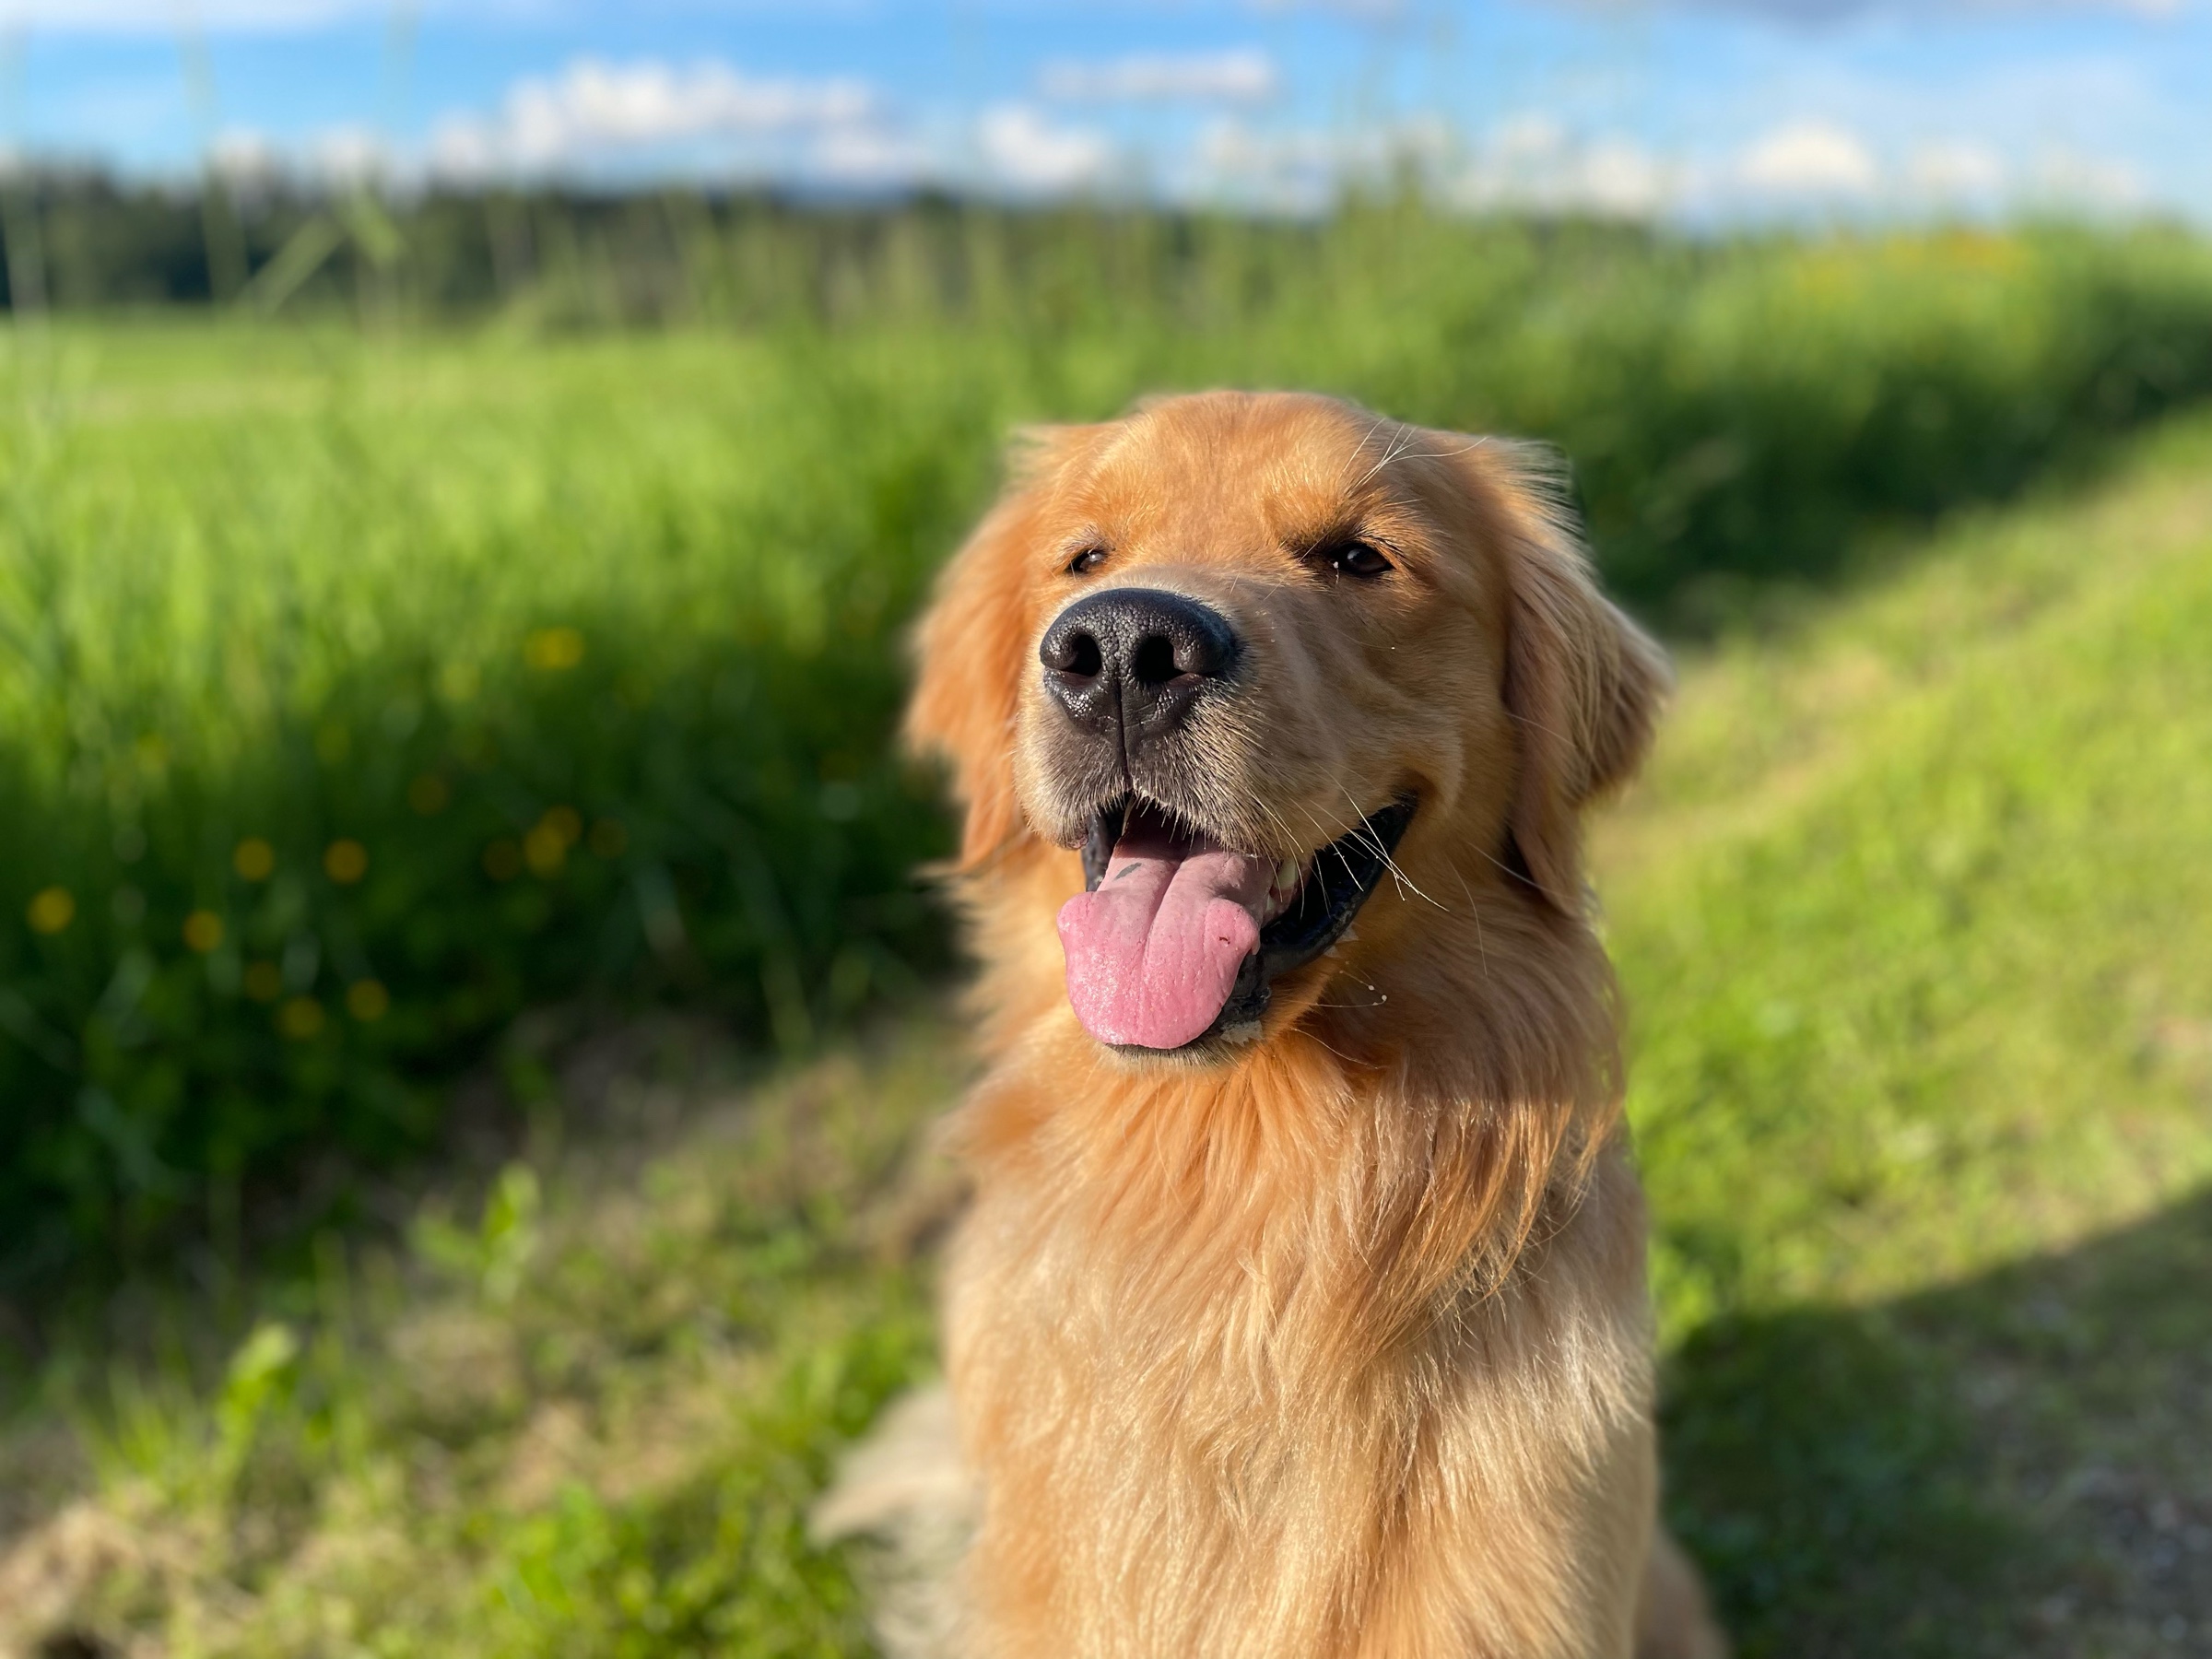
Good morning!
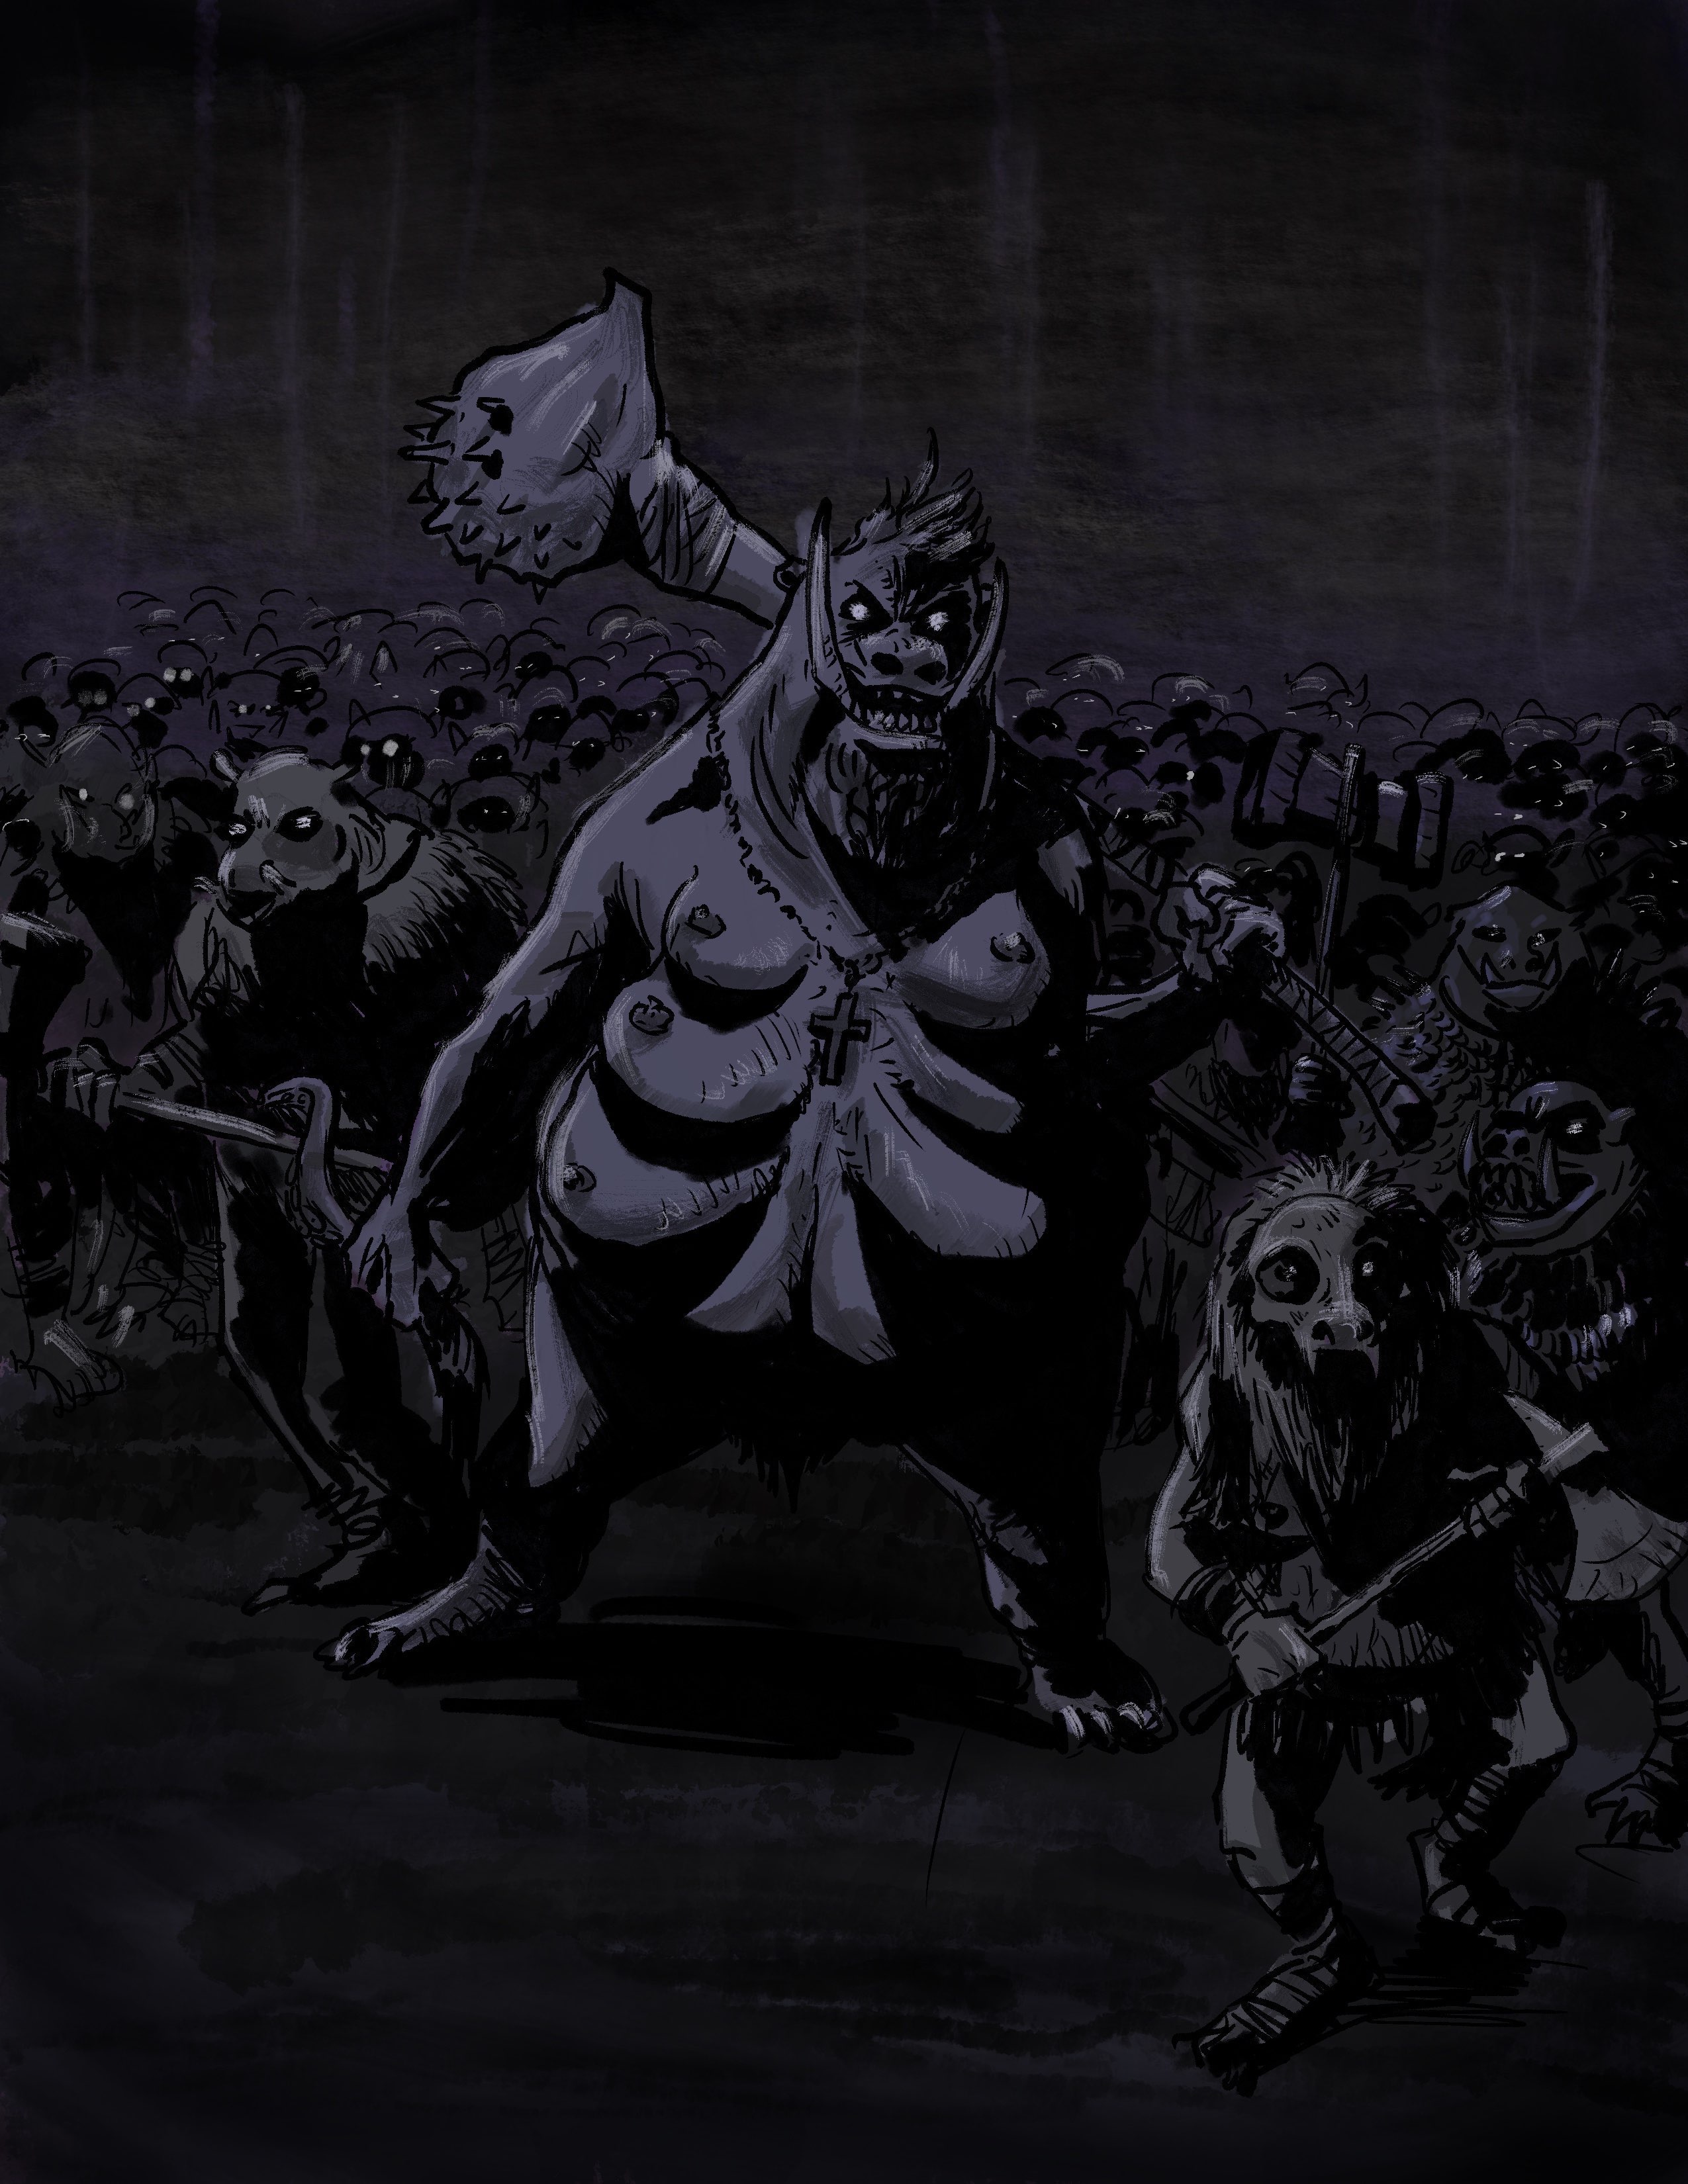
Say hello to mama! (art by… me, inspired by true events)
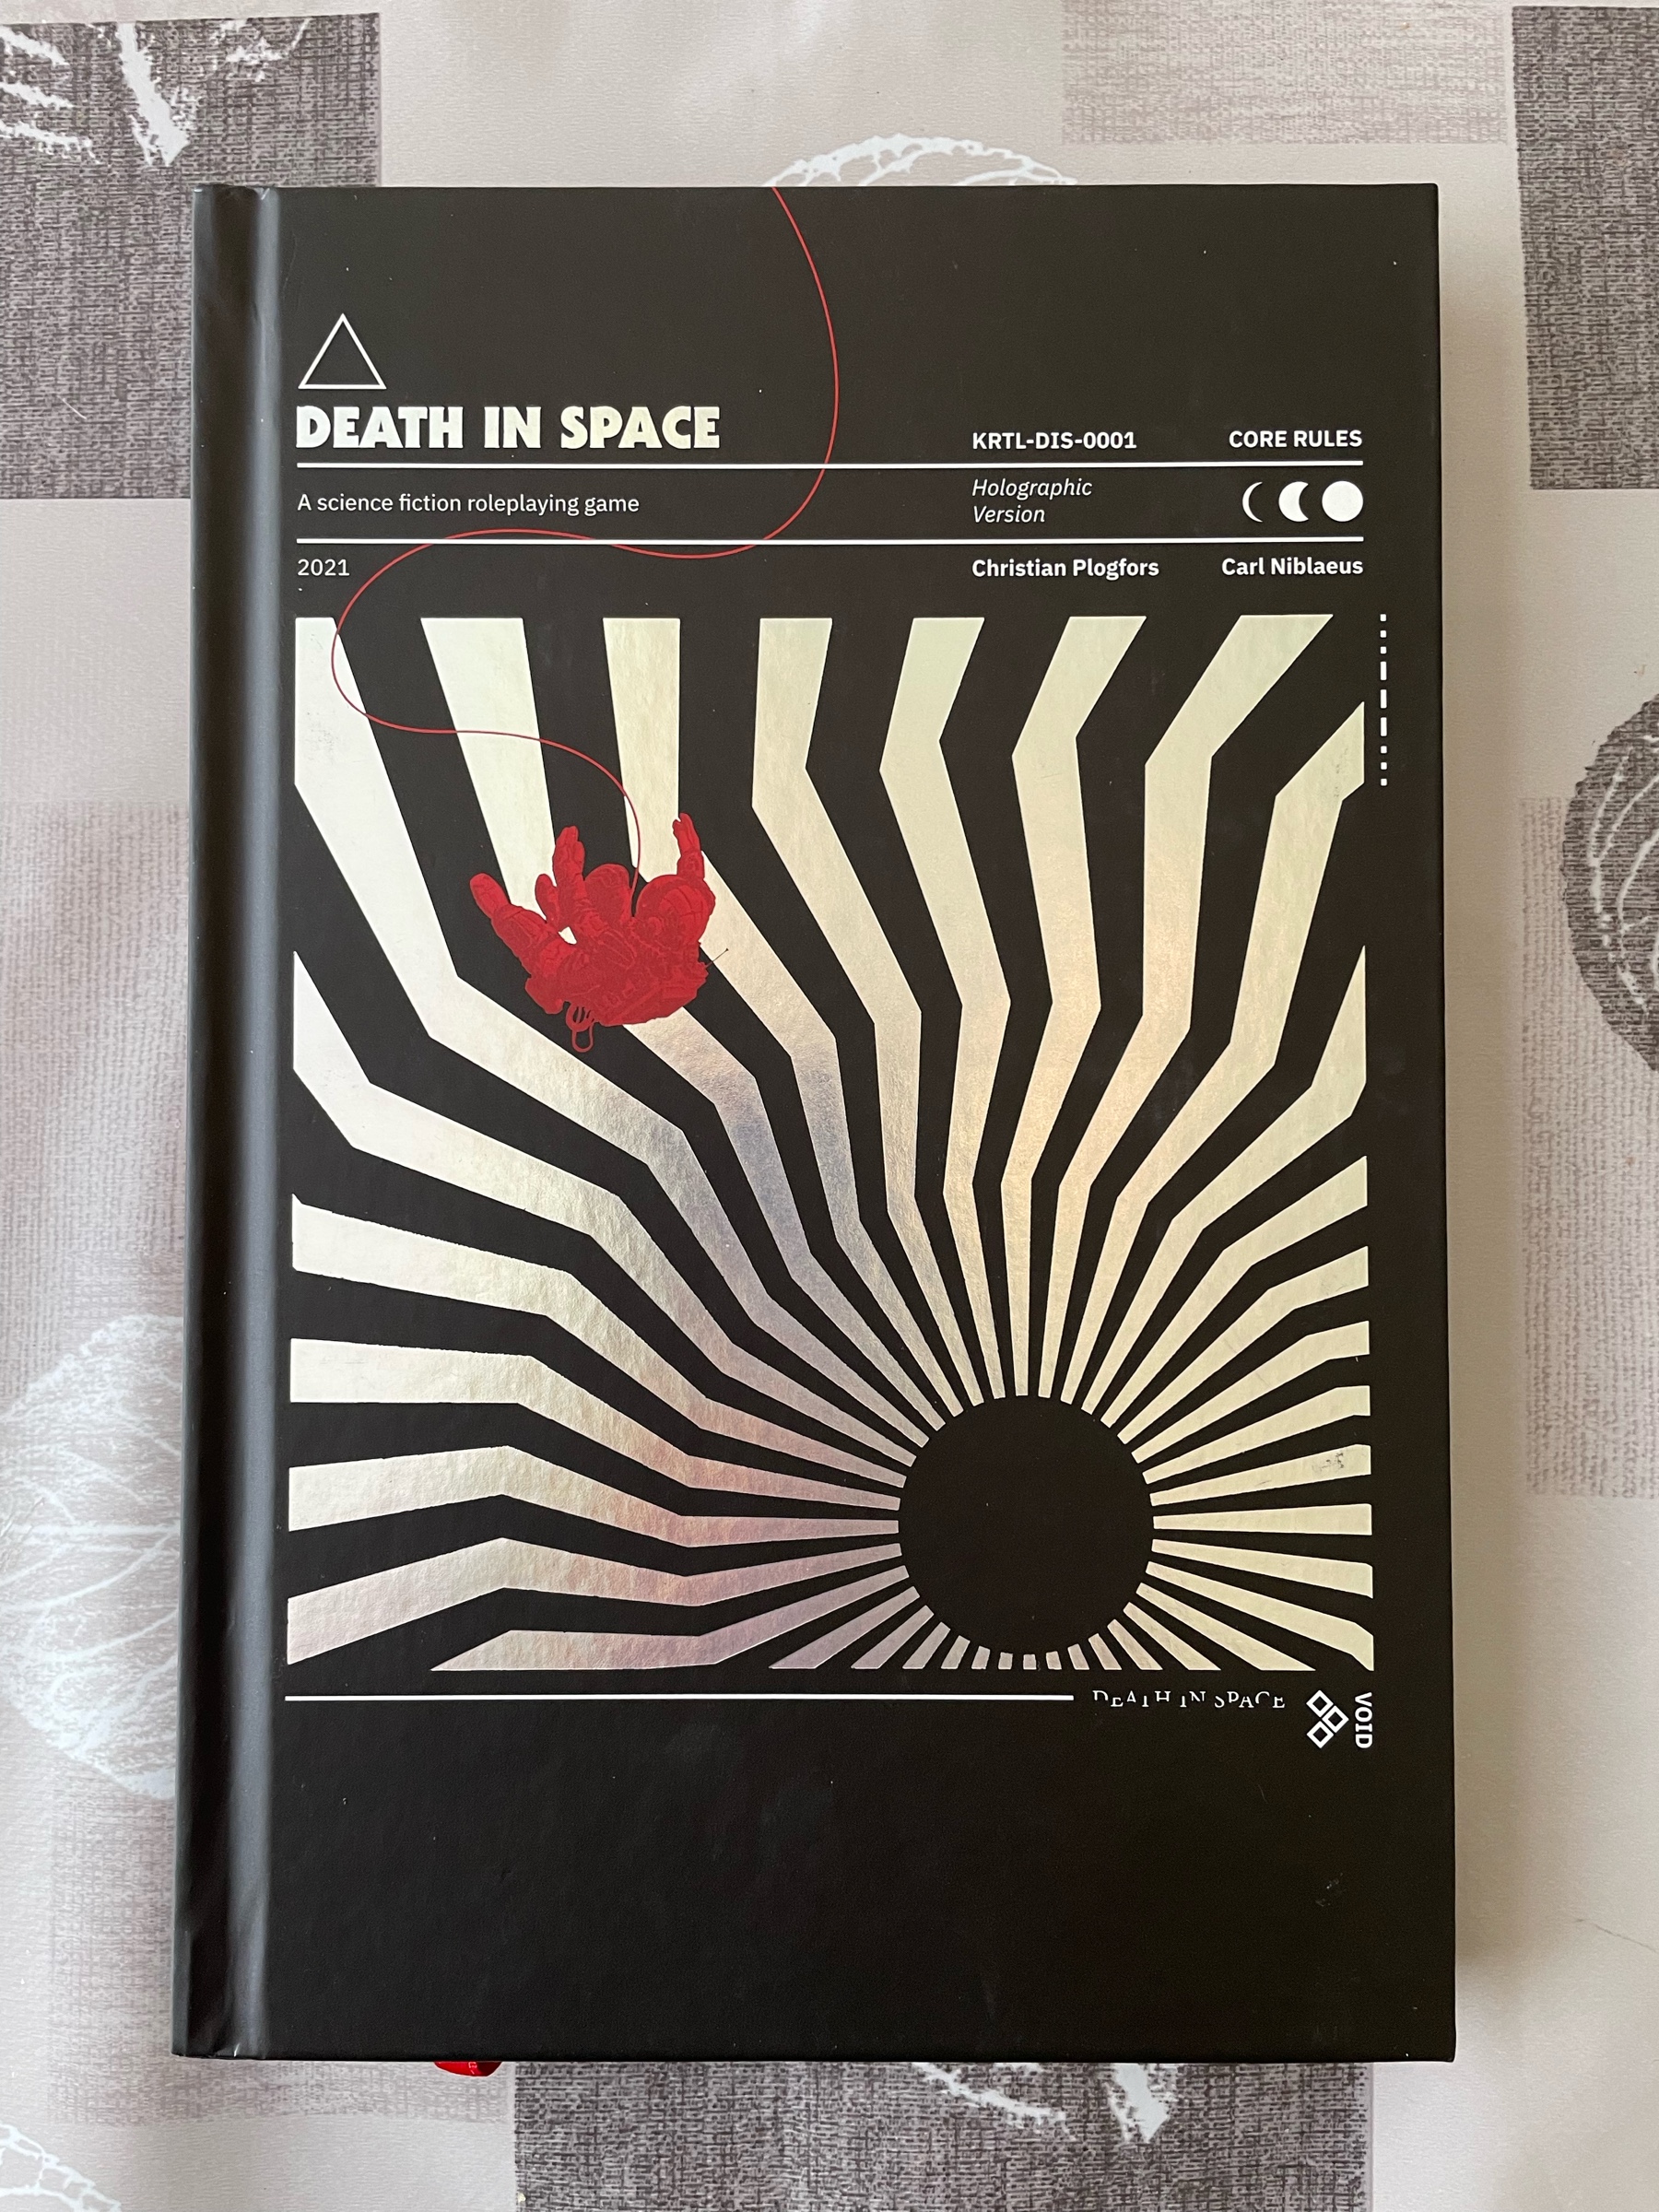
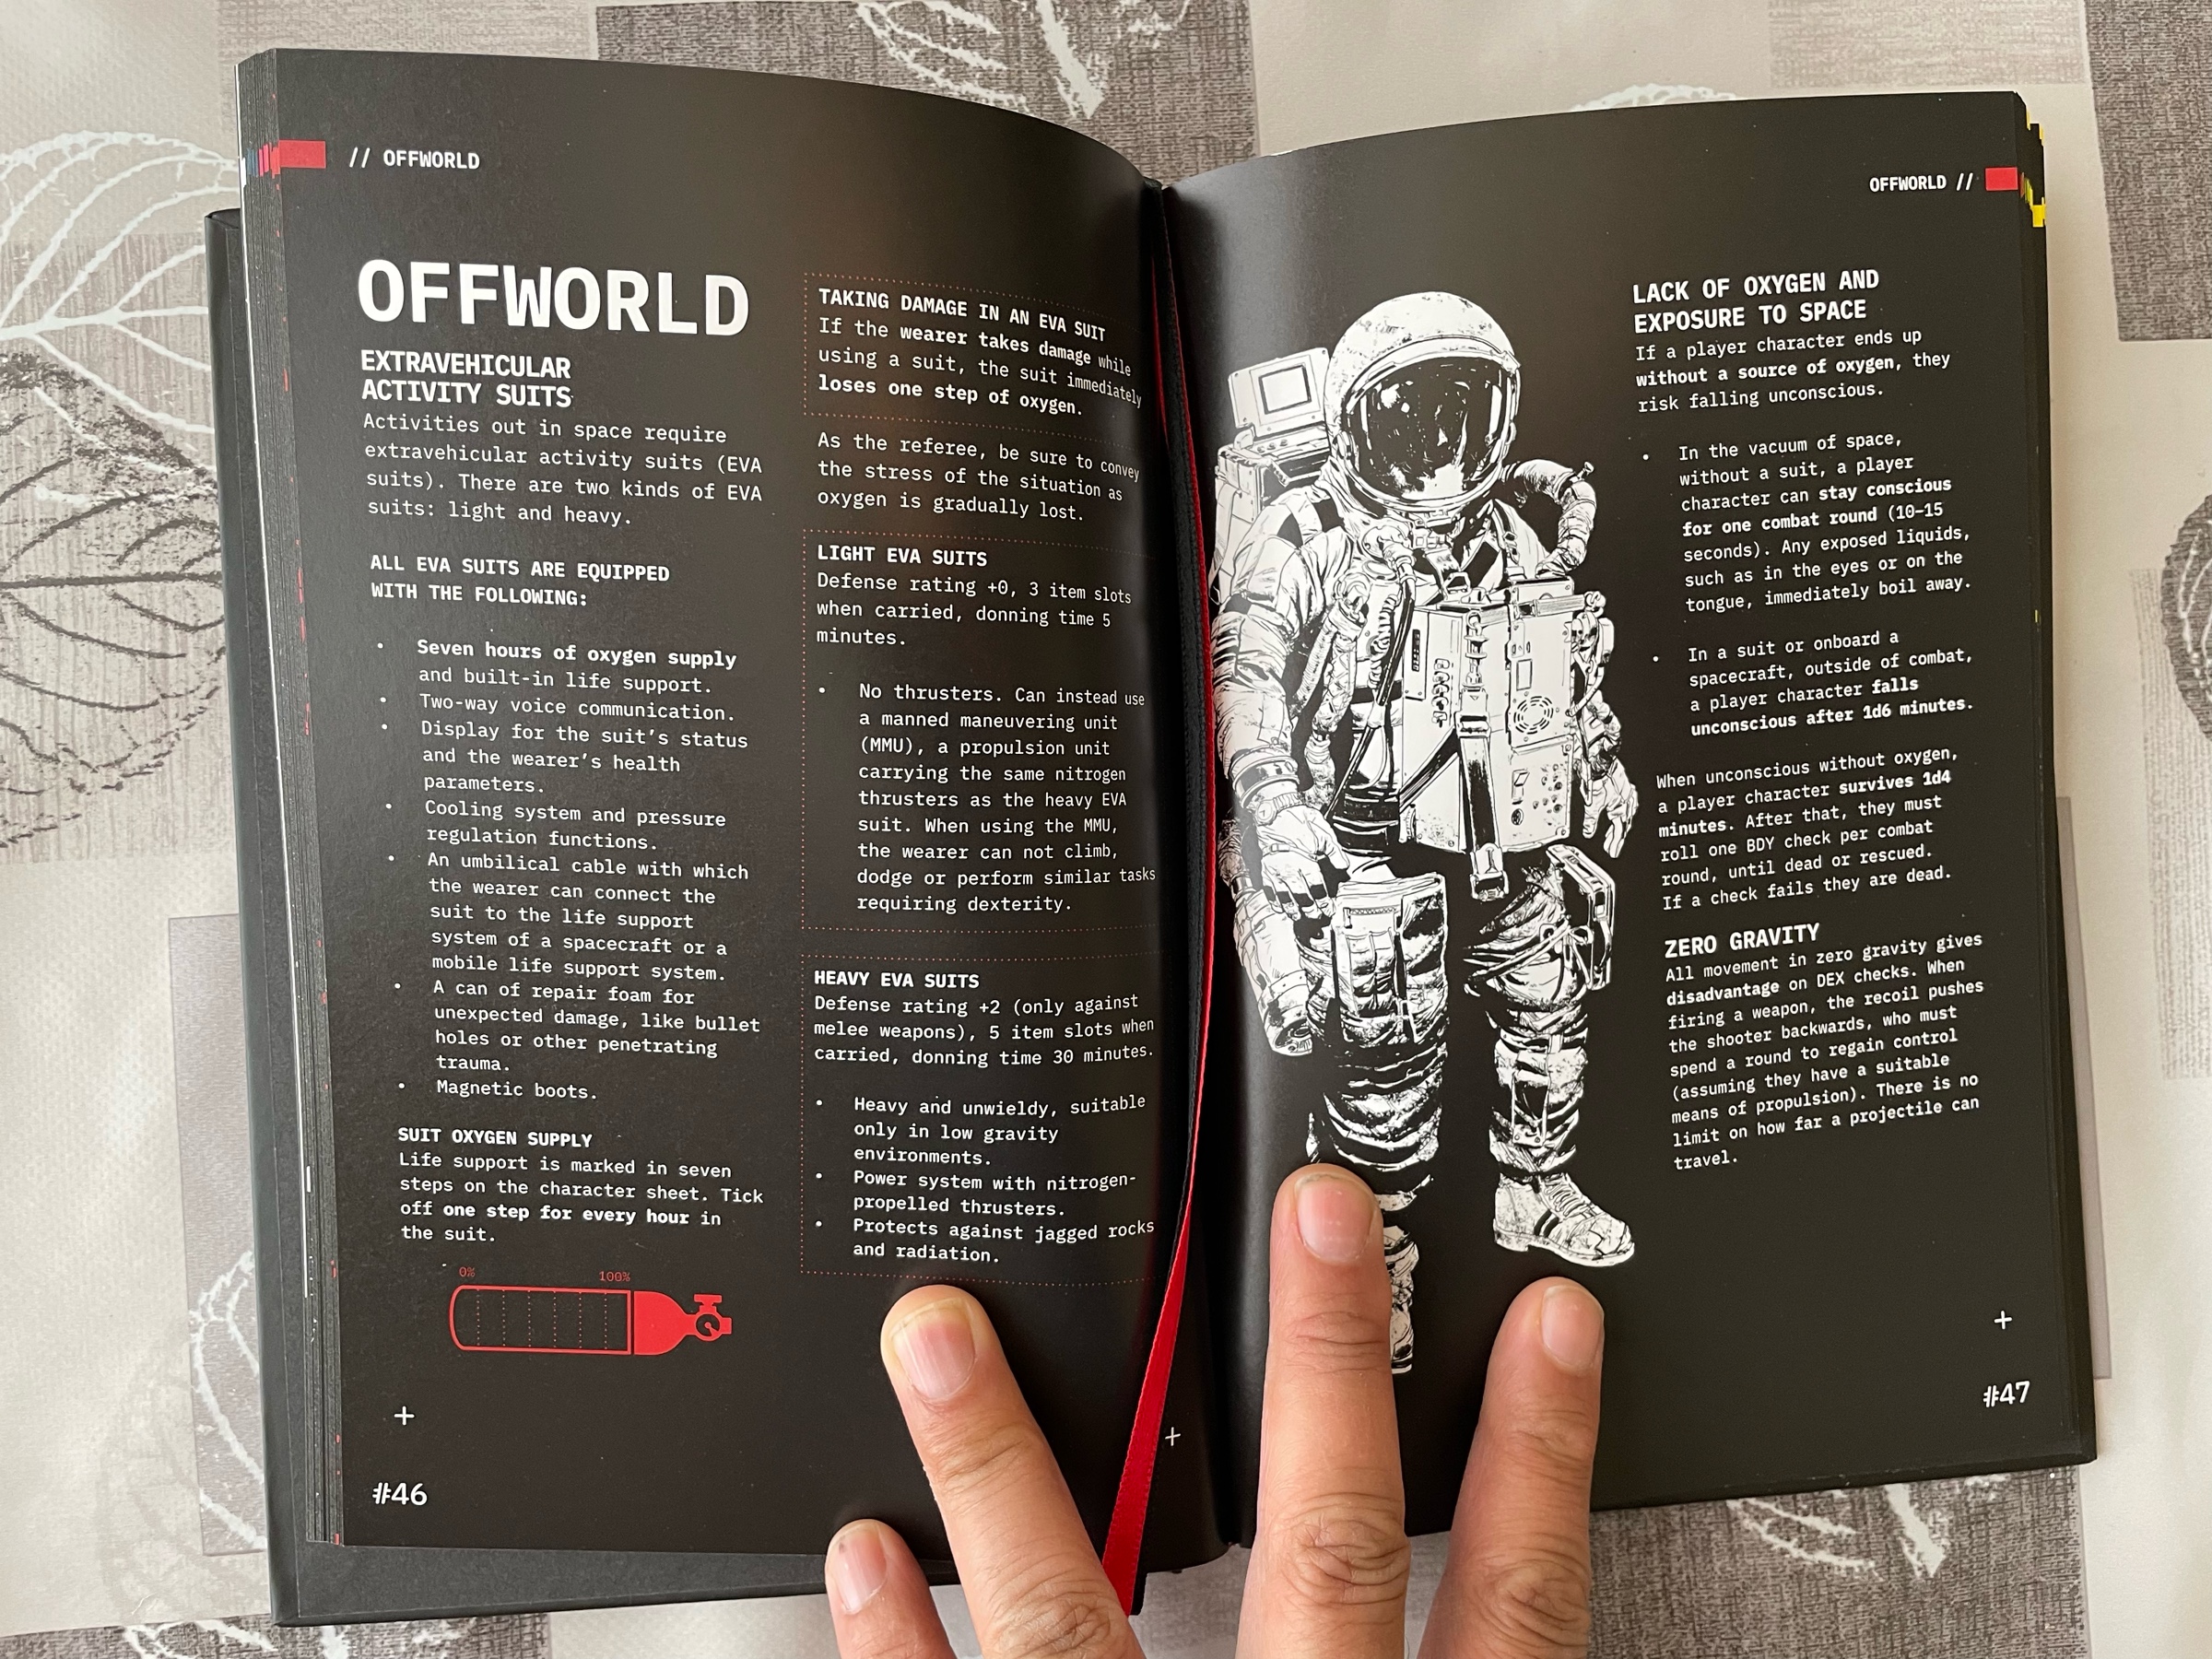
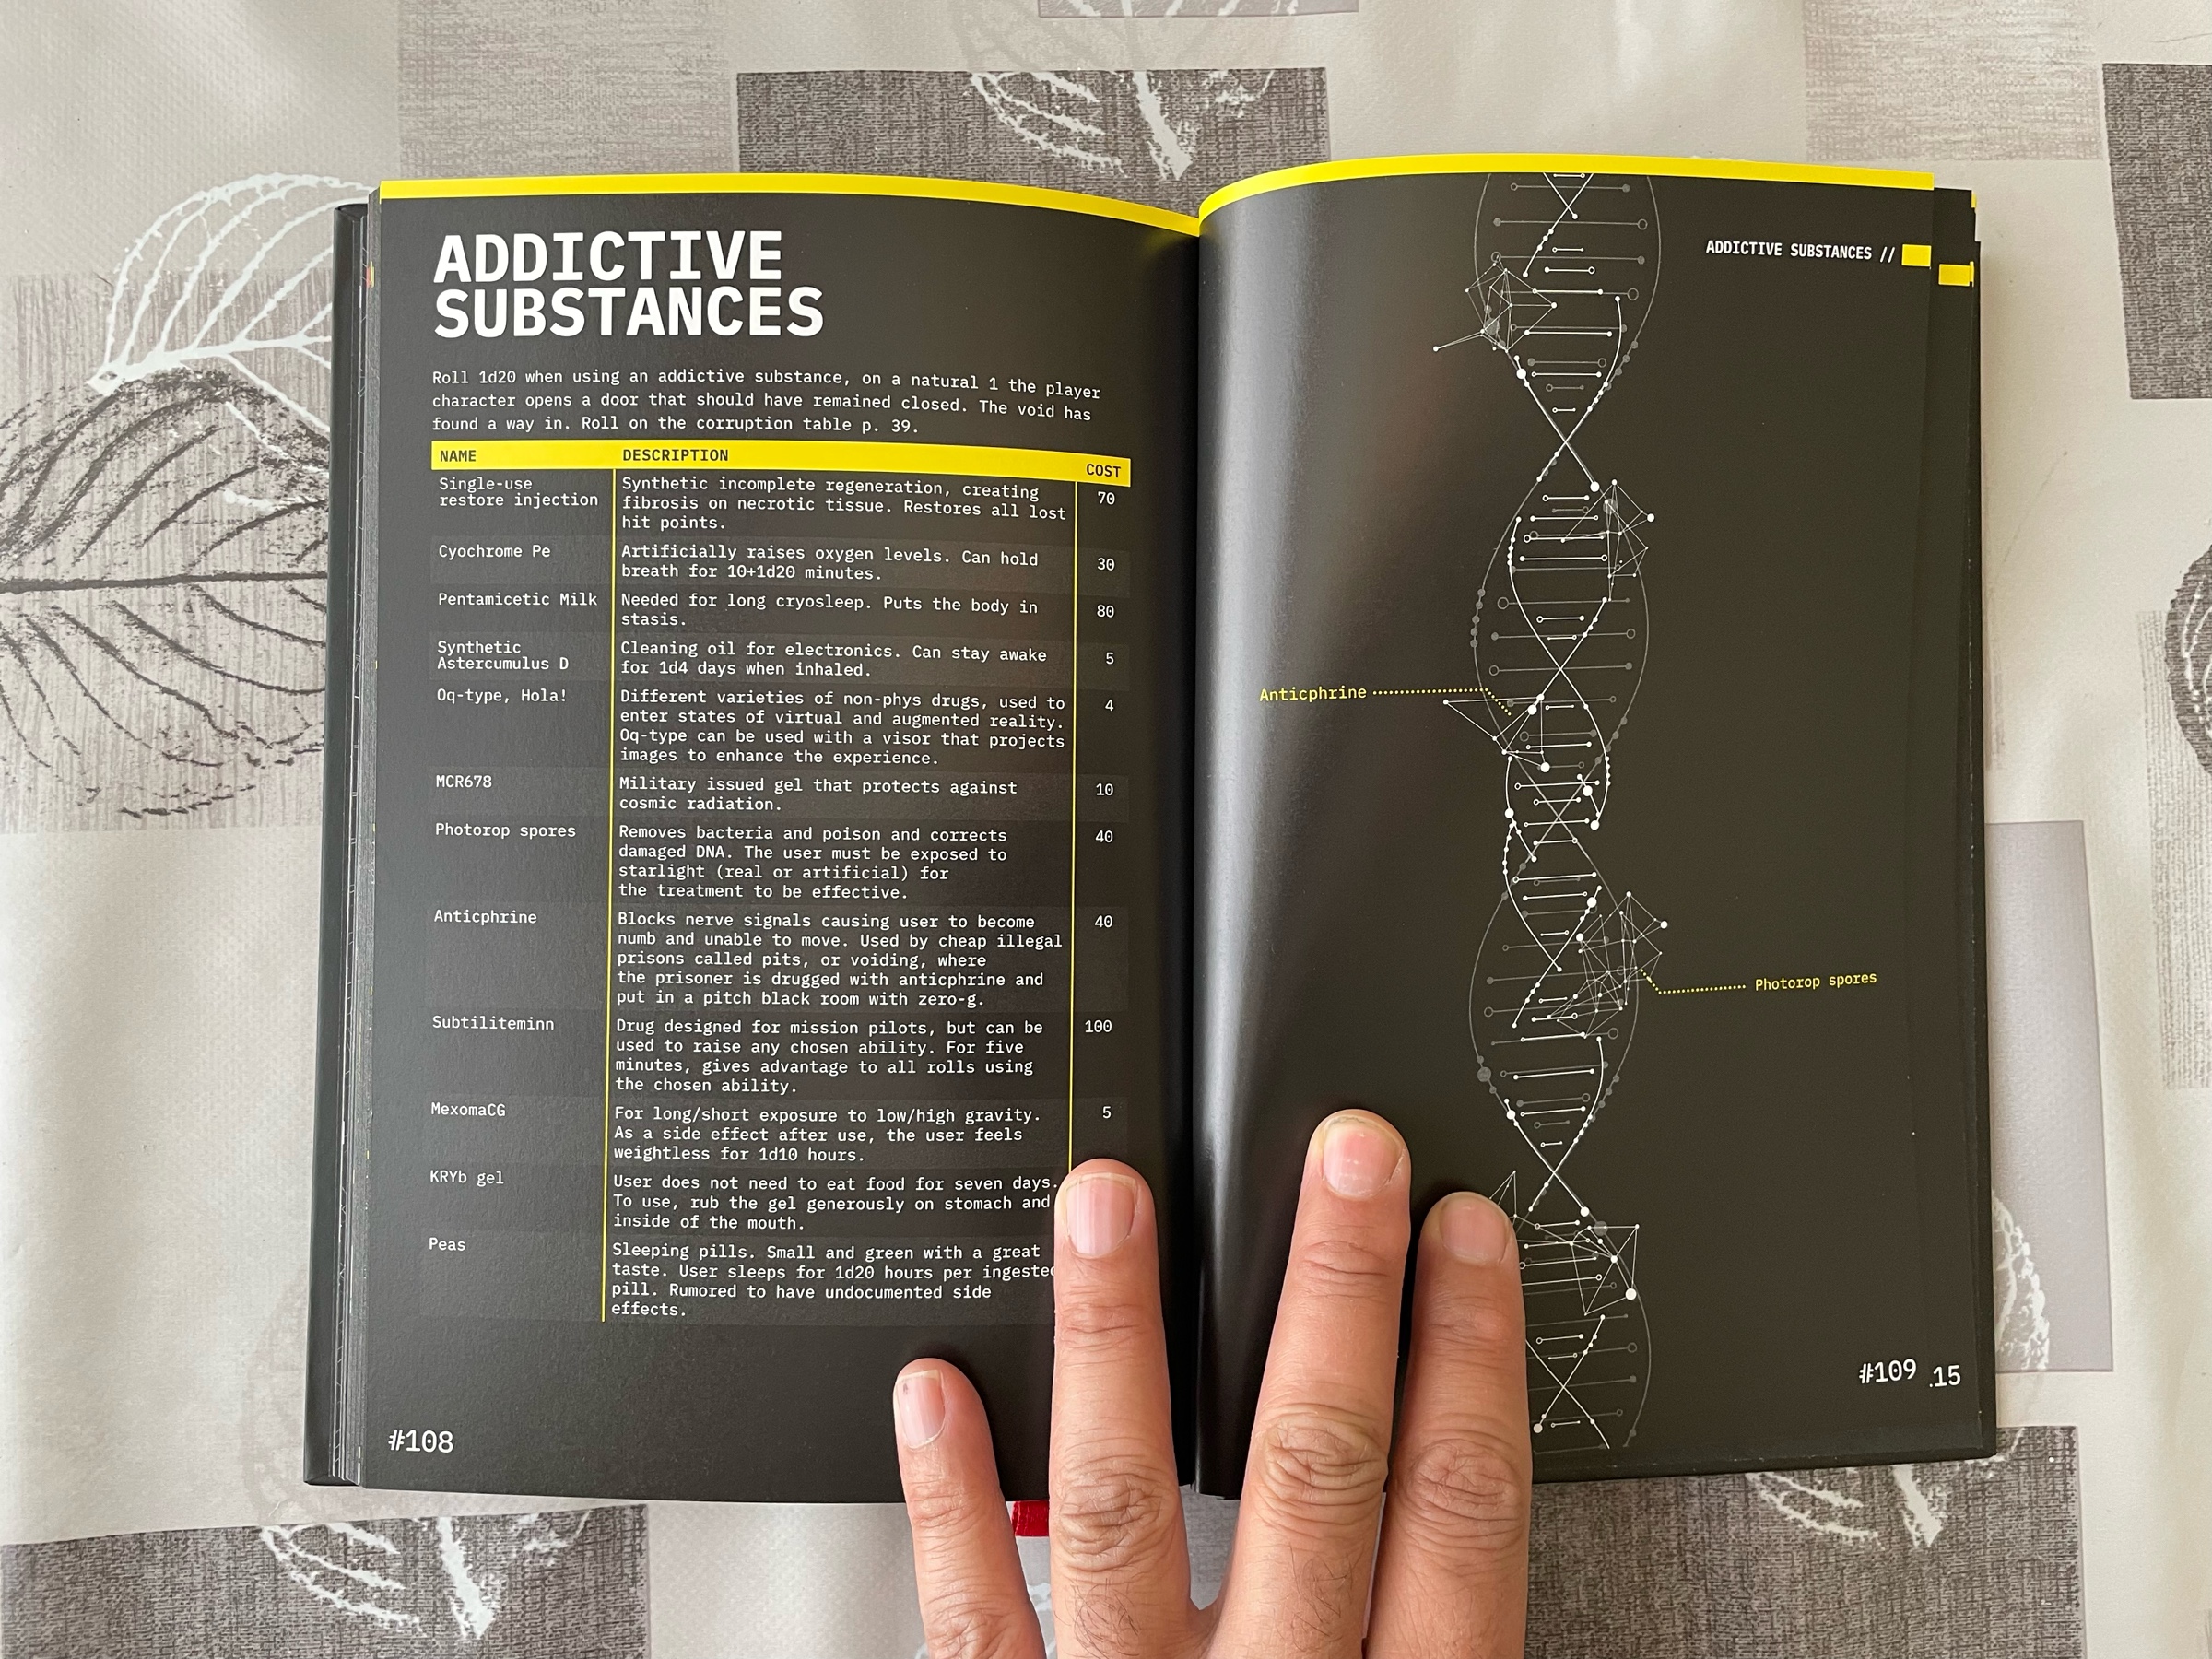
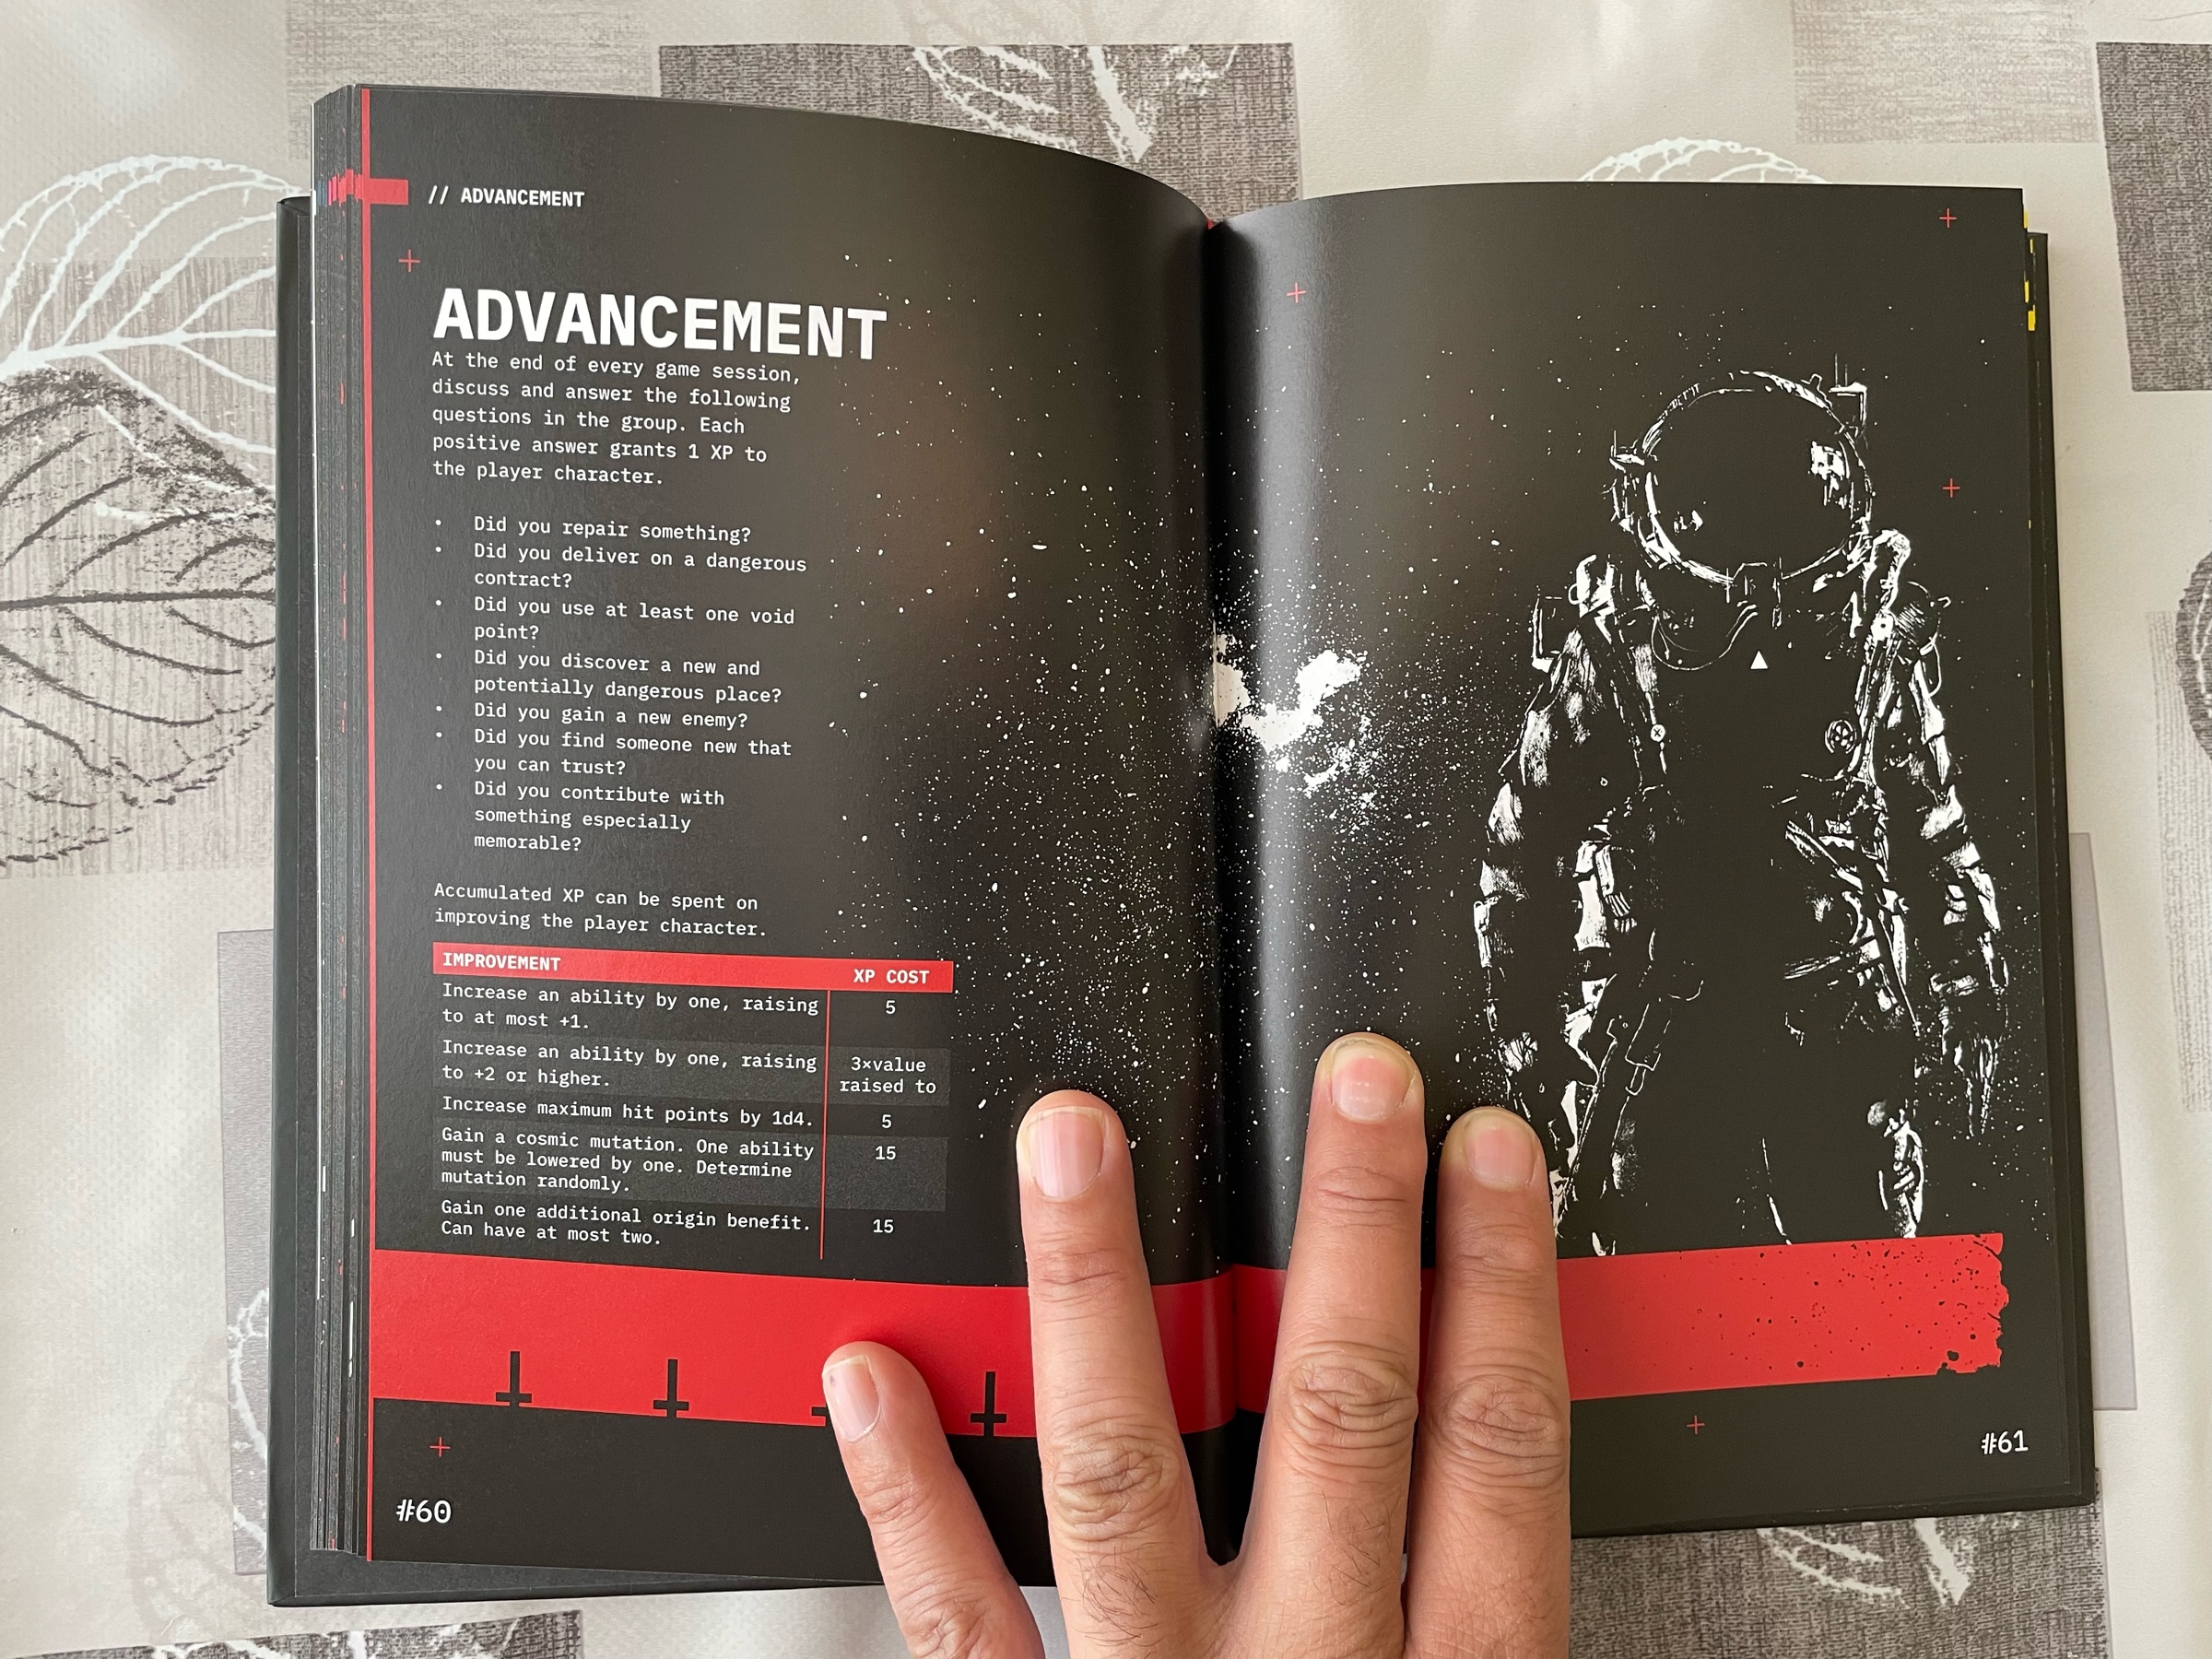
New arrival! Death In Space #ttrpg
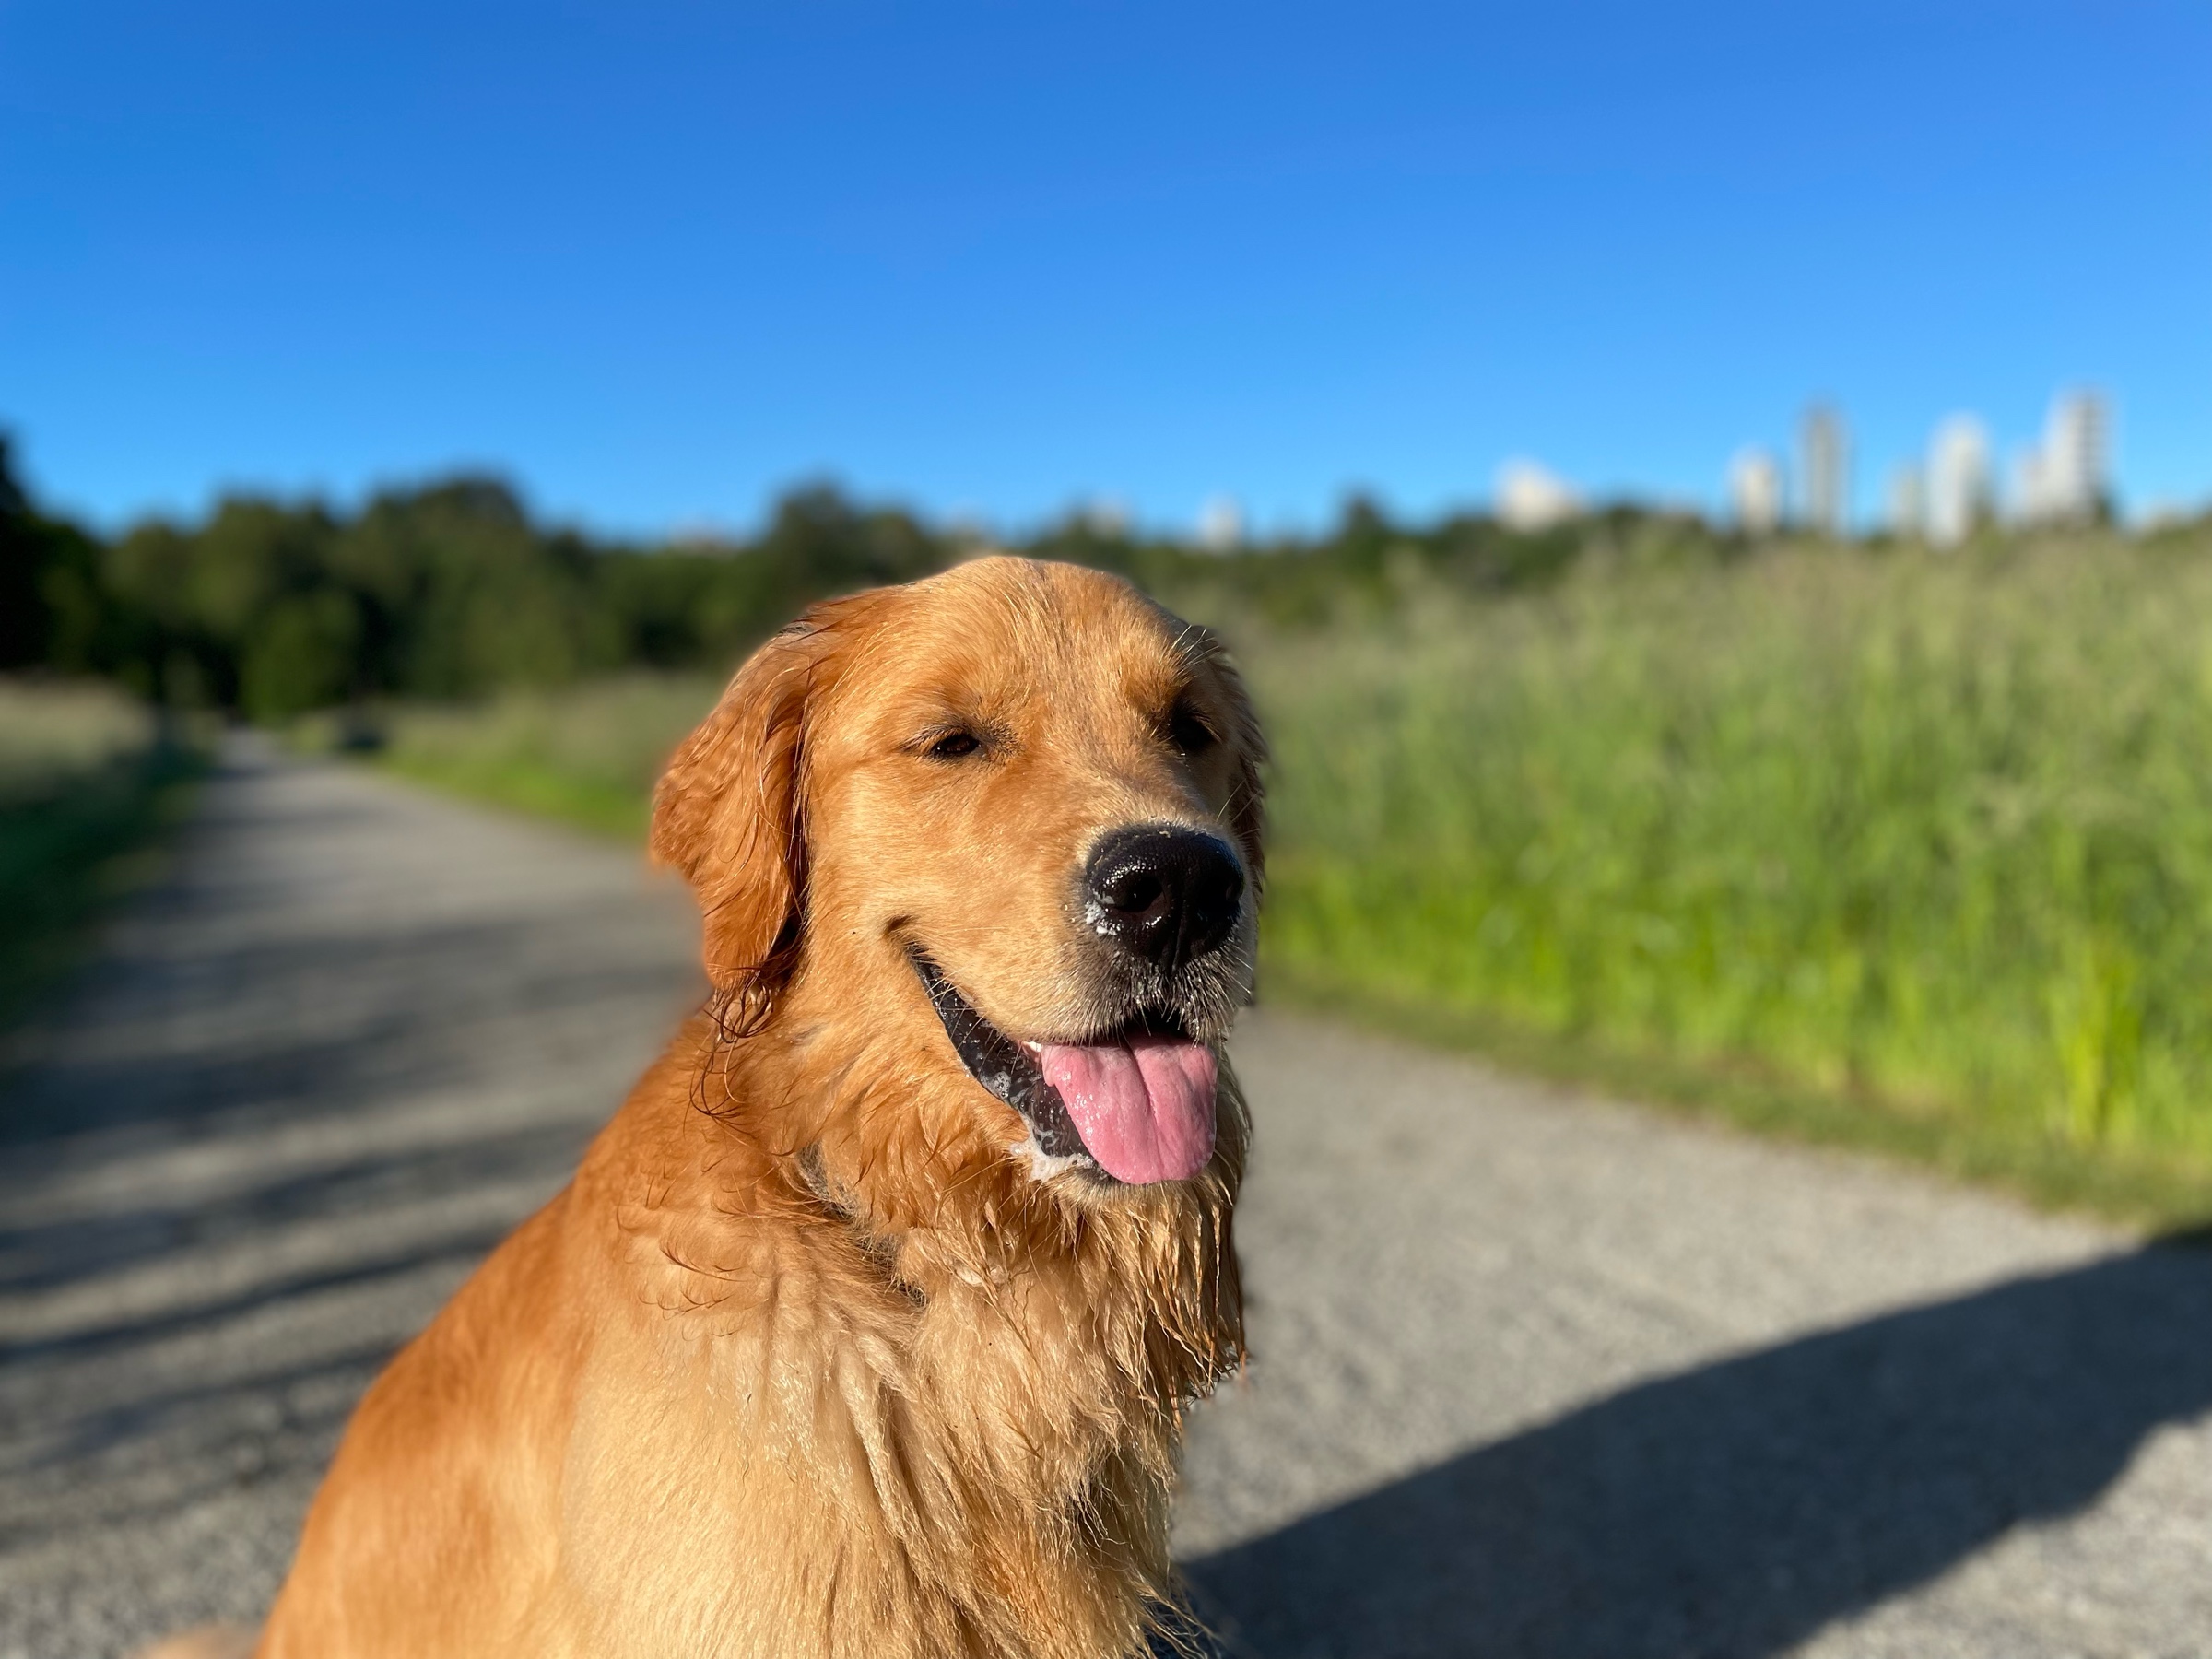
Good morning everyone!
My kid is singing a song about how our dog is super cute, but set to the tune of the Star Wars Imperial March. I’m a bit confused.
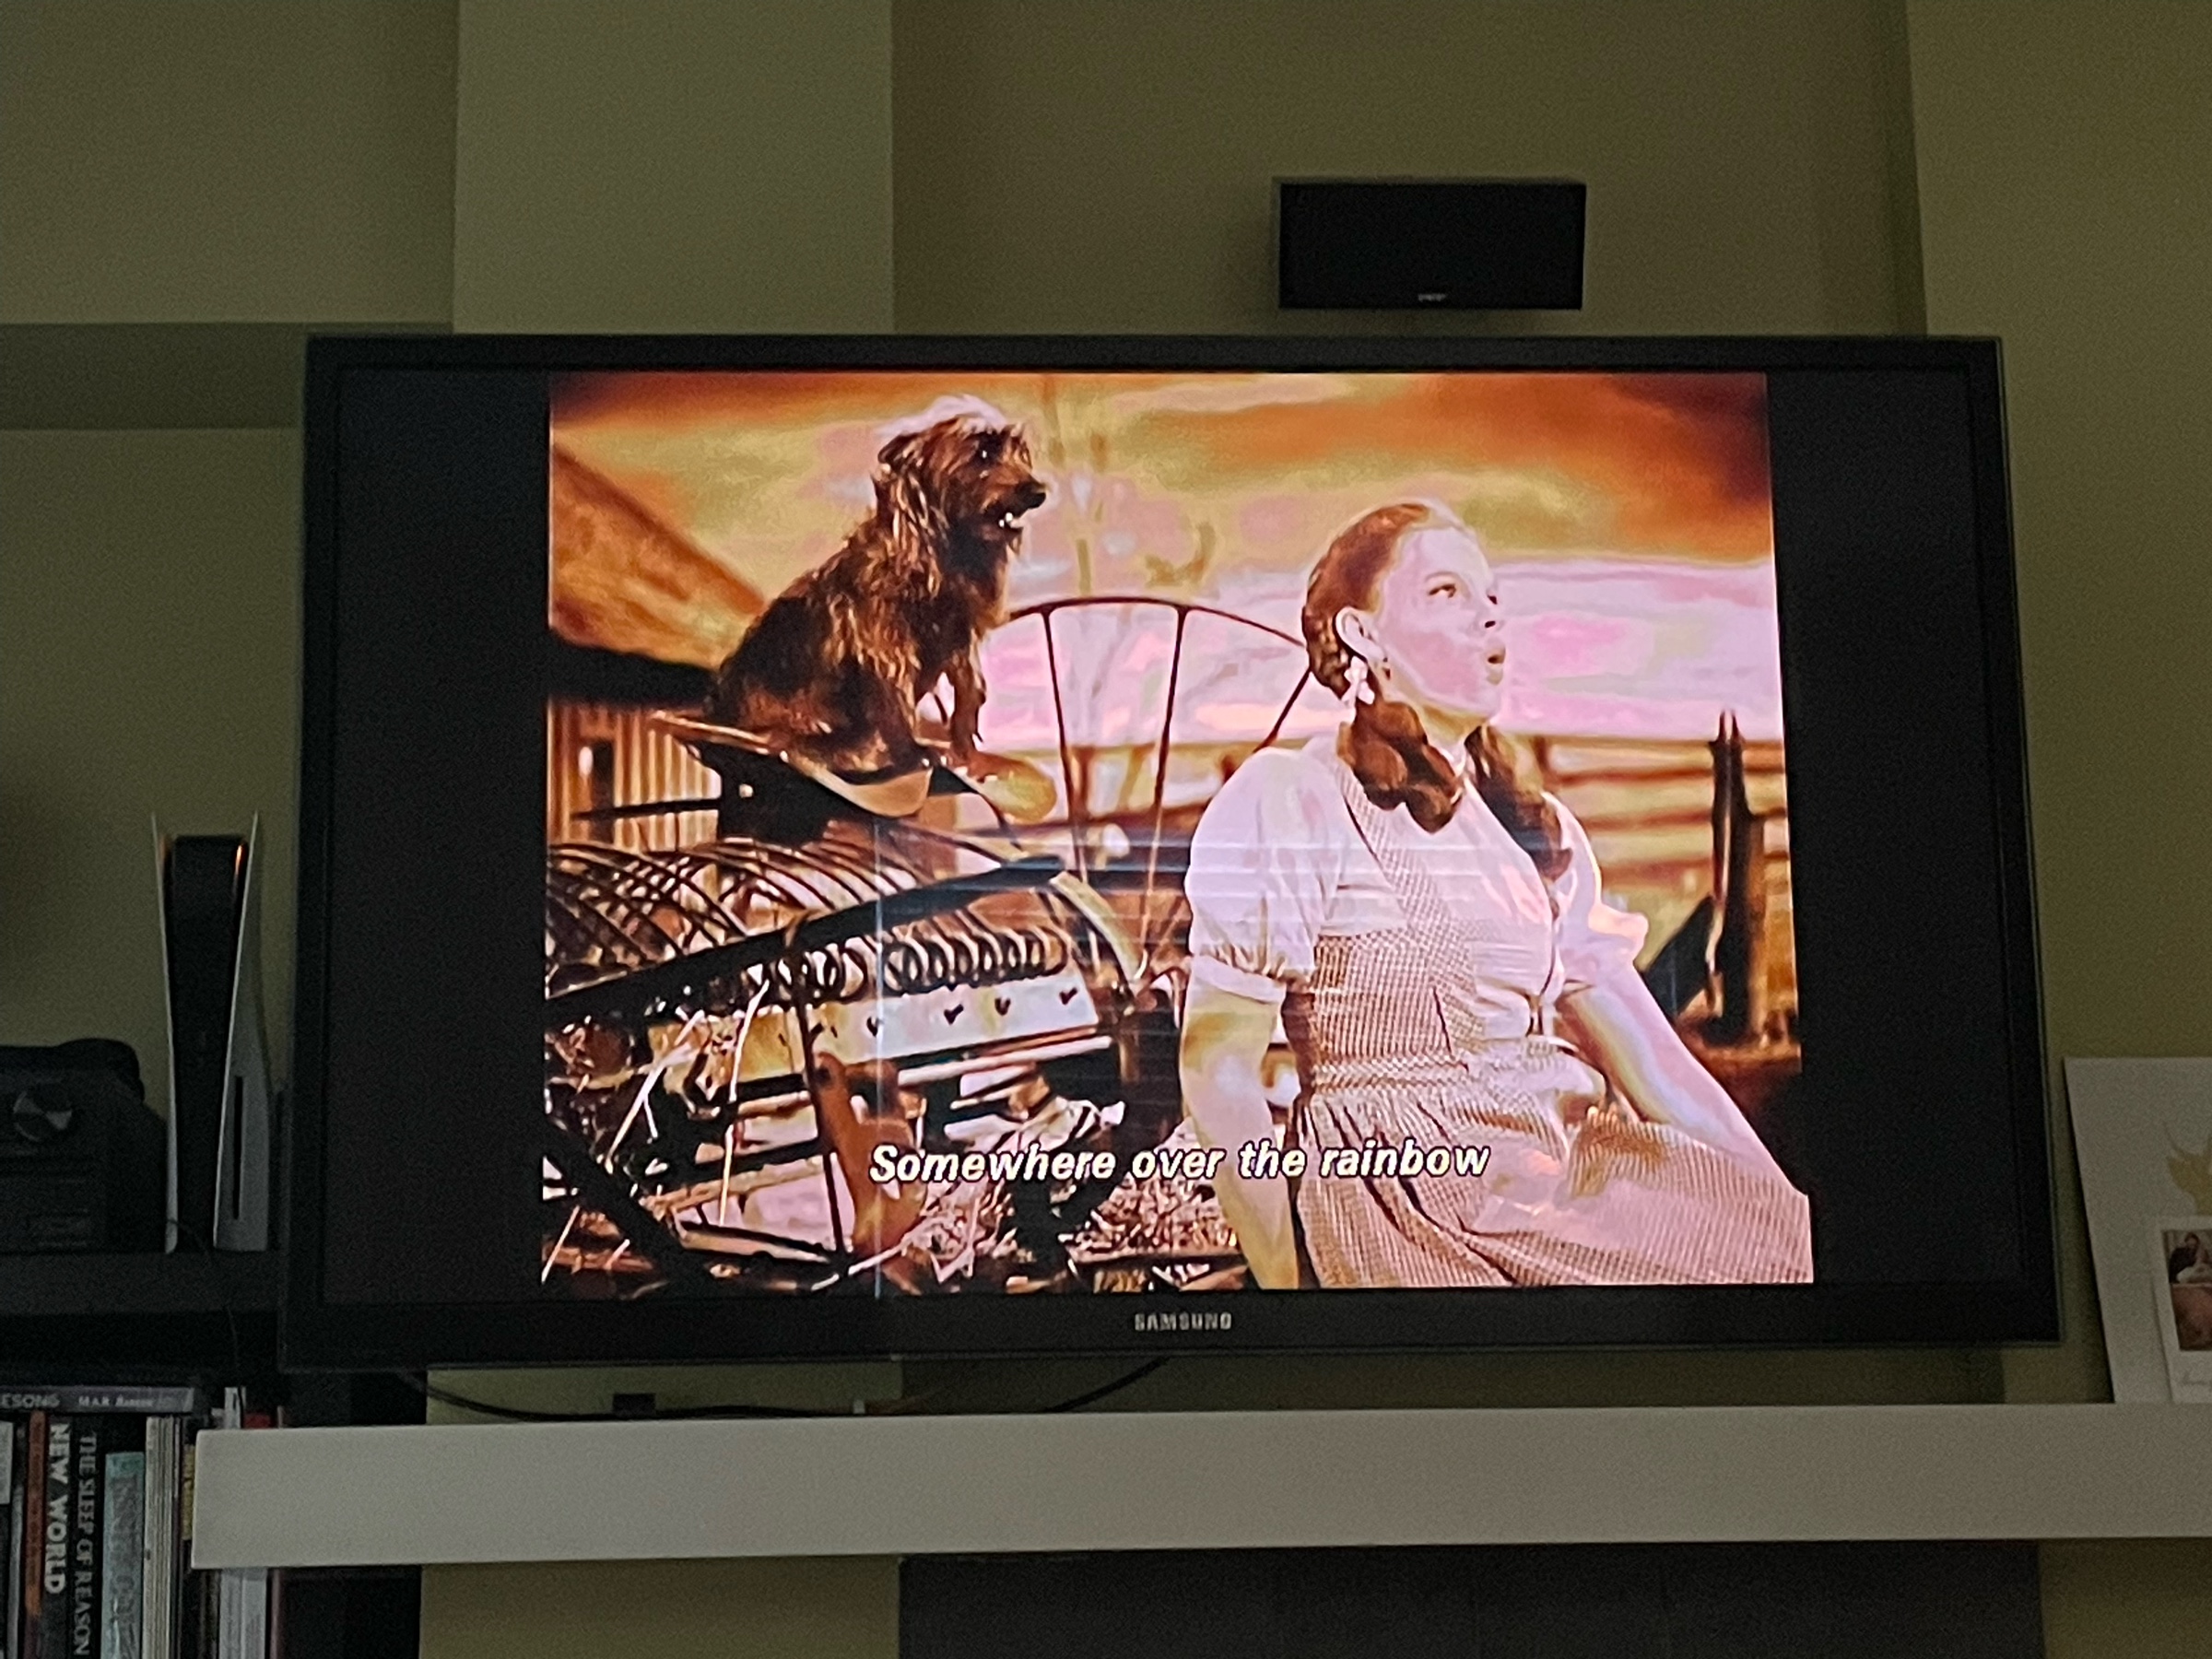
Time to watch this again apparently. A kid requested it…