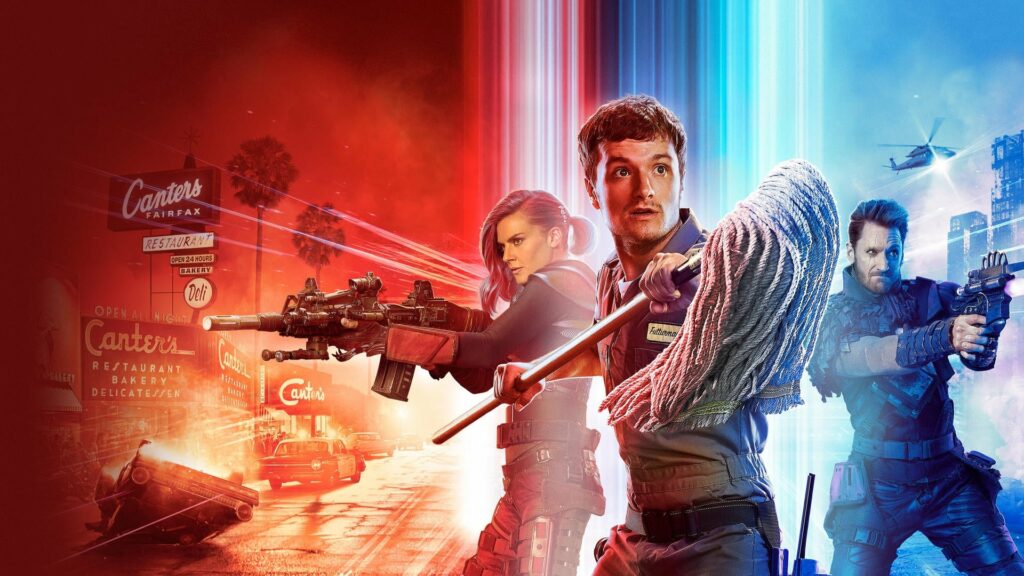
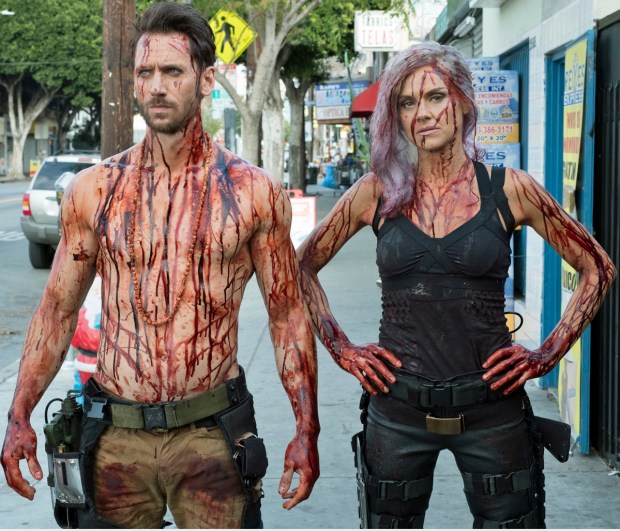
Future Man is way better than I expected! I haven’t laughed out loud this much since The Good Place. Wolf is so good, the story goes to absolutely bonkers places, it’s amazing. Now going into season 2, let’s see if it holds the distance.

Future Man is way better than I expected! I haven’t laughed out loud this much since The Good Place. Wolf is so good, the story goes to absolutely bonkers places, it’s amazing. Now going into season 2, let’s see if it holds the distance.
Well, that’s it, I finished watching the entire Babylon 5 series. Good stuff overall! It felt dated at first but we got into it pretty quickly, although my wife lost interested after the Shadow War. My favourite character was probably Vir!

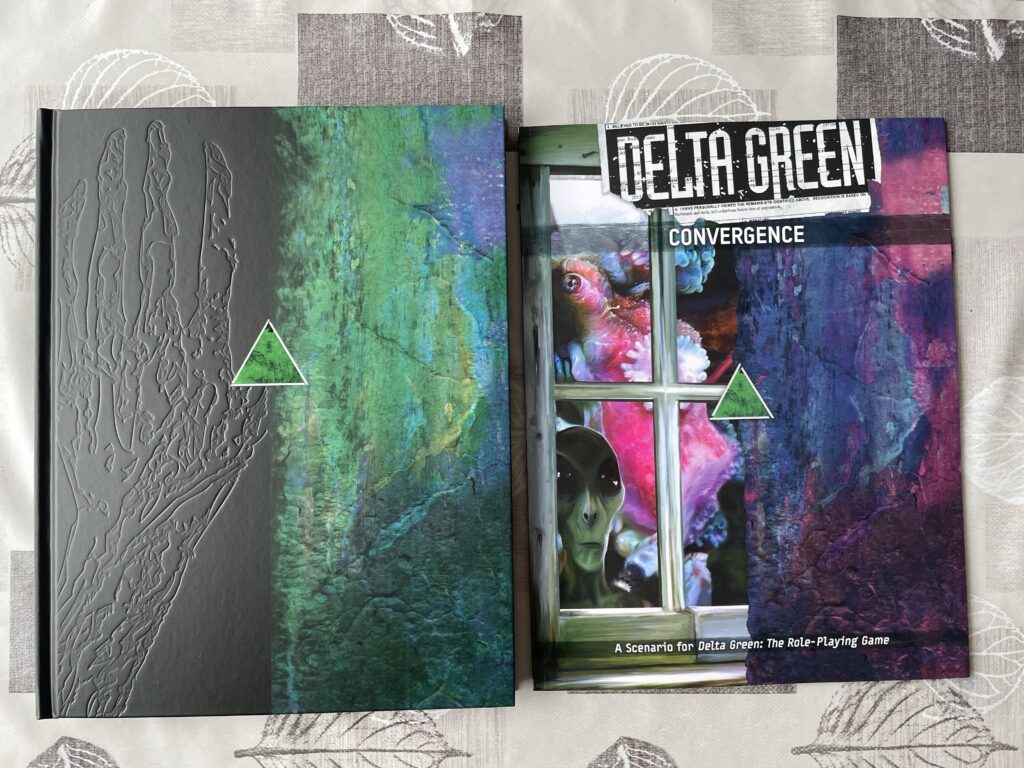
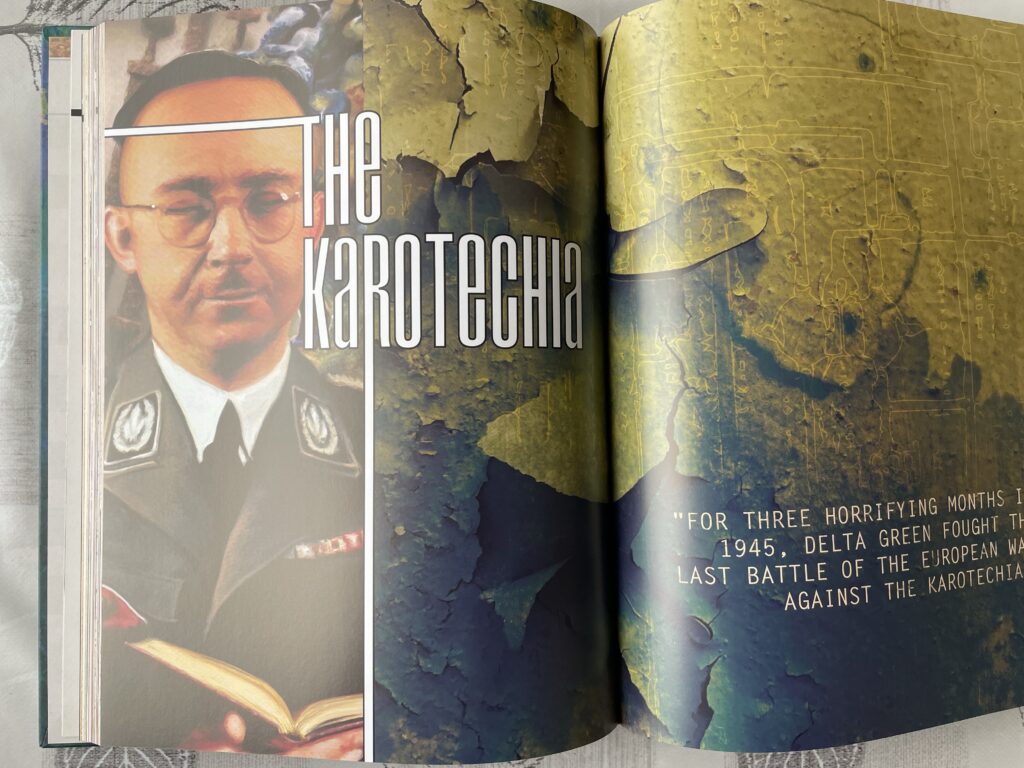
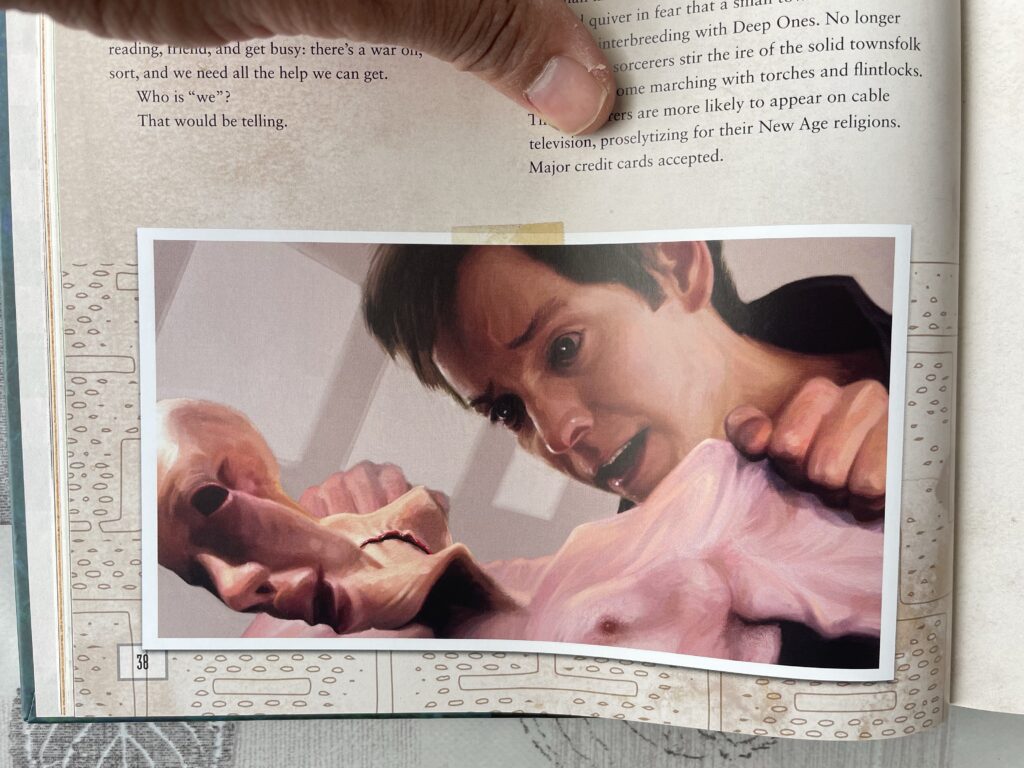
The Conspiracy has arrived! It’s great nostalgia to see all this stuff again, and a delight to see Dennis’ new take on classic illustrations #DeltaGreen #ttrpg

Love this title: “People Who Caused Traffic Nightmare At Pretty Tree Festival Complain Of Traffic Nightmare At Pretty Tree Festival“… see also: people who chose to live far from public transit using lack of public transit to justify driving
Brilliant: a review of a gasoline car from the point of view of someone who has only ever known electric vehicles
This is a fun video on Penrose Patterns and other related groovy geometries
Amelie Poulain was really a KGB spy
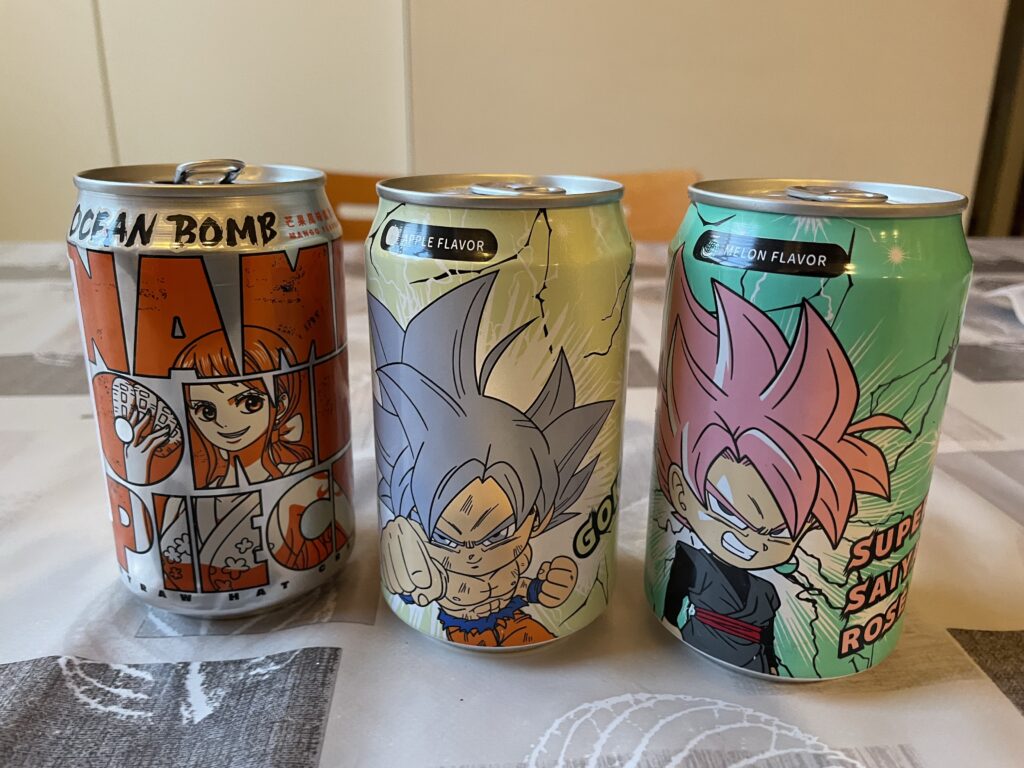
I got some One Piece and DBZ flavoured sparkling water. I don’t like sparkling water. I just got this because it had pretty drawings.
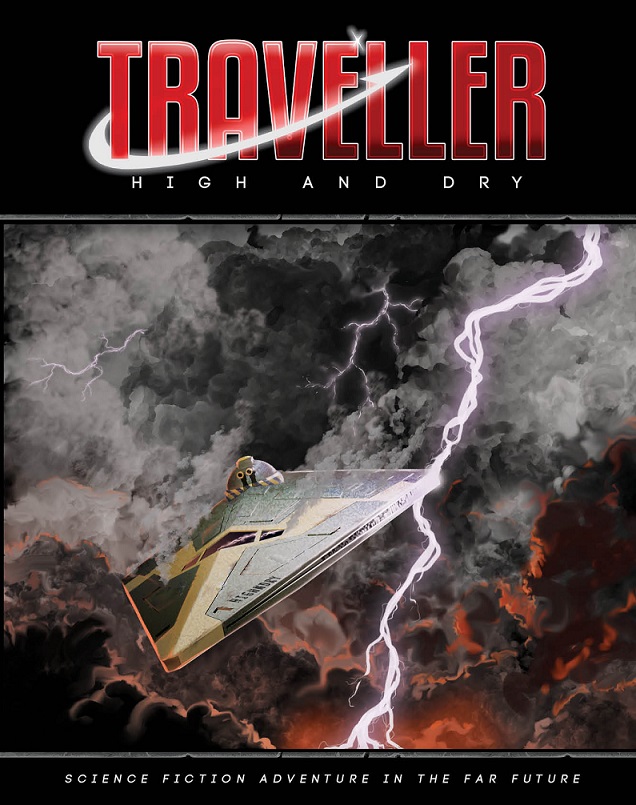
This week or the next should be the end of our short (a bit less than 20 sessions) campaign of Traveller. Now considering what interlude one-shot to play, and what campaign to start next… #ttrpg