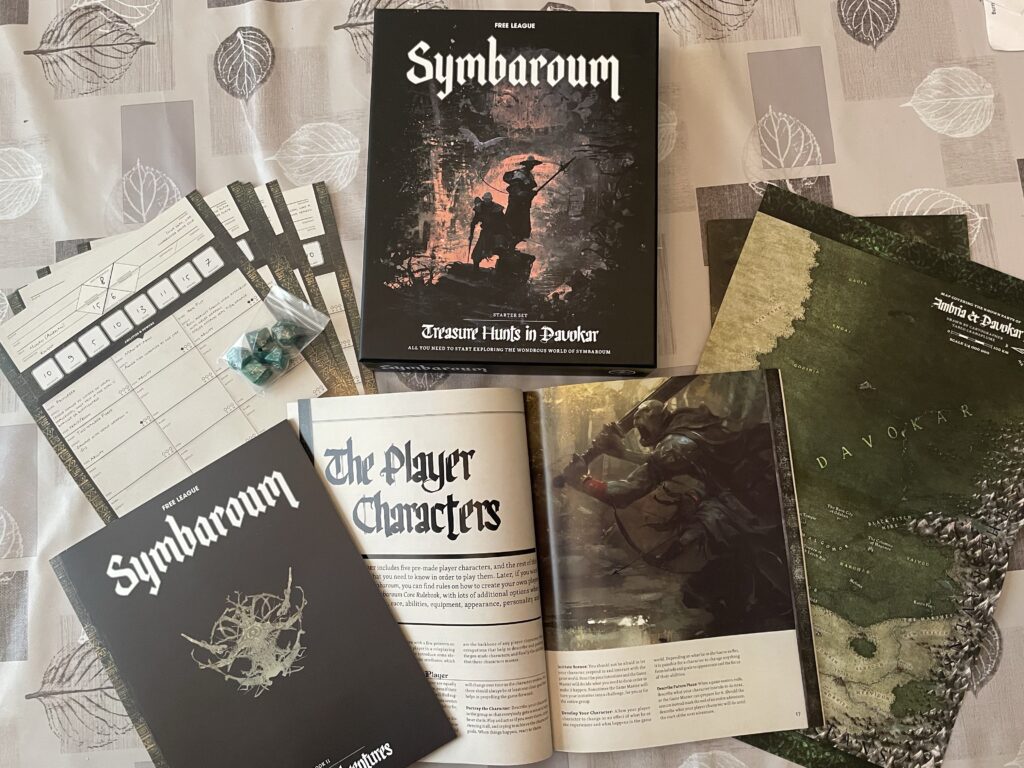
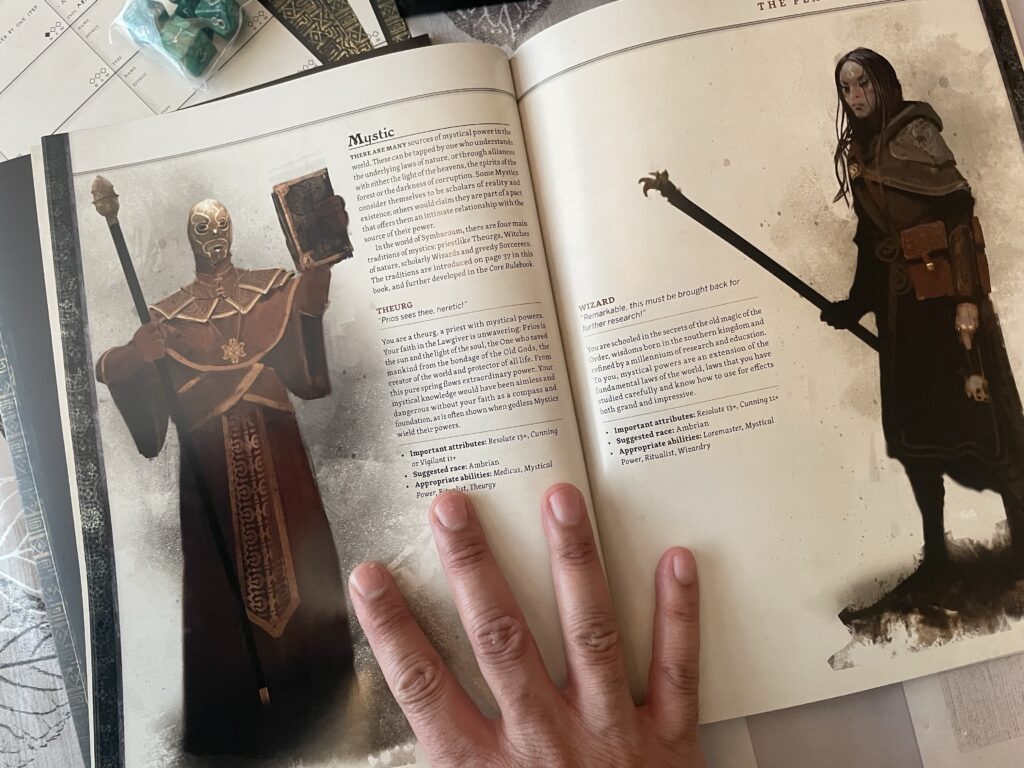
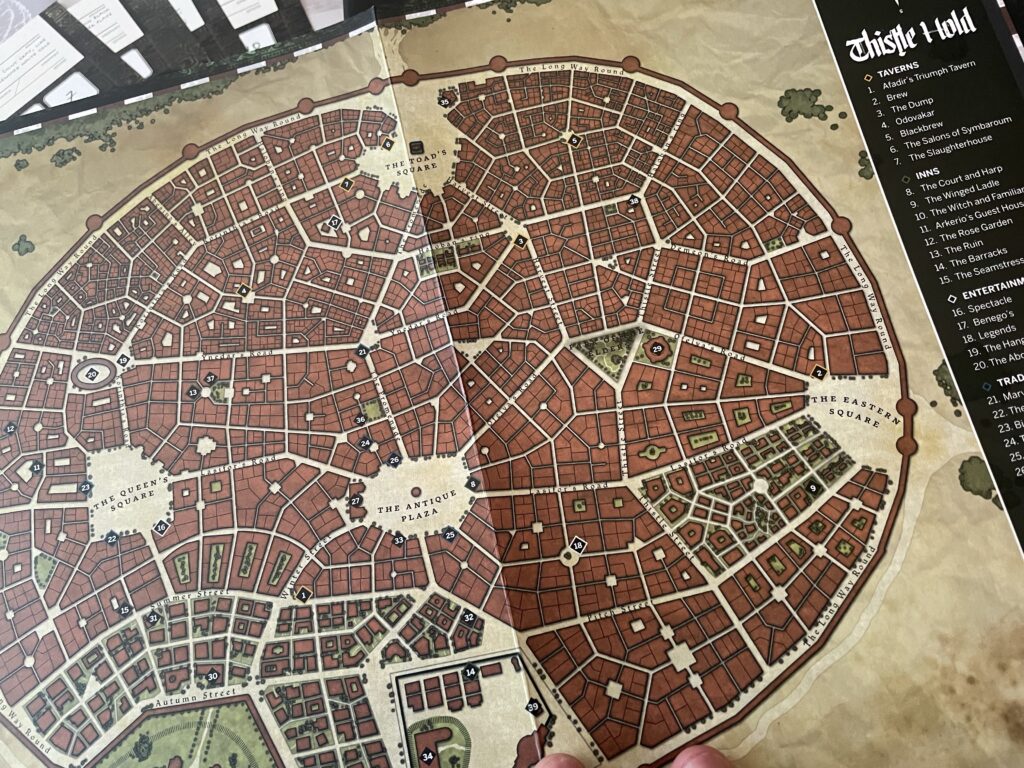
Currently reading the Symbaroum starter set! I don’t know much yet so still at the stage of reading about the setting and asking “sure but what do we do in this game?”
Currently reading the Symbaroum starter set! I don’t know much yet so still at the stage of reading about the setting and asking “sure but what do we do in this game?”
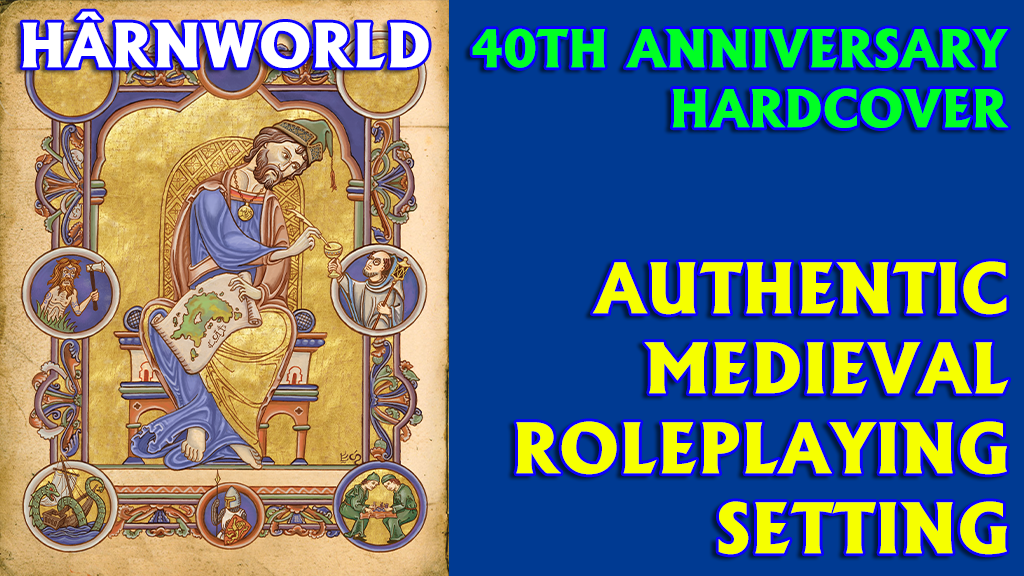
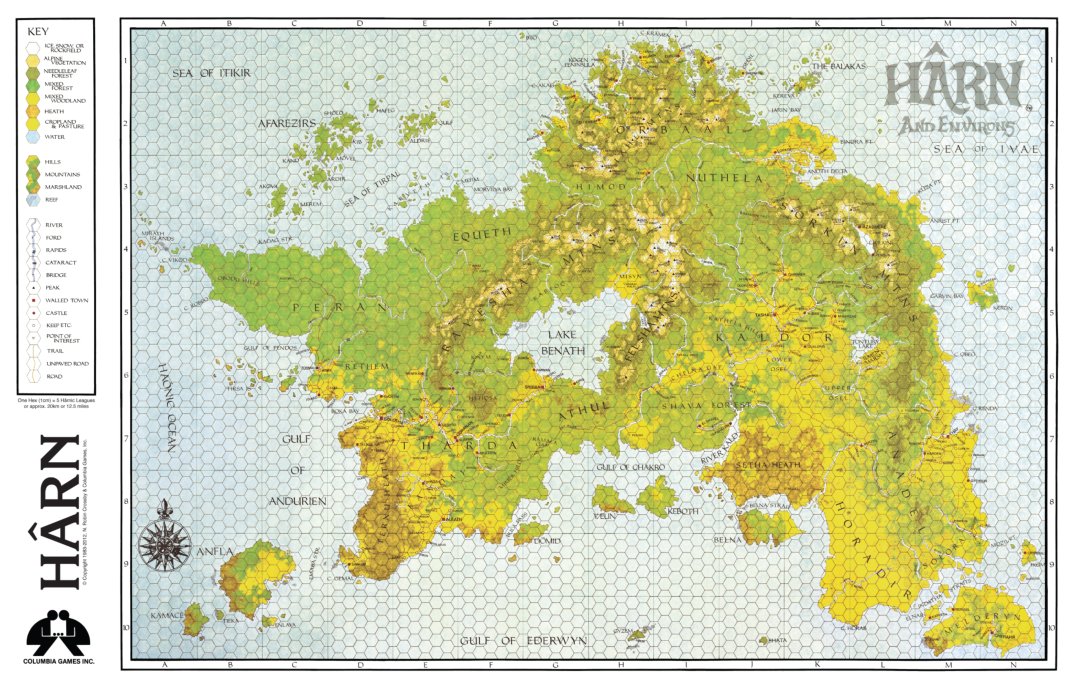
Woohoo the new Harn Kickstarter includes HarnWorld and Harndex, which means it’s perfect for newcomers! Plus, the famous map! Note that you can get any of the kingdom books as add-ons.
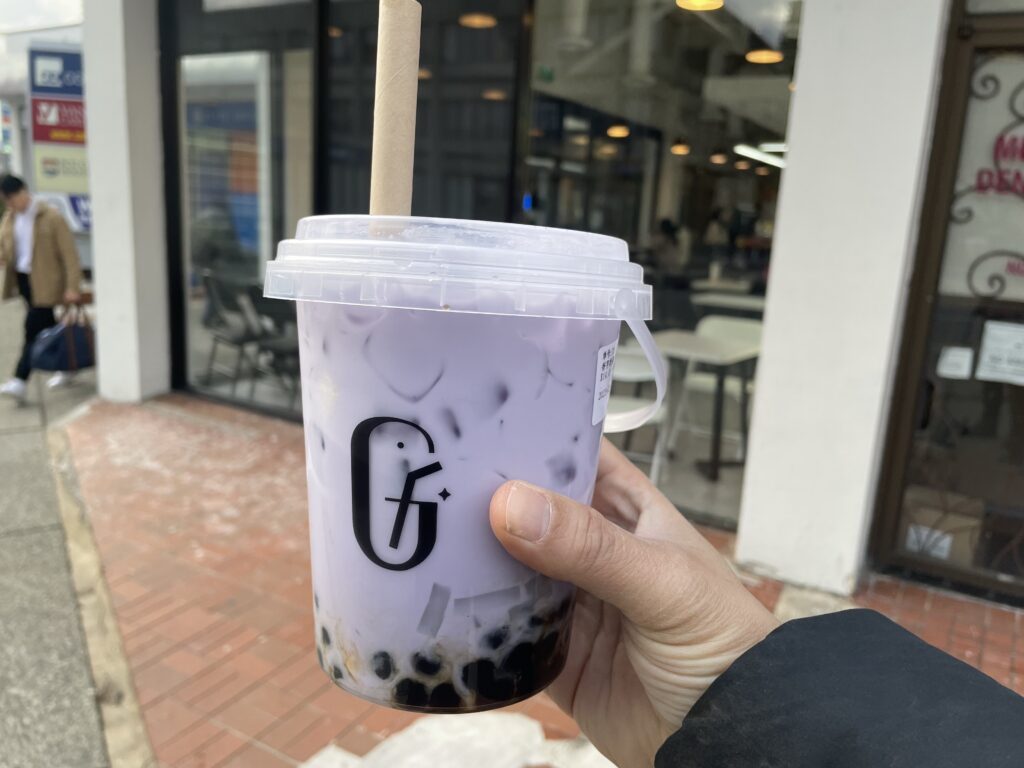
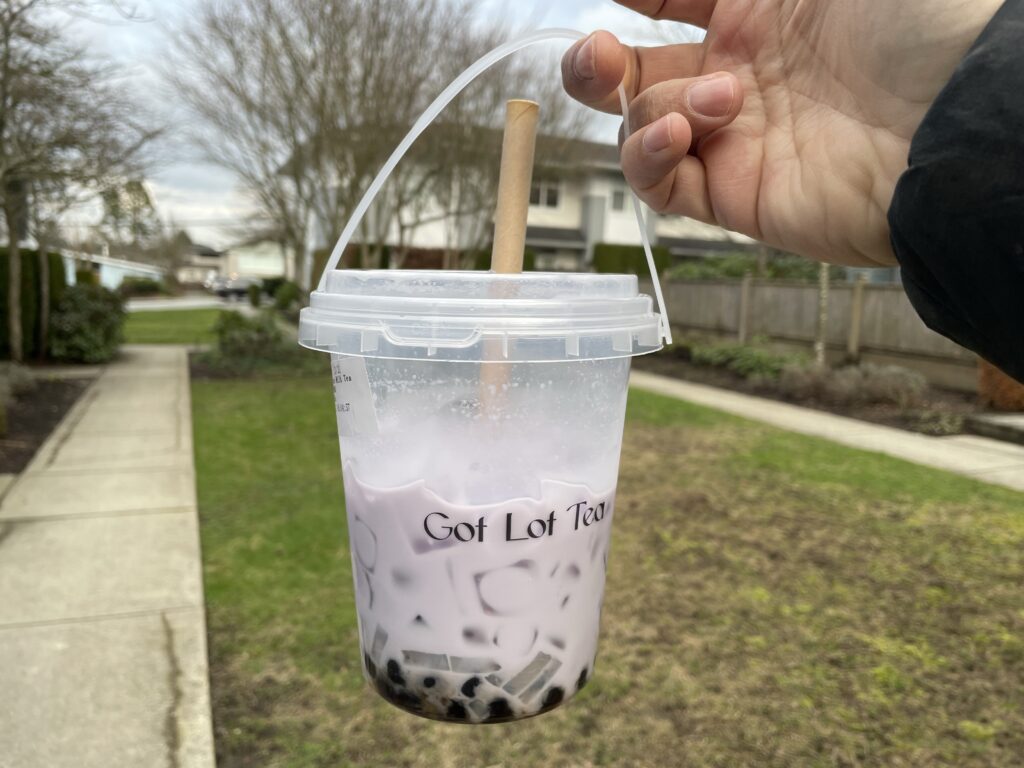
Youngest kid and I went to get a… (checks notes). Get a bucket of Taro milk bubble tea. Yeah.
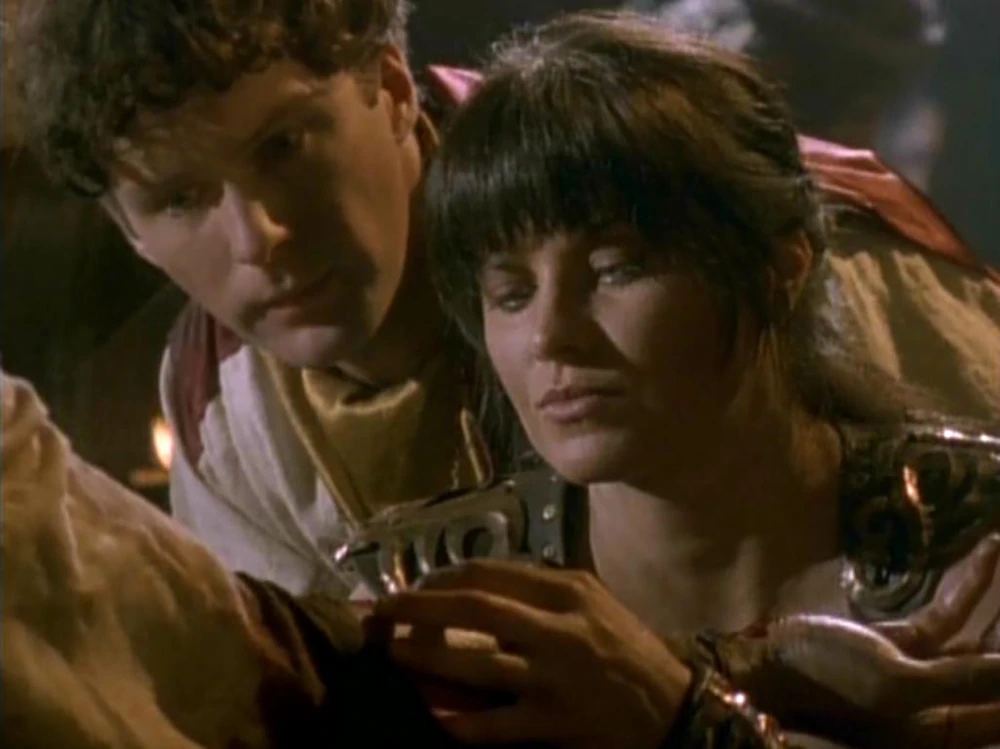
I can believe Xena’s gravity defying backflips and chakram throwing skills, but then there’s also episodes like this, in which she teaches Hippocrates gangrene diagnosis, CPR, tracheotomy, C-sections, and more!
Carefully optimistic for old growth forest in British Columbia…
I’ve seen a few Batman fan-films, but this is the first one that I genuinely liked a lot. Great job to everybody involved!
YES, DO IT. FUCK META
Catching up on Mythic Quest (which I like very much) and it’s great to see Ashly Burch get more and more involved in writing and directing! Hard to pick my favourite character but Jo is definitely in the lead.
Harry Potter and the Forbidden Game 😅