Made some pancakes while listening to a podcast. Didn’t pay attention and used two cups of sugar instead of two tablespoons of sugar. Hilarity ensues.
The Stochastic Game
Ramblings of General Geekery
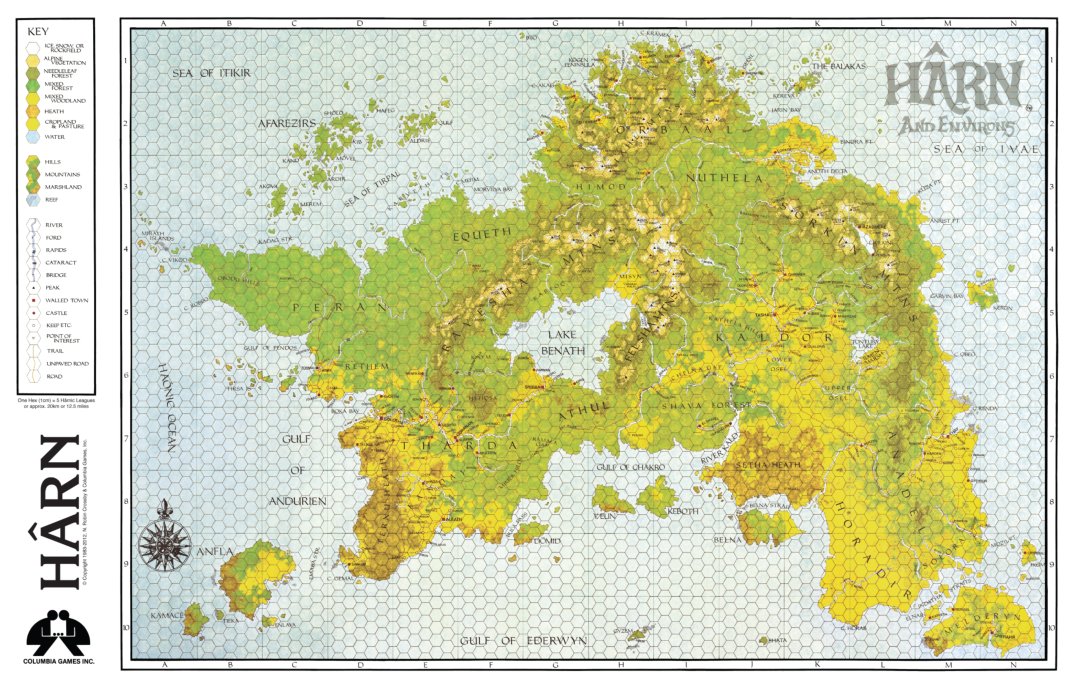
I love Harn but its main flaw is that if you’re going to read hundreds of pages of stuff about villages and castles and petty kings, you might as well read Western European history and play directly in Medieval Britain?
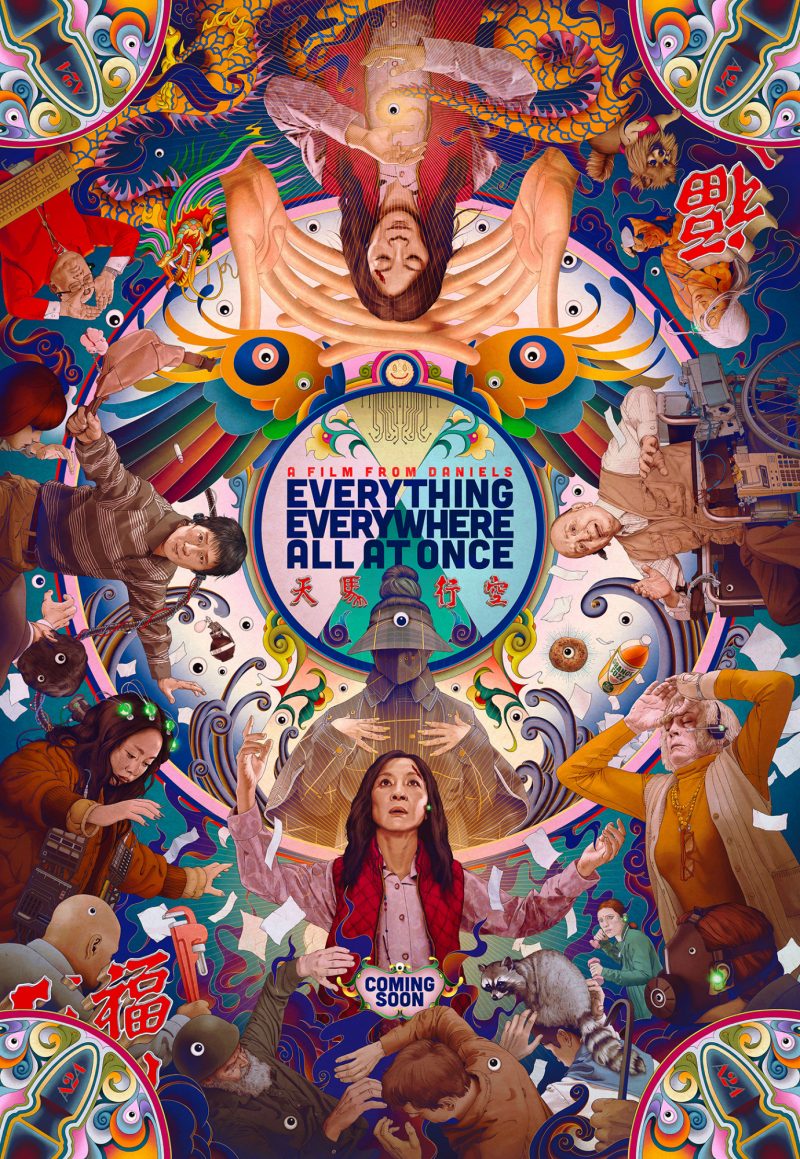
I didn’t like Everything Everywhere All At Once as much as I thought I would (I still liked it), but oooooh boy some scenes are absolutely brilliant aren’t they?
I need to start thinking about my Delta Green scenario for KamCon 2022… I ran it previously but it took two sessions and was missing a strong goal for the players besides “investigate this weird shit”. Time for draft number two!
Good evening!

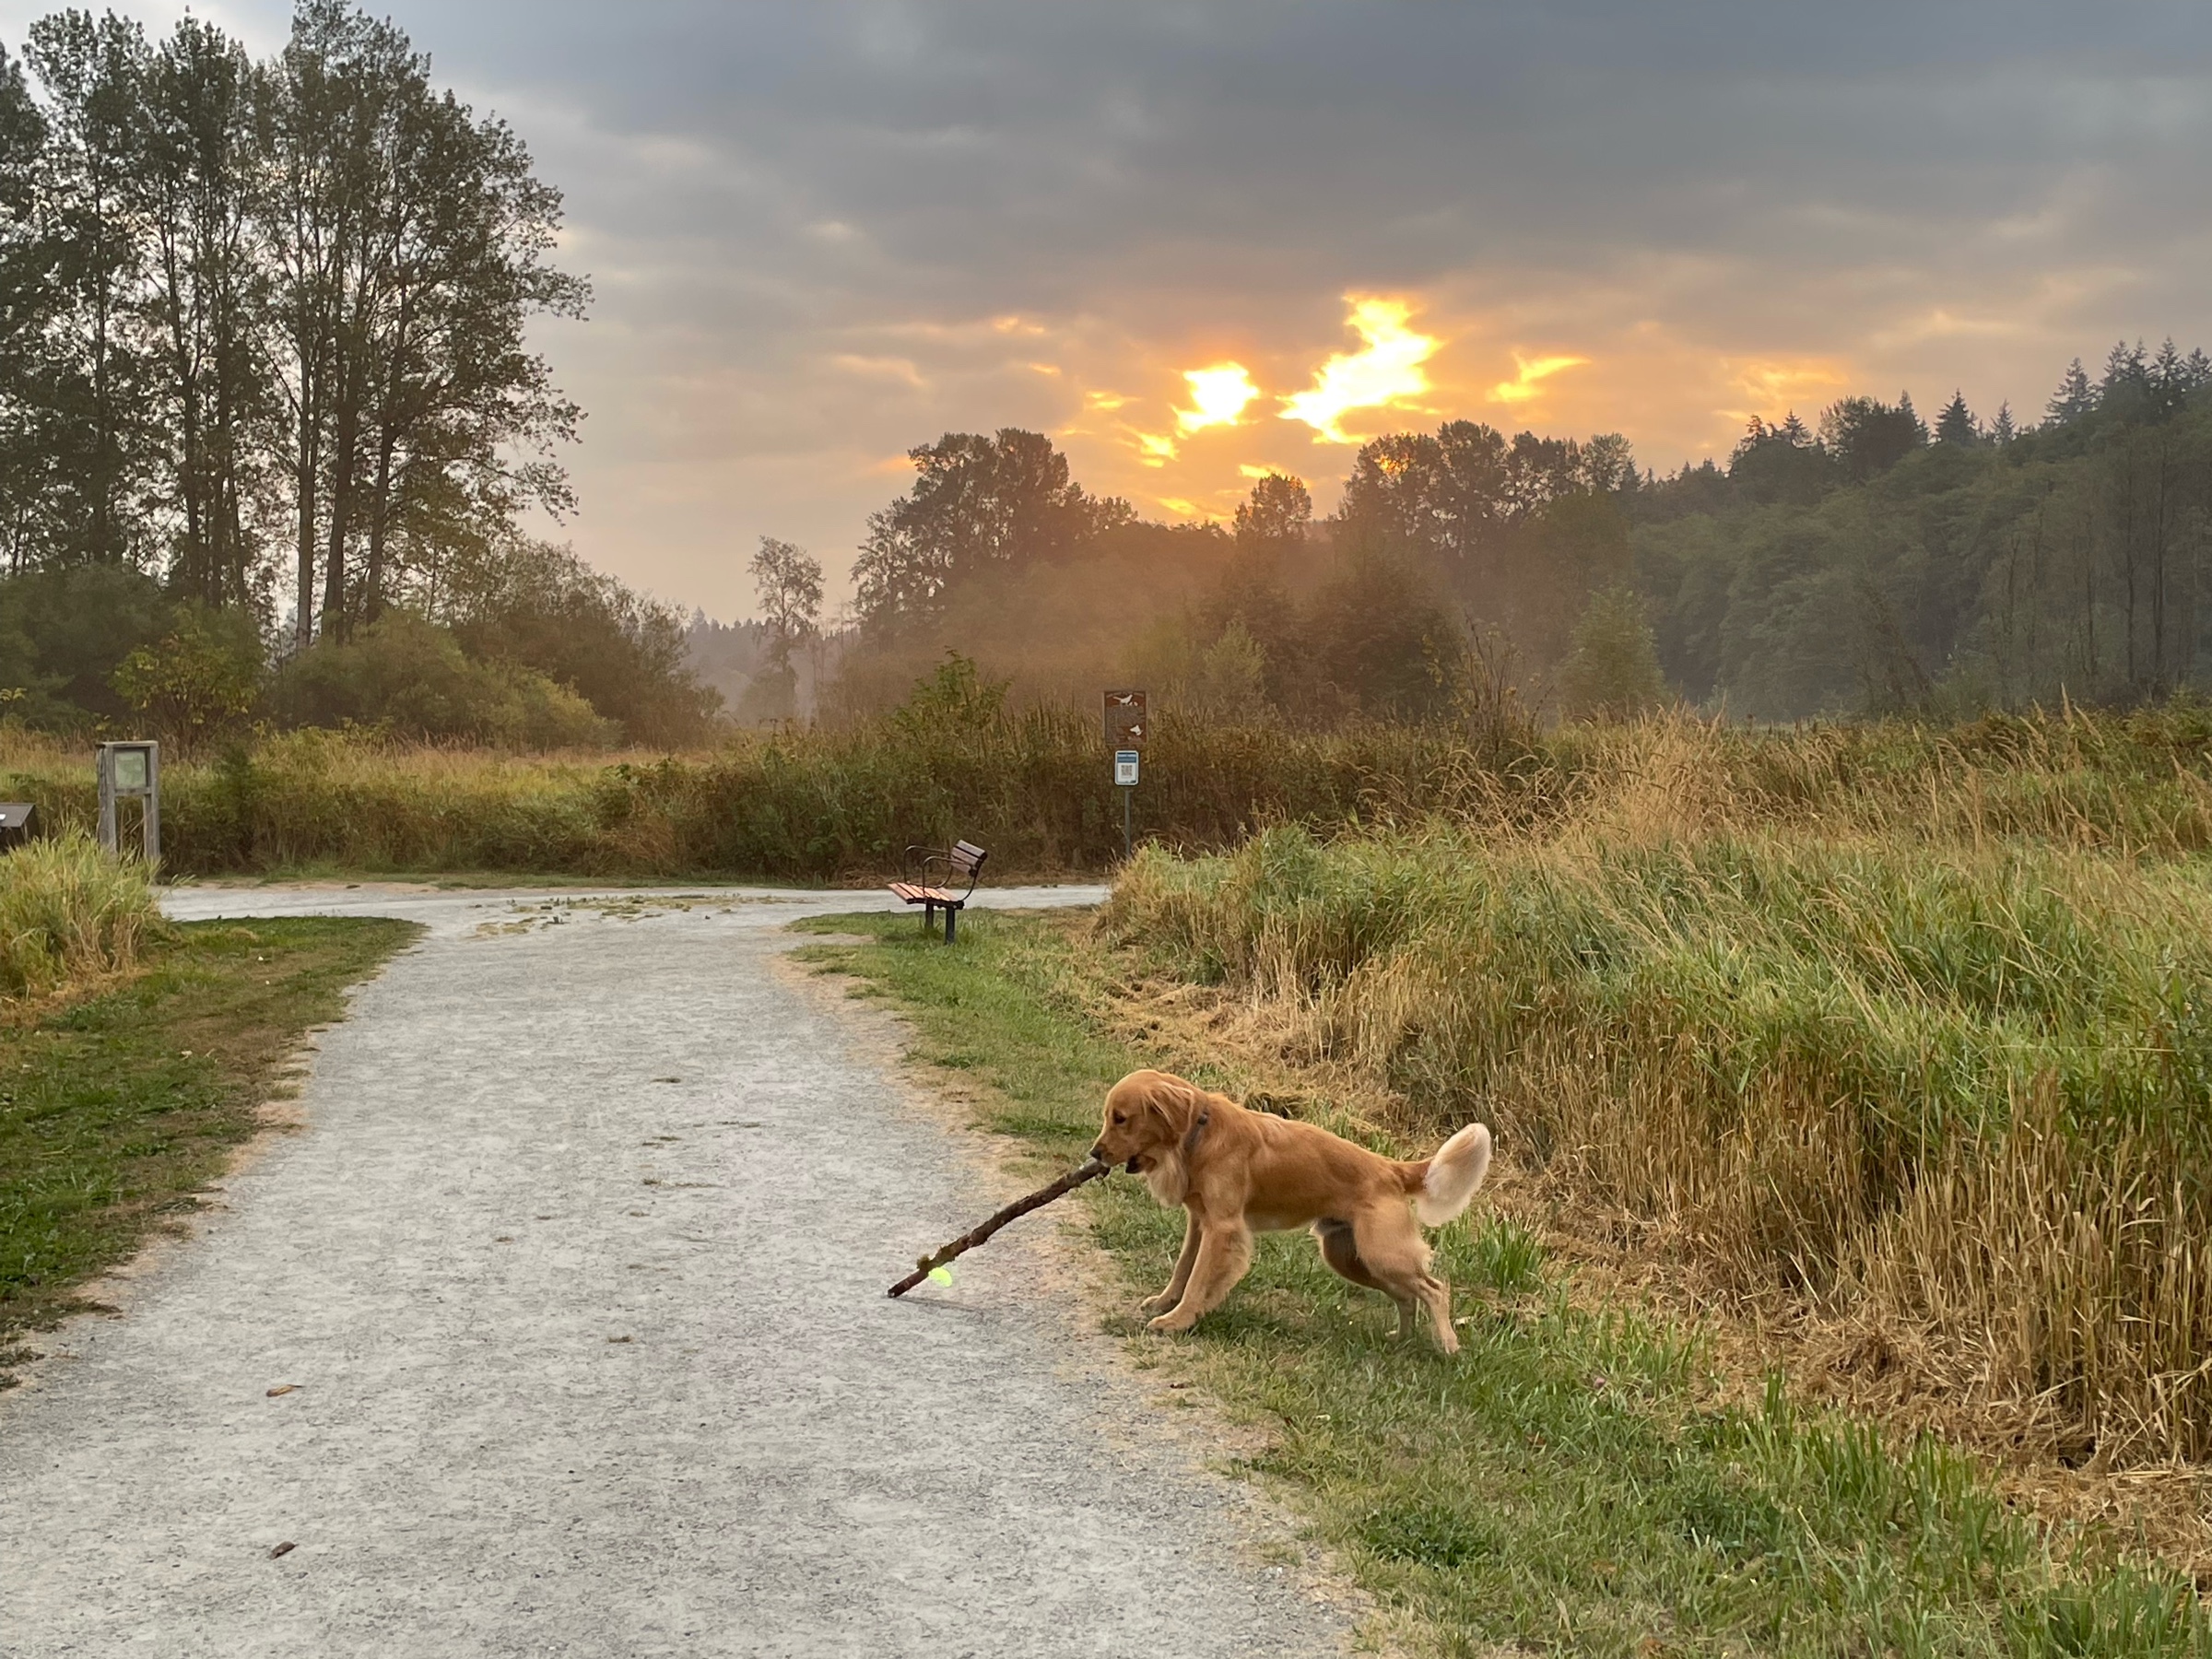
Fun times under the fire sky
One D&D is designed to be the first RPG-as-a-service
I don’t think this is the marketing argument you think it is, Swizzels.
Texas Chainsaw Massacre summary: “Would these kids just STOP coming into my PRIVATE PROPERTY?! I just want to cut up animals in peace!!” – Leatherface
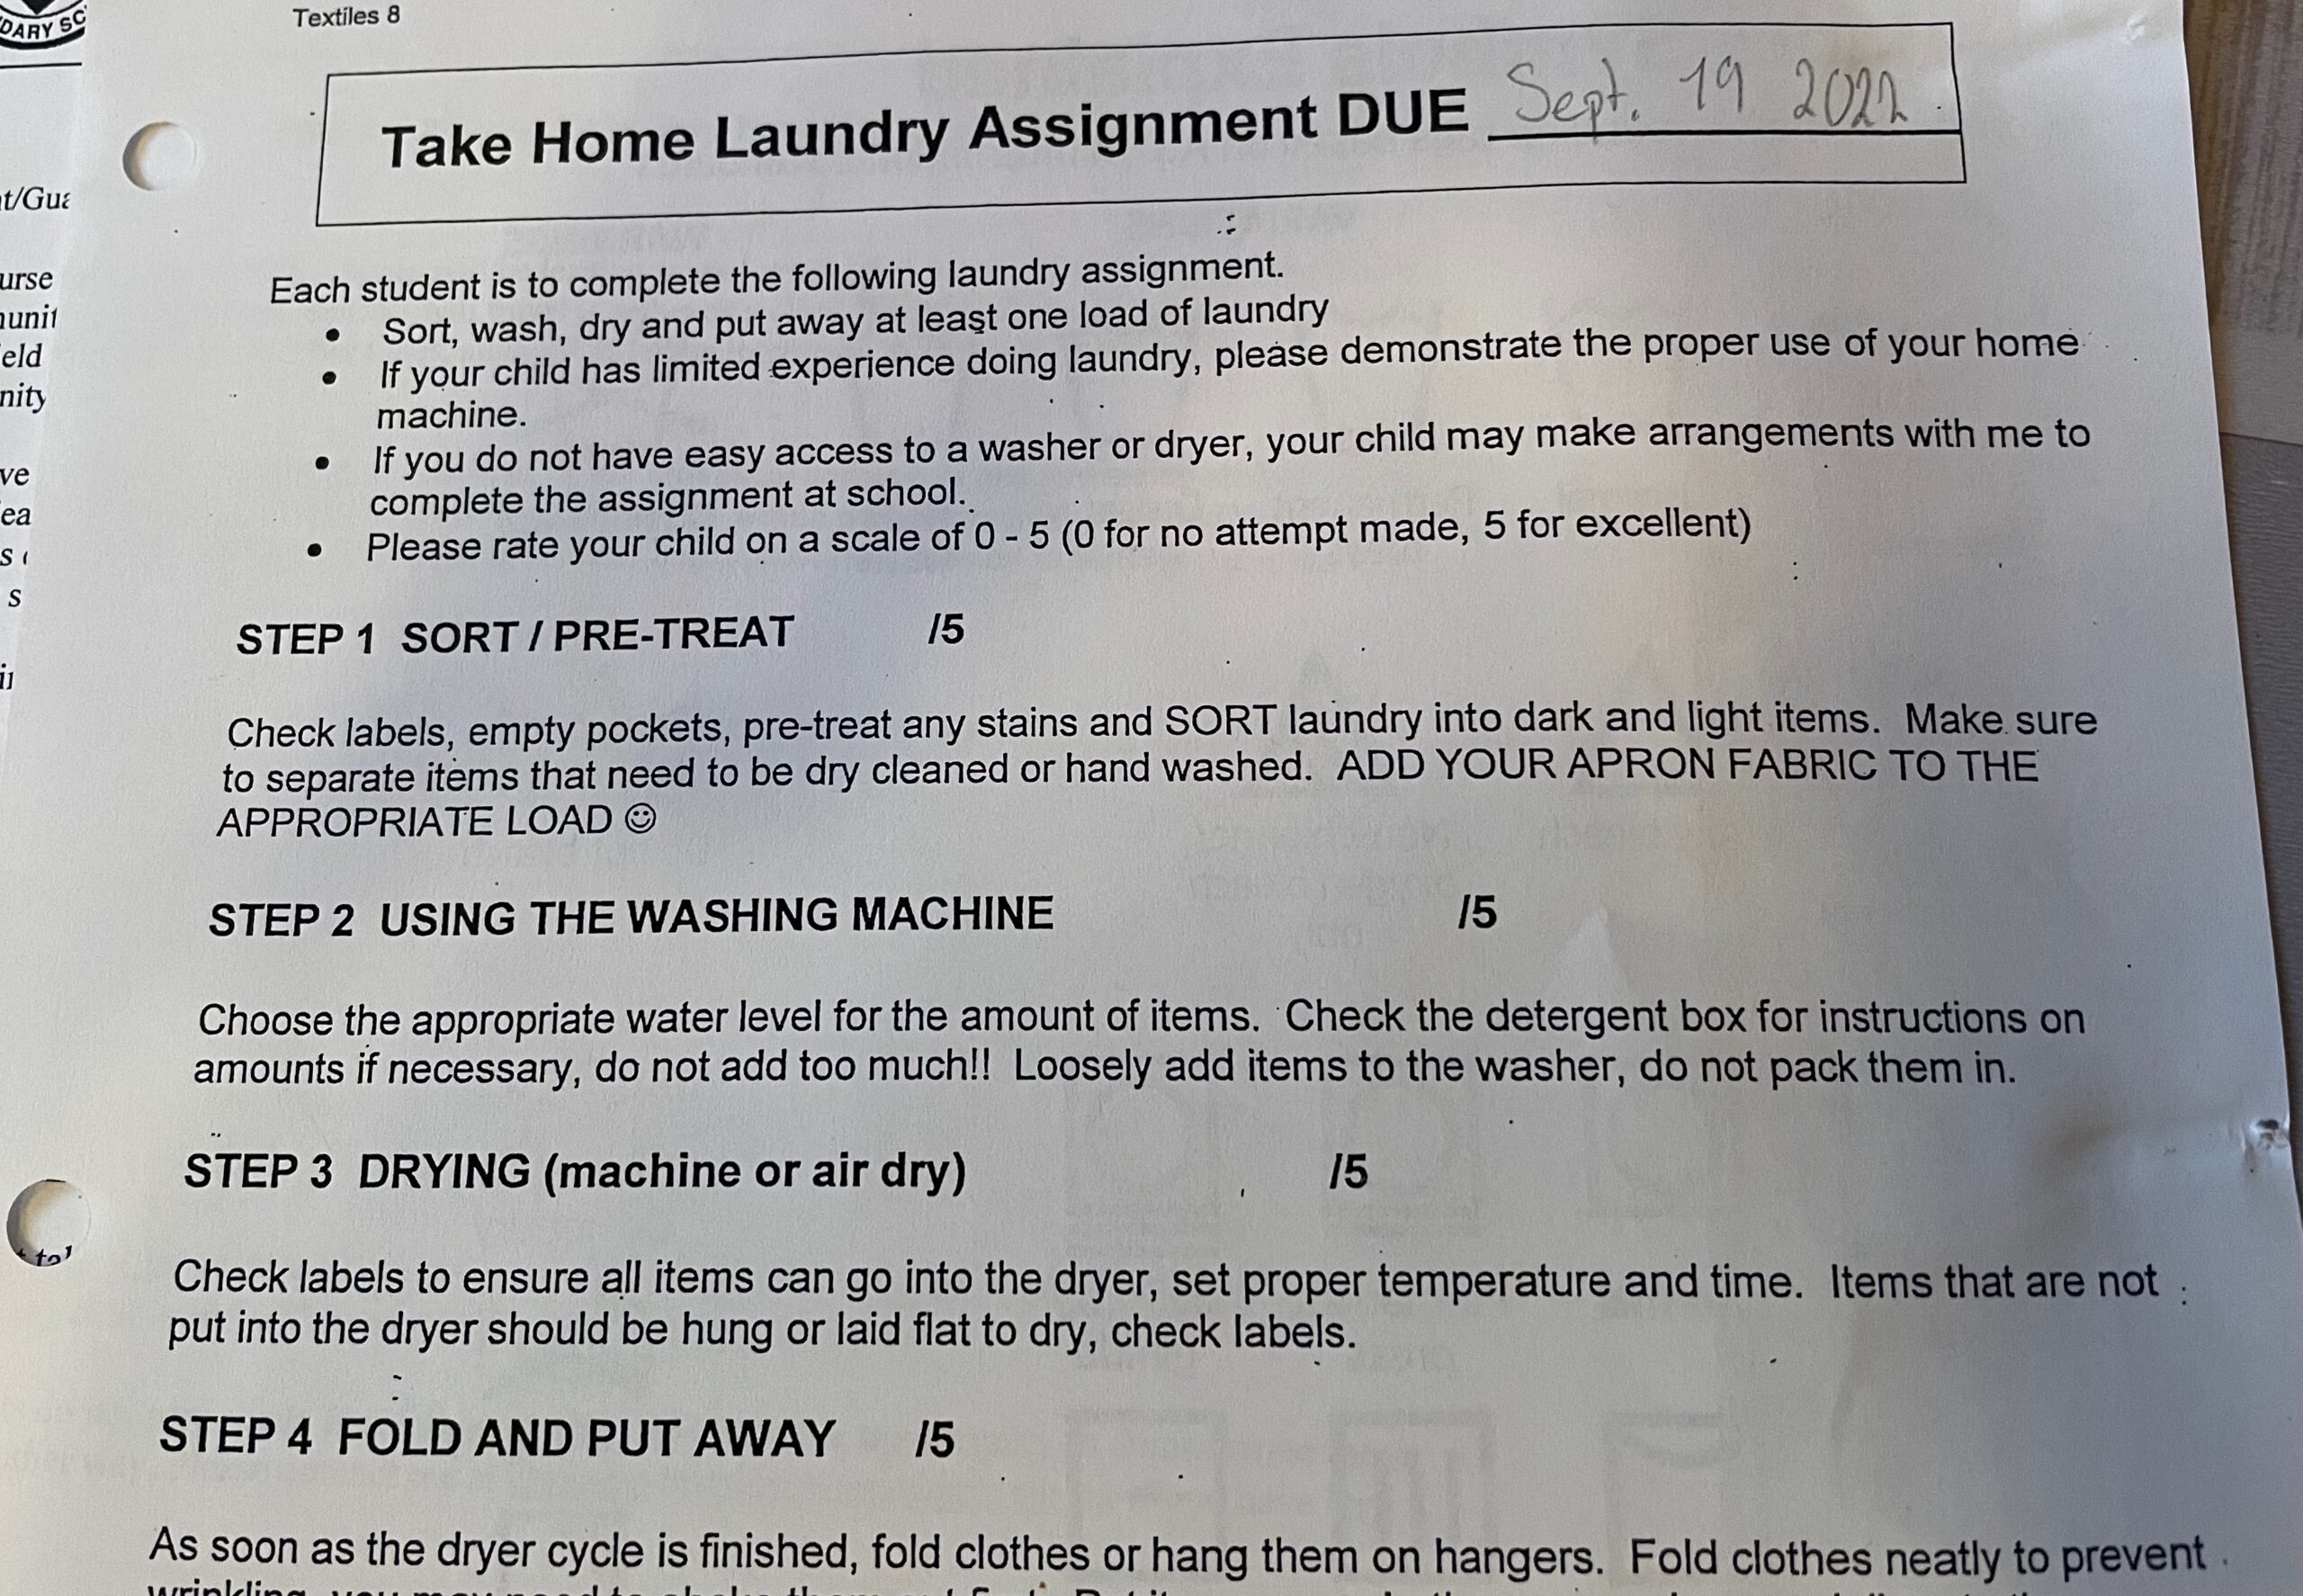
Hahahaha my kid’s first assignment in high school is… do the laundry 😆