“The big thing is dead, now what?”
The Stochastic Game
Ramblings of General Geekery
TIL that technically the web was invented in France (and as you know “technically correct” is the best kind of correct). Scroll to the “Update, Jan 2012” for the good bits.
Heh, that’s a fun one: Investigating why Steam started picking a random font
Cities and towns need walkable neighbourhoods with many various services and zonings, not some division between “downtowns” and “suburbs” or whatever. I’m looking forward to what’s going to happen in Burnaby with the Metrotown and Brentwood areas.
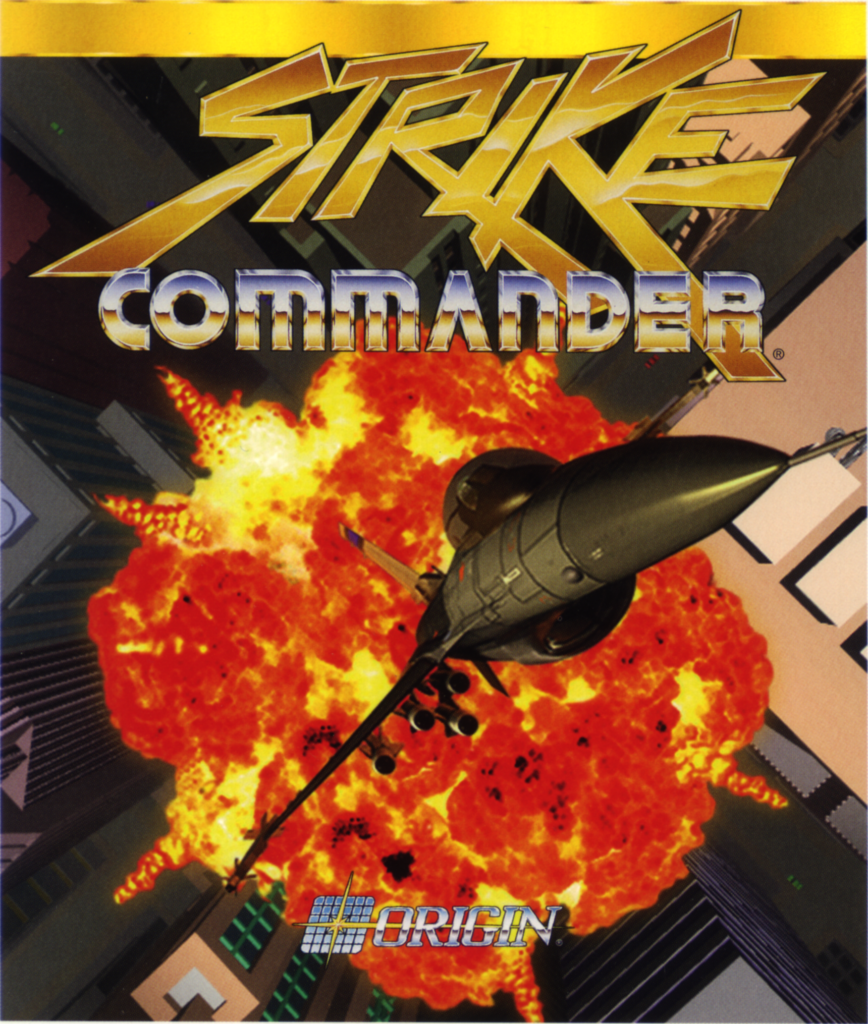
Linux might soon drop support for the i486, which brings back fond memories of running Origin Systems games on that CPU. My bedroom door had a “Strike Commander” poster on it with a “flies better on Intel Pentium” ad in the corner…
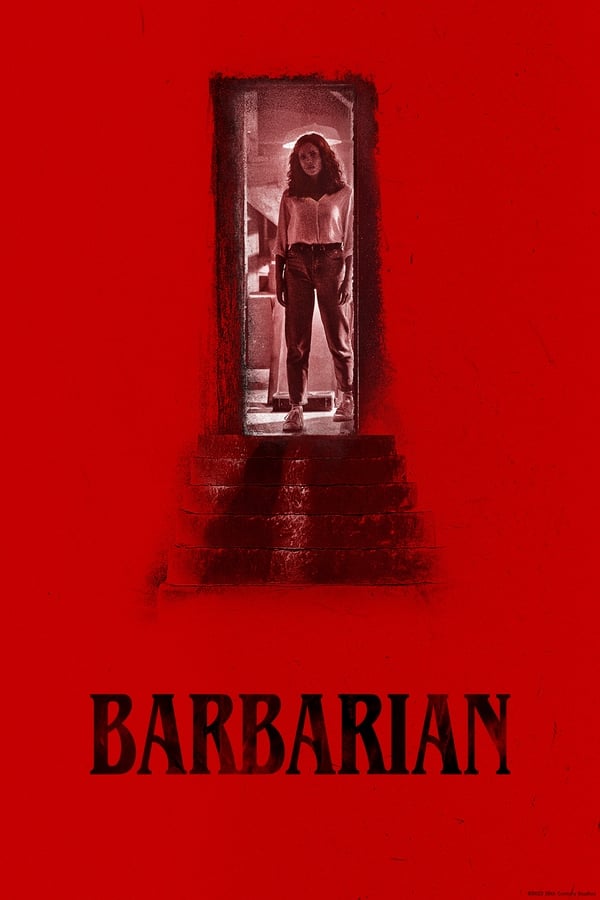
I watched Barbarian (2022) last night and it was really good. Not perfect, but a great blend of creepy, funny, surprising, and original. Plus, a great cast.
If you’re looking for me on the other half-baked social places of the internet, I’m @ludovic@chabant.social on Mastodon, and @ludovicchabant on Cohost and Hive.
French people might not want to wear those…

Time to get fat!
This is only a very unreliable rumour, but just for the record: the D20 OGL/SRD had a MASSIVE impact on the TTRPG industry in the early 2000s, and D&D getting rid of it would be a monumental mistake. Not that I care that much about D&D though.