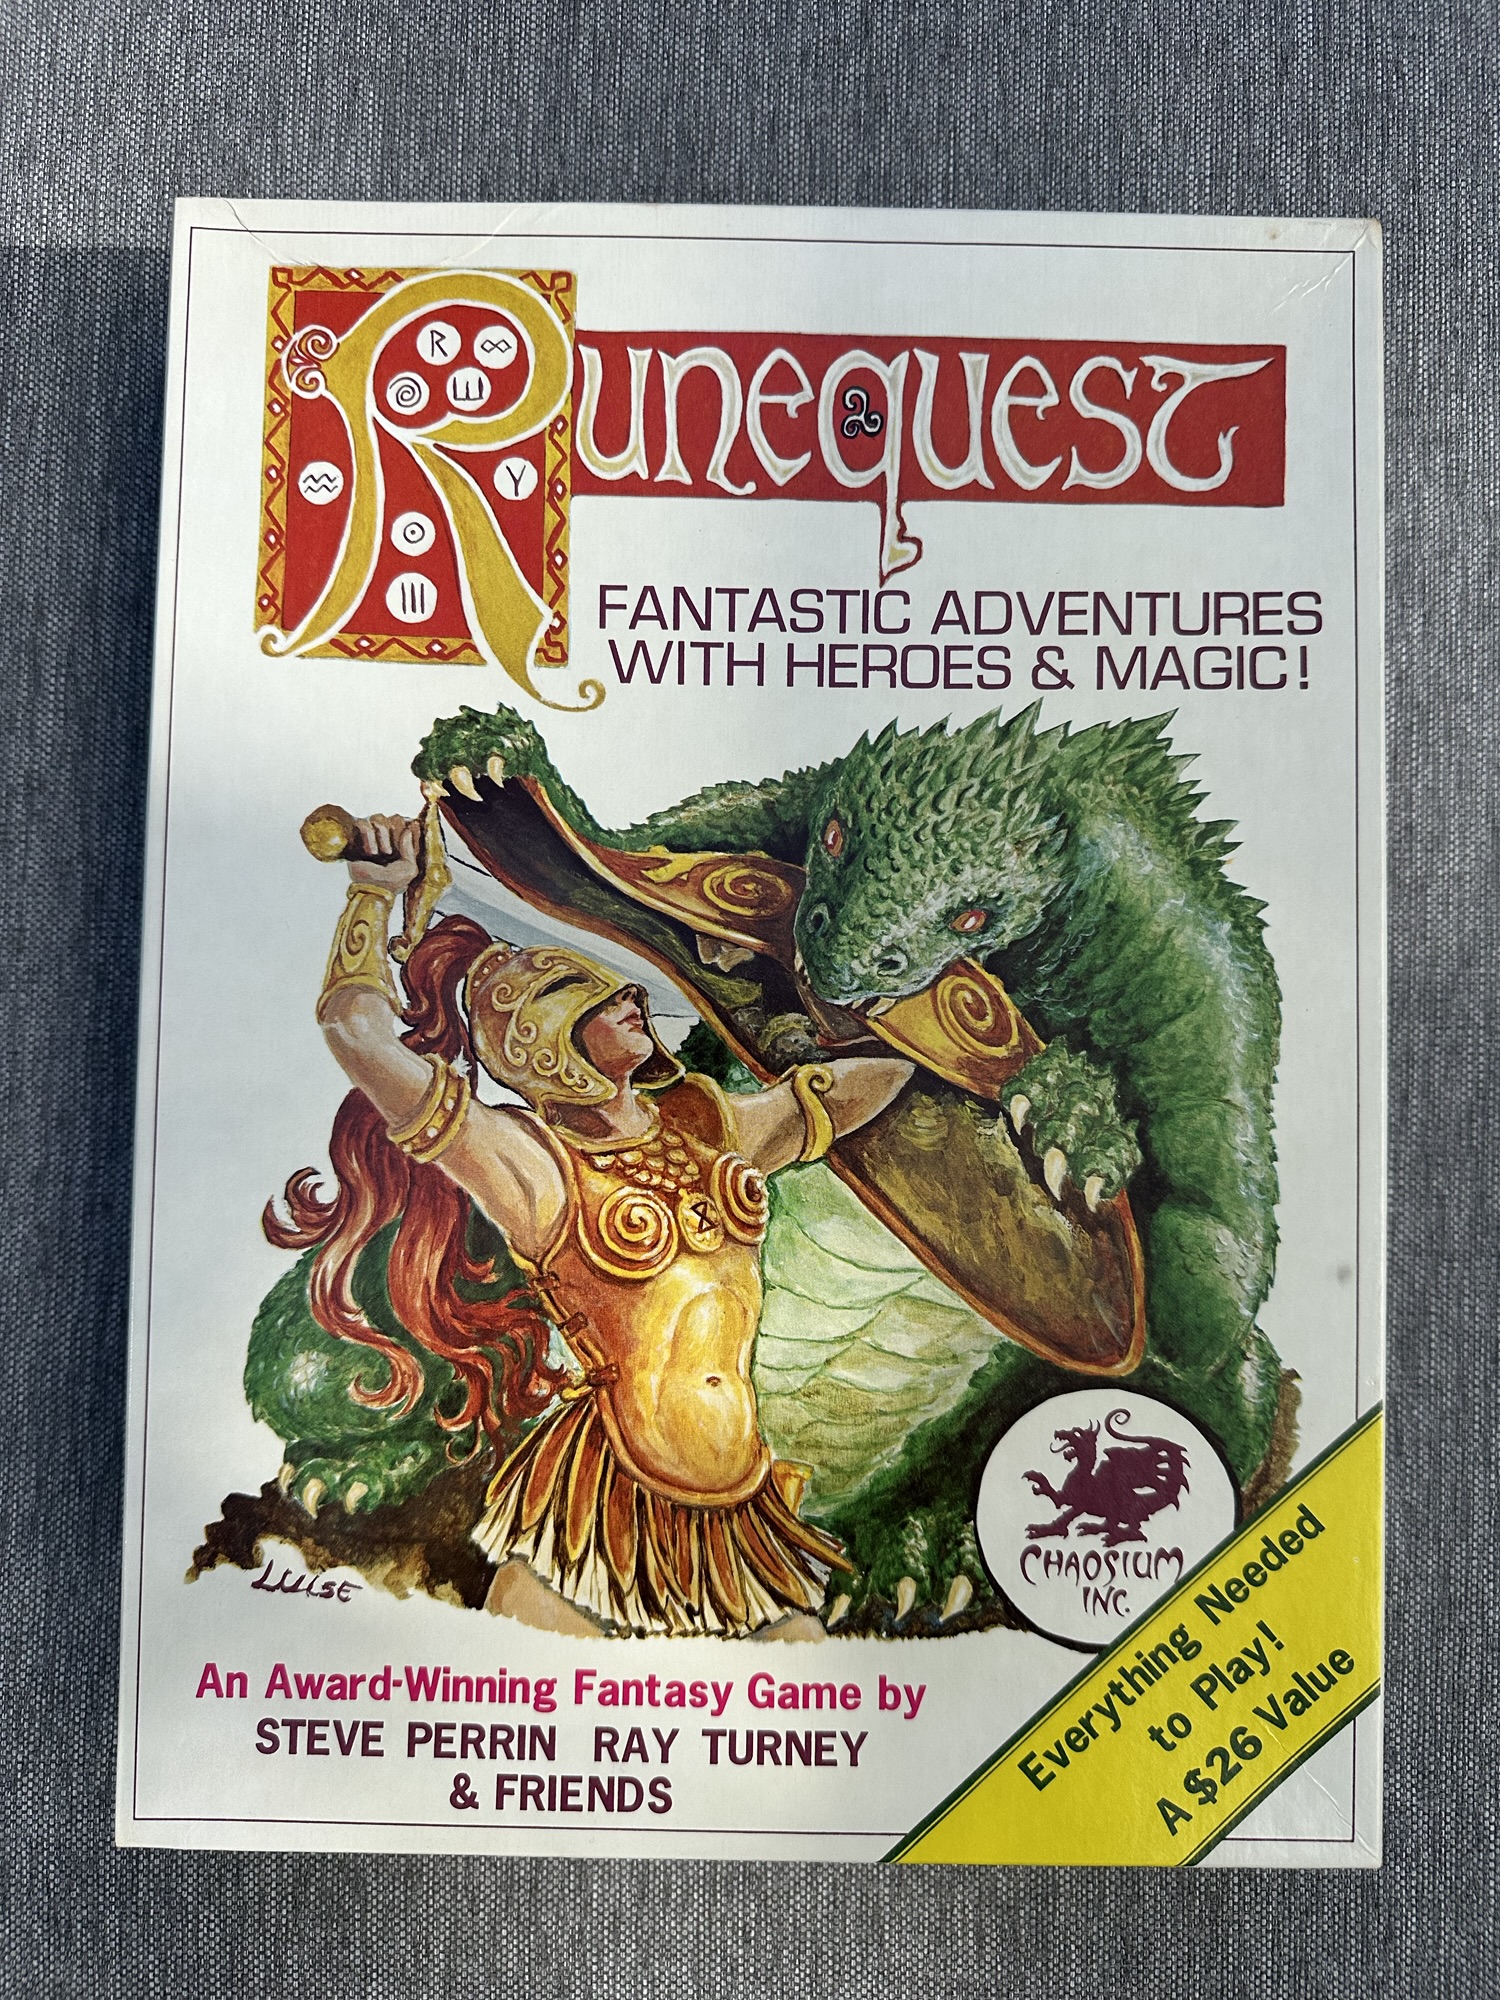
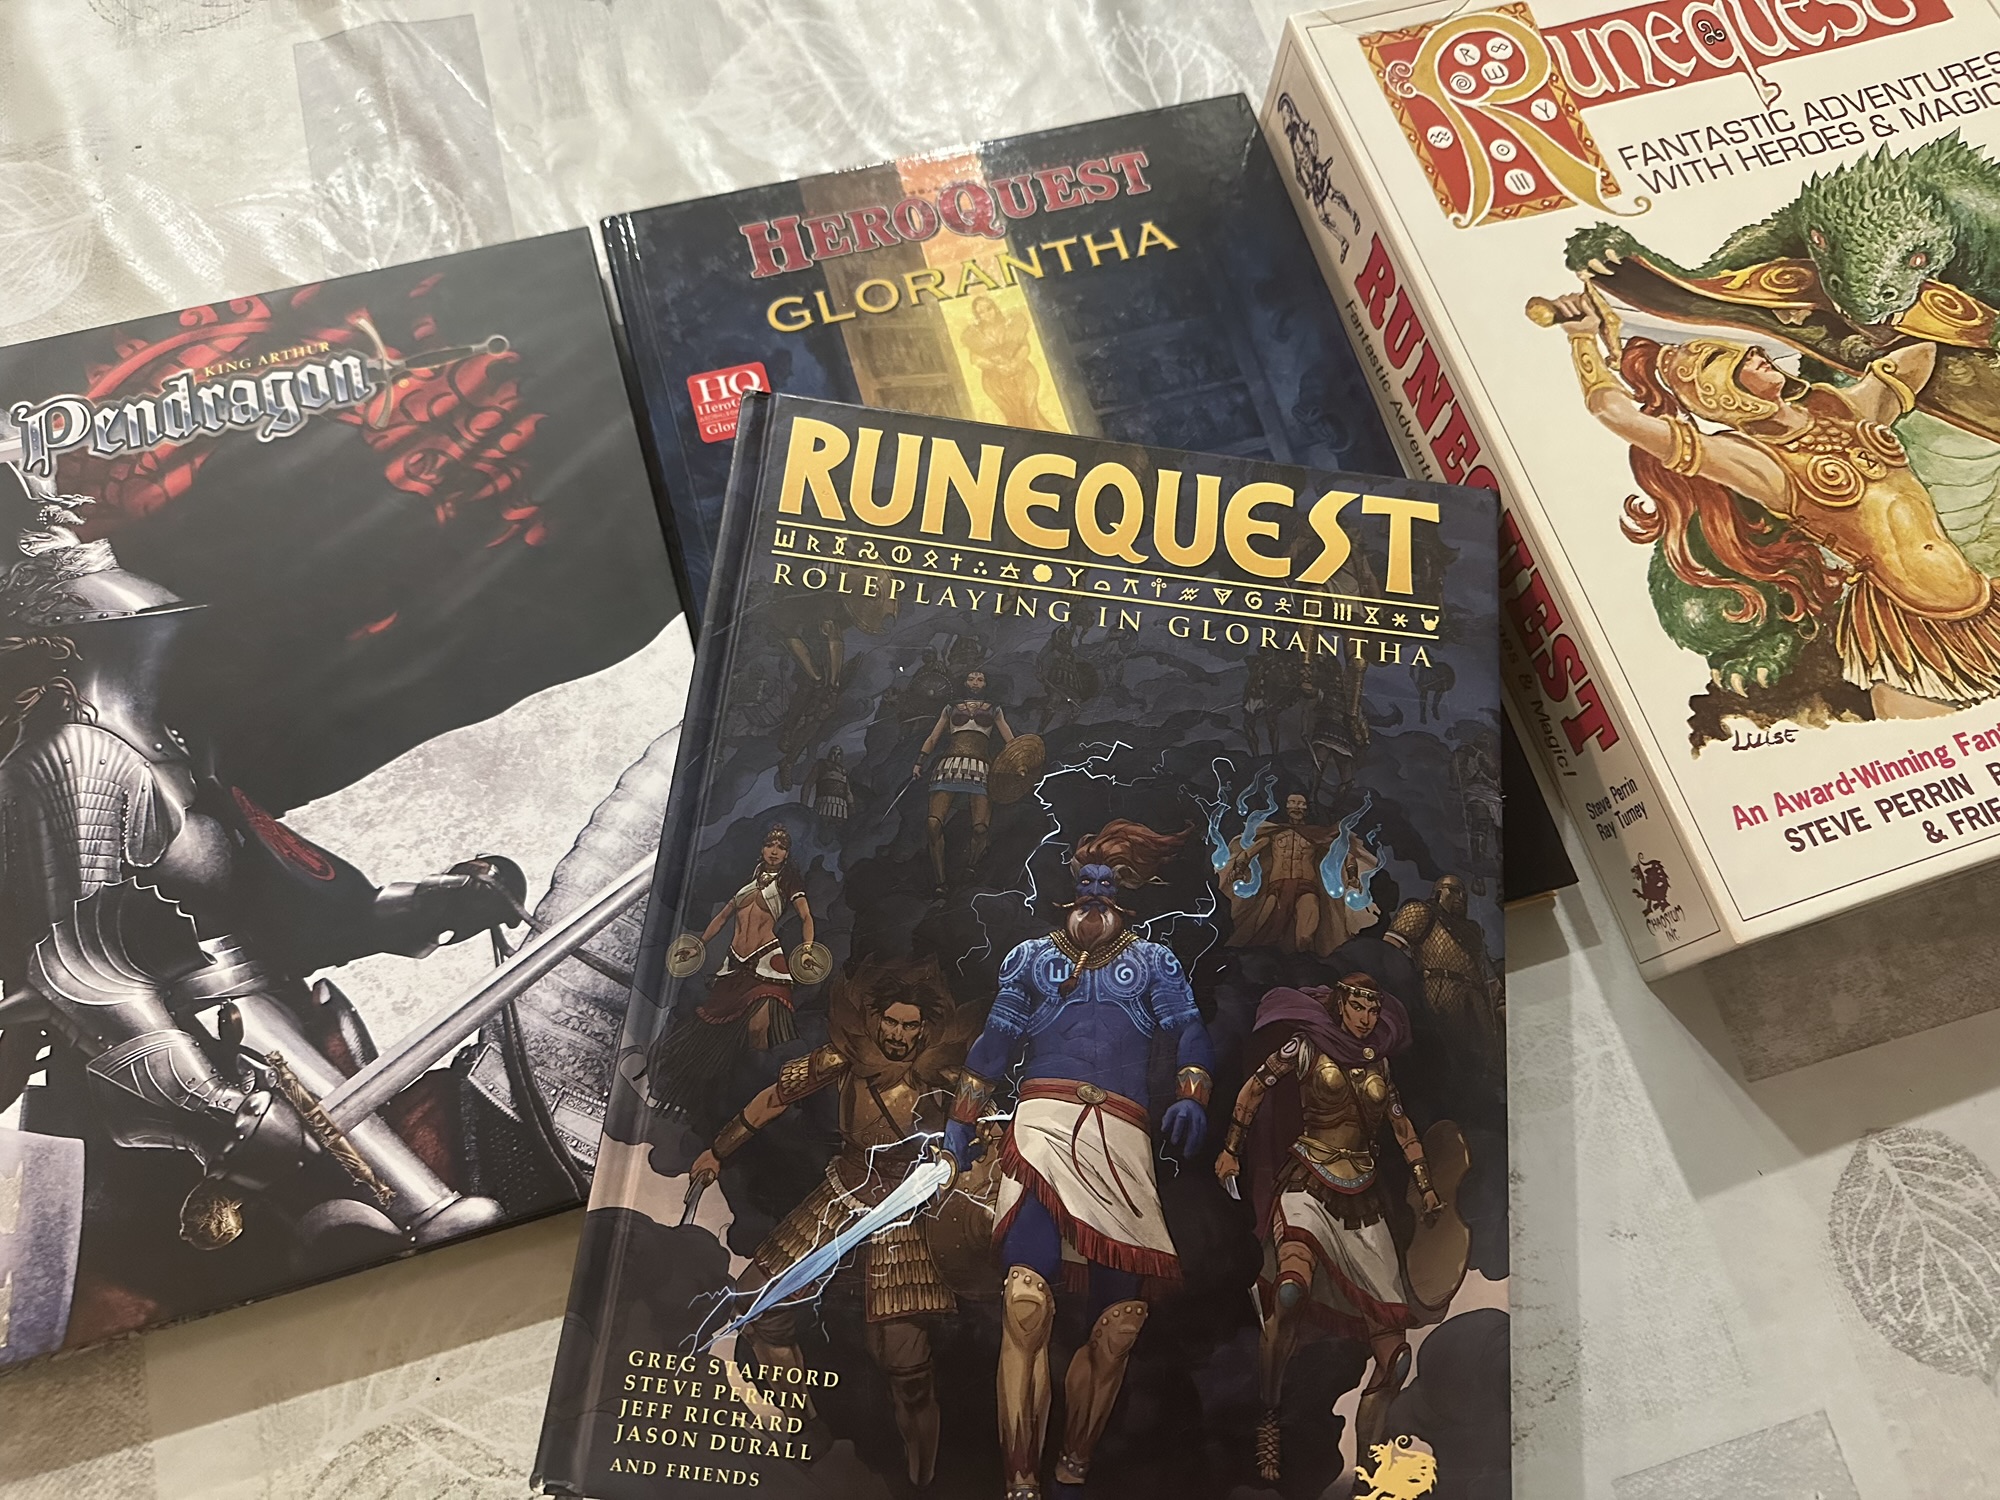
Welcome to Open Box, the part of the blog where we look backwards to look forw… wait, no that’s not correct1. It’s the part where we open the 2nd edition RuneQuest boxed set, like I said we would in the preamble! Let’s be careful with those corners, lift the lid, and take in the wonderful smell of old paper!
Oh nice, someone is finally stepping up against John Deere’s famously extreme enshittification. And it’s coming from Canada! I hope this works out well for everybody (except the assholes at John Deere corp)
“Rich Flu”, a movie in which a plague only targets rich people, looks wild and fun! It’s by the director of the equally heavily metaphorical “The Platform”, only this time it comes with an extra serving of wishful thinking.
I started playing RuneQuest with the latest edition, “RuneQuest: Roleplaying in Glorantha”, colloquially known as “RQG”. I had fallen in love with the setting via its gigantic1, critically acclaimed, system-agnostic “Guide to Glorantha”2, so using the official game to bring it to the table felt like the next logical move. RQG looked great at first, even though I was immediately skeptical of some of its most idiosyncratic mechanics, like Strike Ranks3. But there was a lot of cool stuff! Divine magic that requires worship at your god’s temples to recharge! Rune affinities that model your personality! Passions that connect to your community!
But after a couple years of play, I couldn’t shake the feeling that something was wrong.
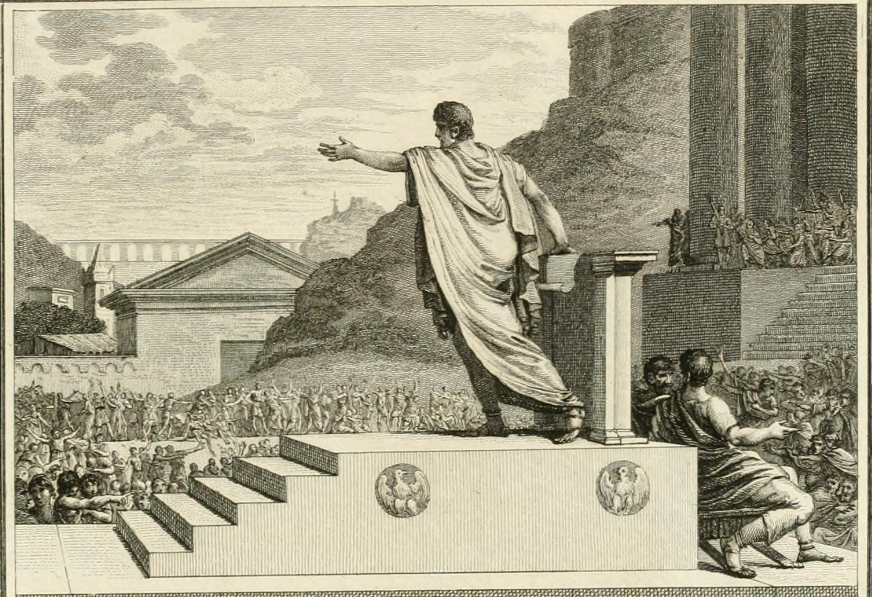
The Romans started as a Republic but then devolved into an Empire. In Glorantha, the Lunars start as an Empire but the White Moon Movement will transform them into a Republic. It’s an uplifting tale of redemption! A story about the power of social change! We are all us! 🌓